API Keys
Create and manage API keys for programmatic access to the Yipii IoT API
API keys provide a simple way to authenticate with the Yipii IoT API. Each key is a long-lived Bearer token that can be used directly in API requests without the OAuth2 client credentials flow.
When to Use API Keys
| Use Case | Recommended Auth |
|---|---|
| Server-to-server integrations | OAuth2 Client Credentials |
| Quick prototyping & testing | API Keys |
| CI/CD pipelines | API Keys |
| Third-party tool integrations | API Keys |
| Mobile or web applications | OAuth2 Client Credentials |
API keys are ideal when you need a straightforward token without managing OAuth2 client IDs and secrets.
Creating an API Key
Step 1: Navigate to API Access
Open the API Access tab from the user menu or navigate to Settings and select the API Access tab.

The API Access page provides quick links to the User Guide and API Reference, along with the API key management section.
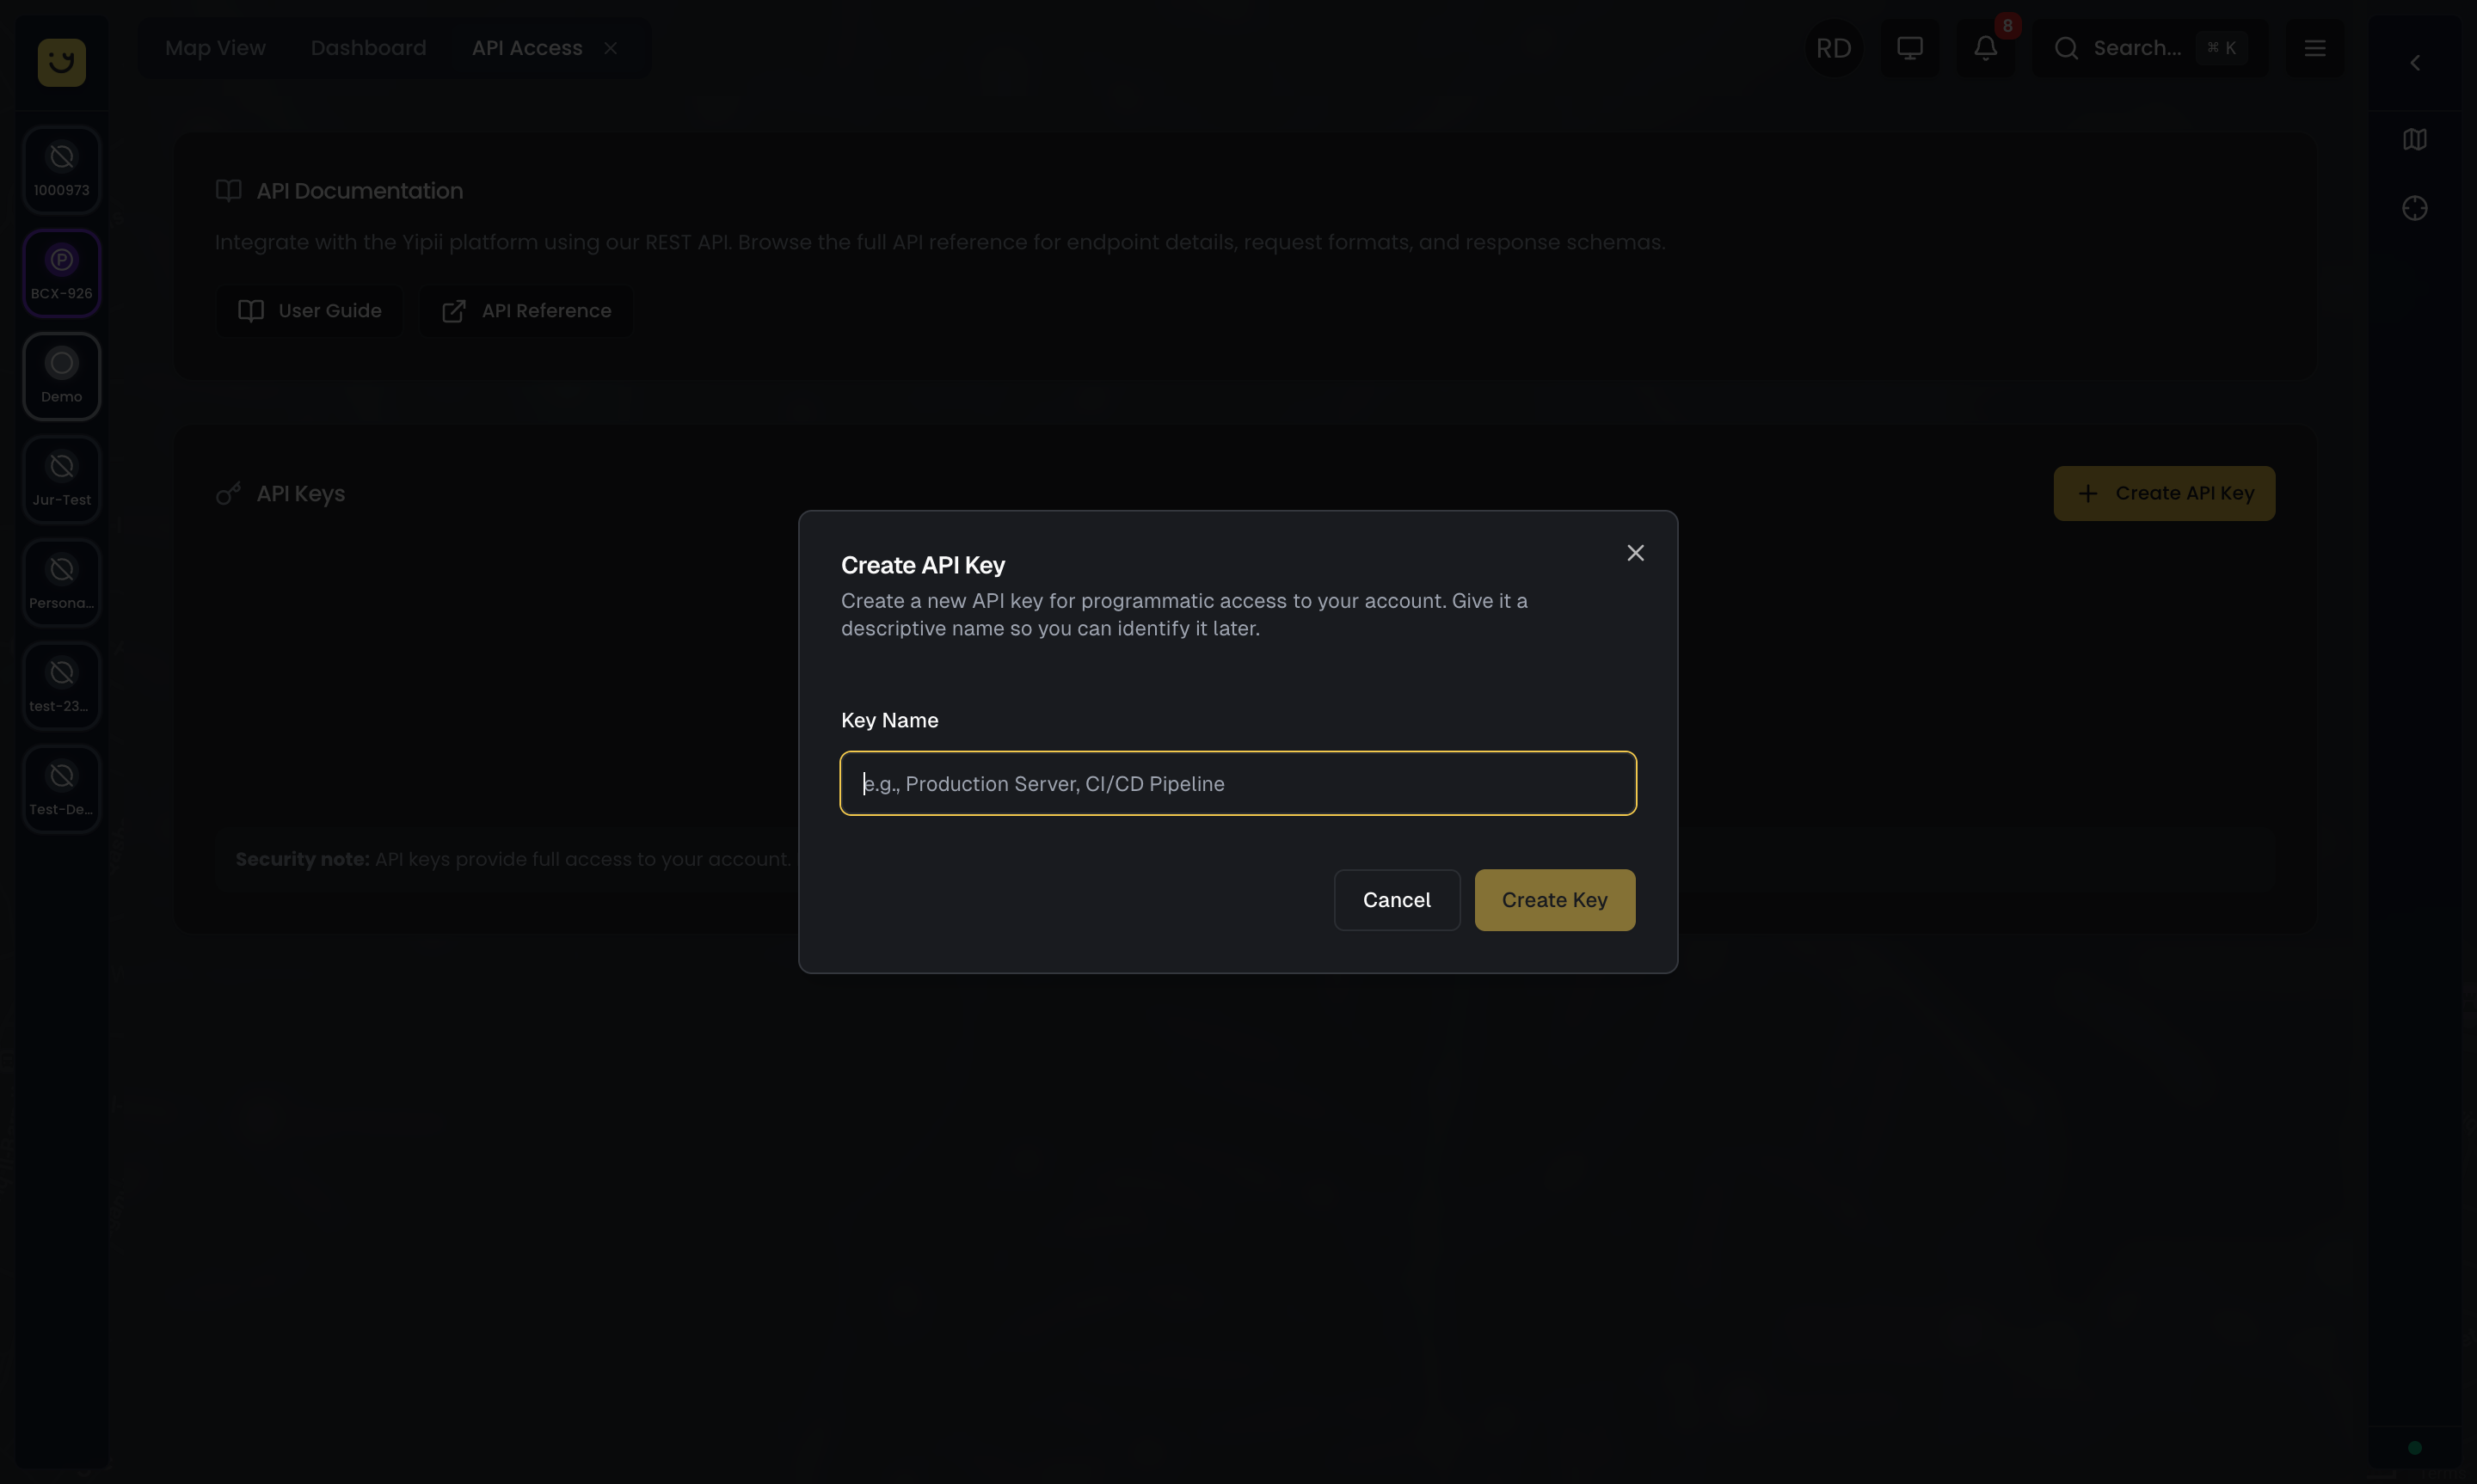
Step 2: Create a New Key
Click Create API Key to open the creation dialog. Enter a descriptive name that helps you identify the key's purpose later (e.g., "Reporting Integration", "Fleet Dashboard", "CI Pipeline").
Step 3: Copy Your Key
After creation, your API key is displayed once. Copy it immediately and store it securely — you will not be able to view it again.
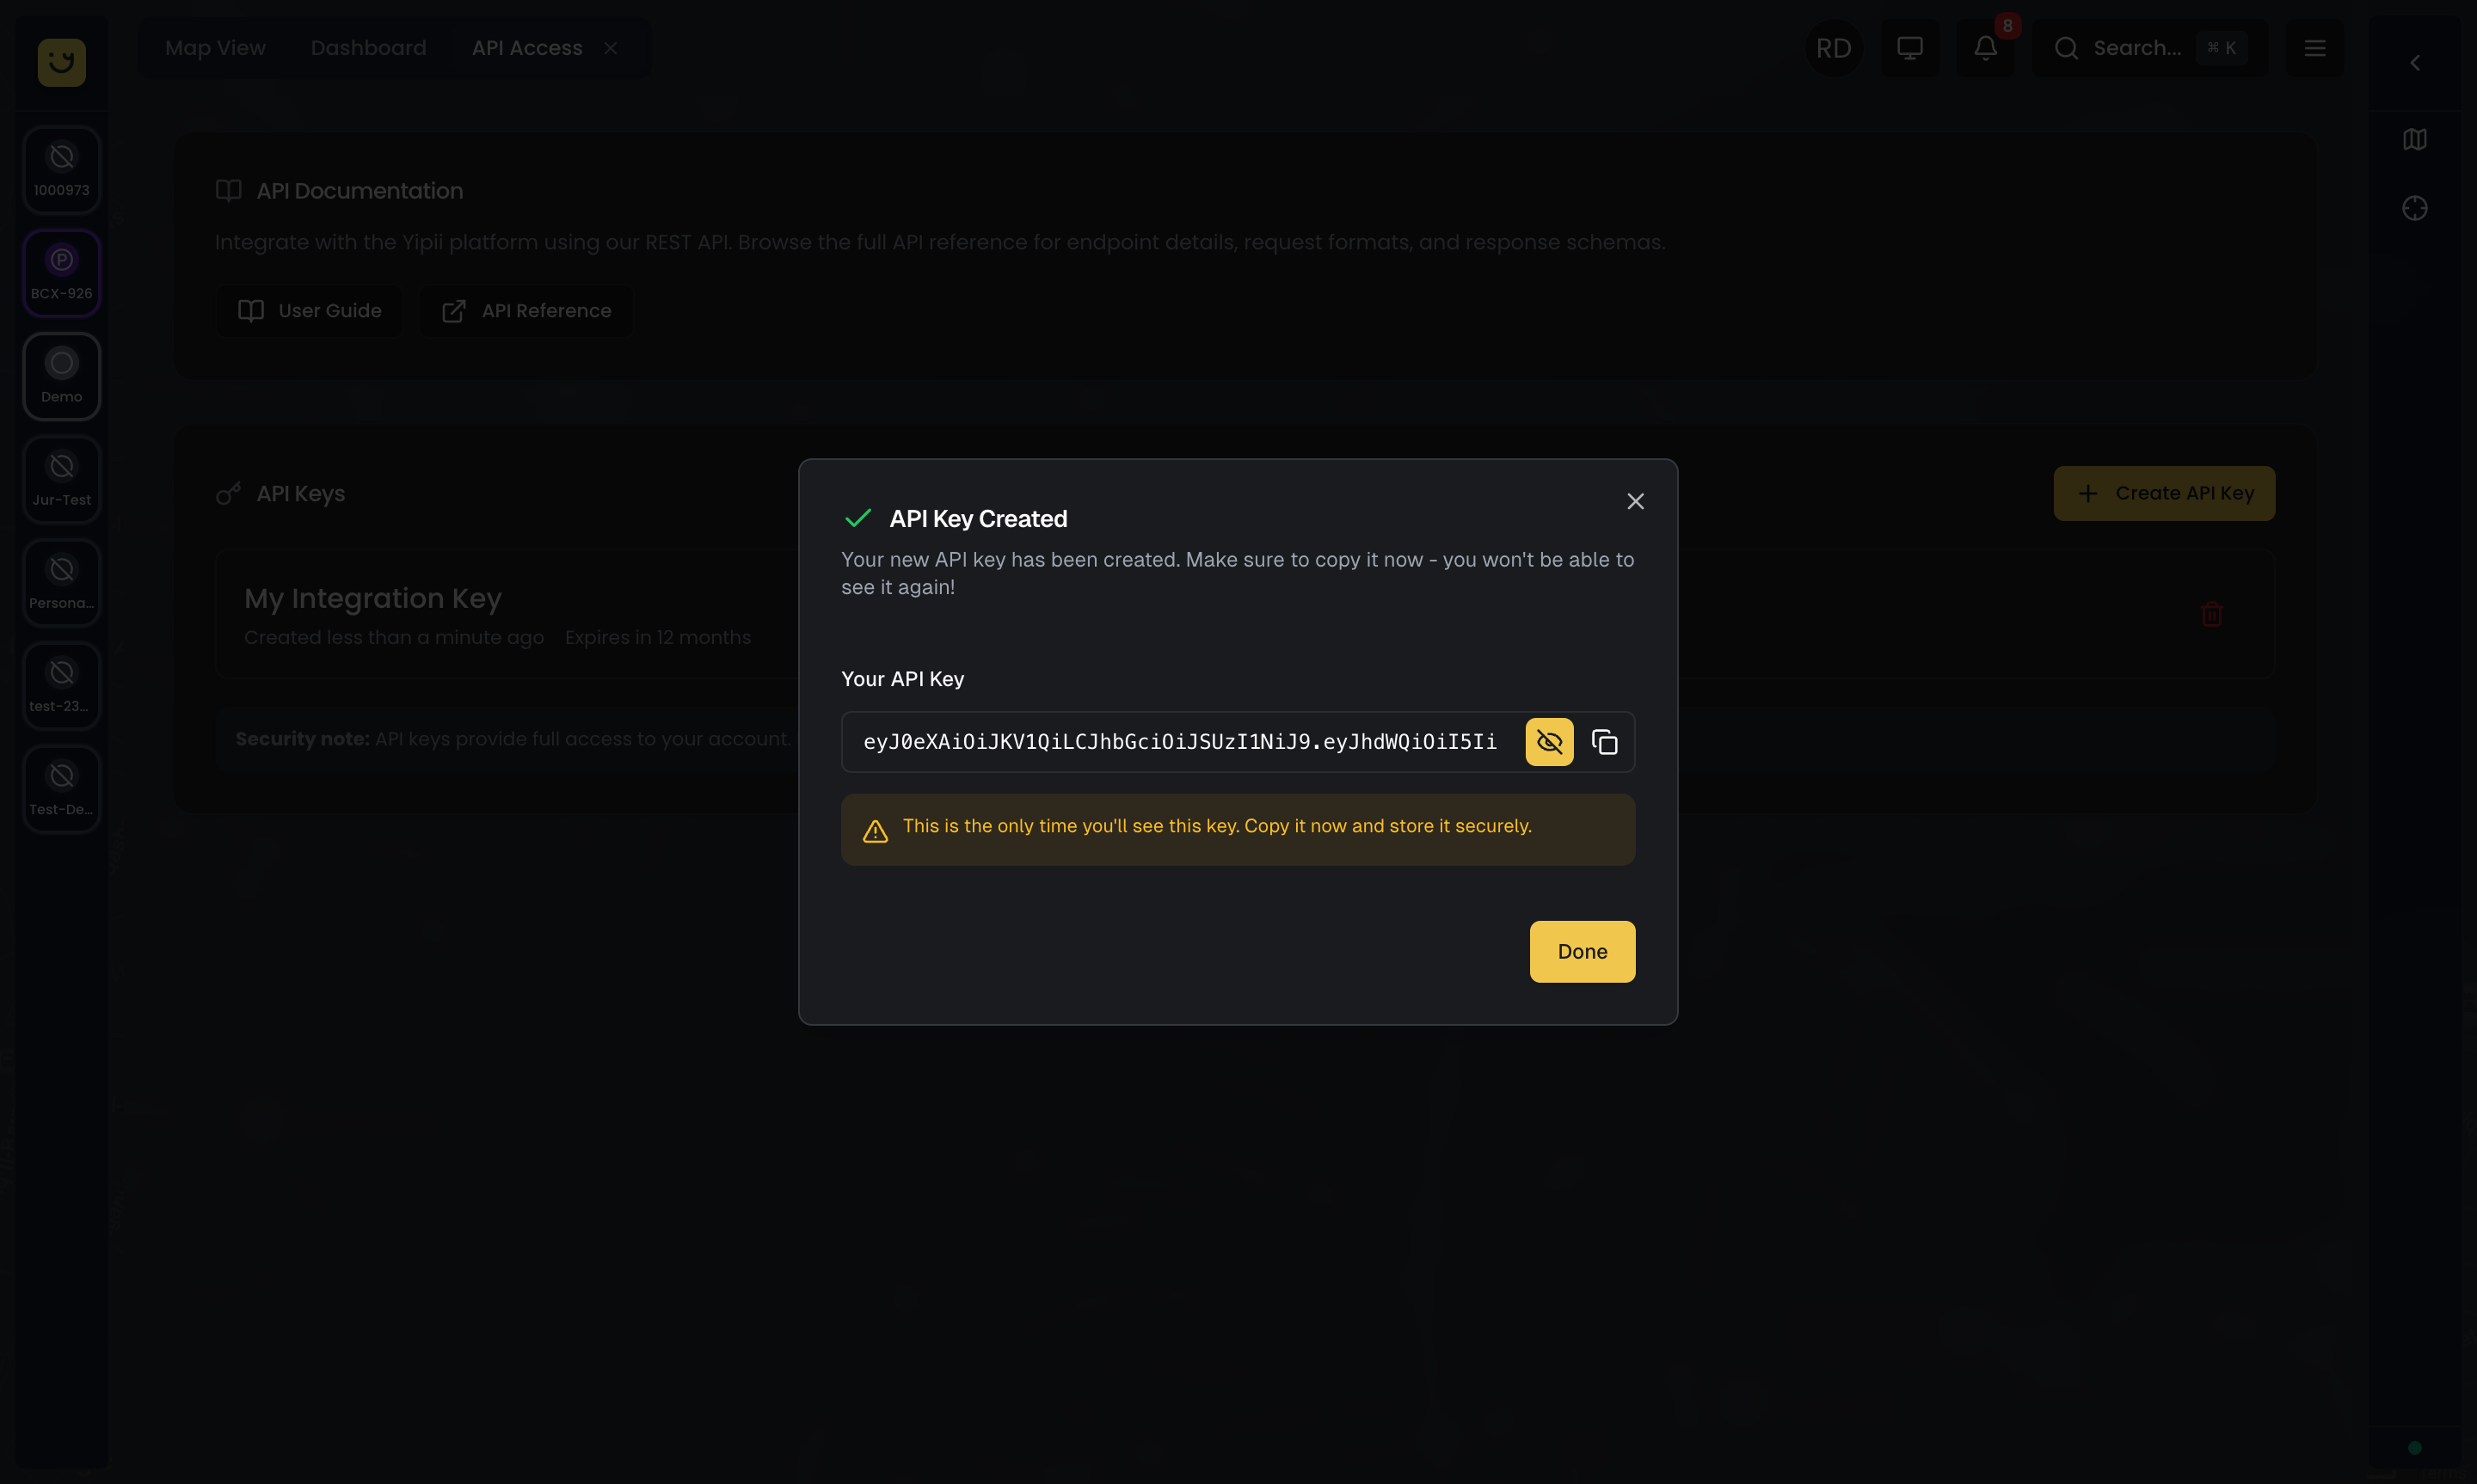
This is the only time the full key is shown. If you lose it, you'll need to create a new one.
Using Your API Key
API keys work as Bearer tokens. Include them in the Authorization header of all API requests:
cURL
JavaScript
Python
Managing Keys
Viewing Your Keys
All active API keys are listed in the API Access tab, showing the key name, creation date, and expiration.

Revoking a Key
To revoke a key, click the delete icon next to it. A confirmation dialog ensures you don't accidentally revoke an active key.
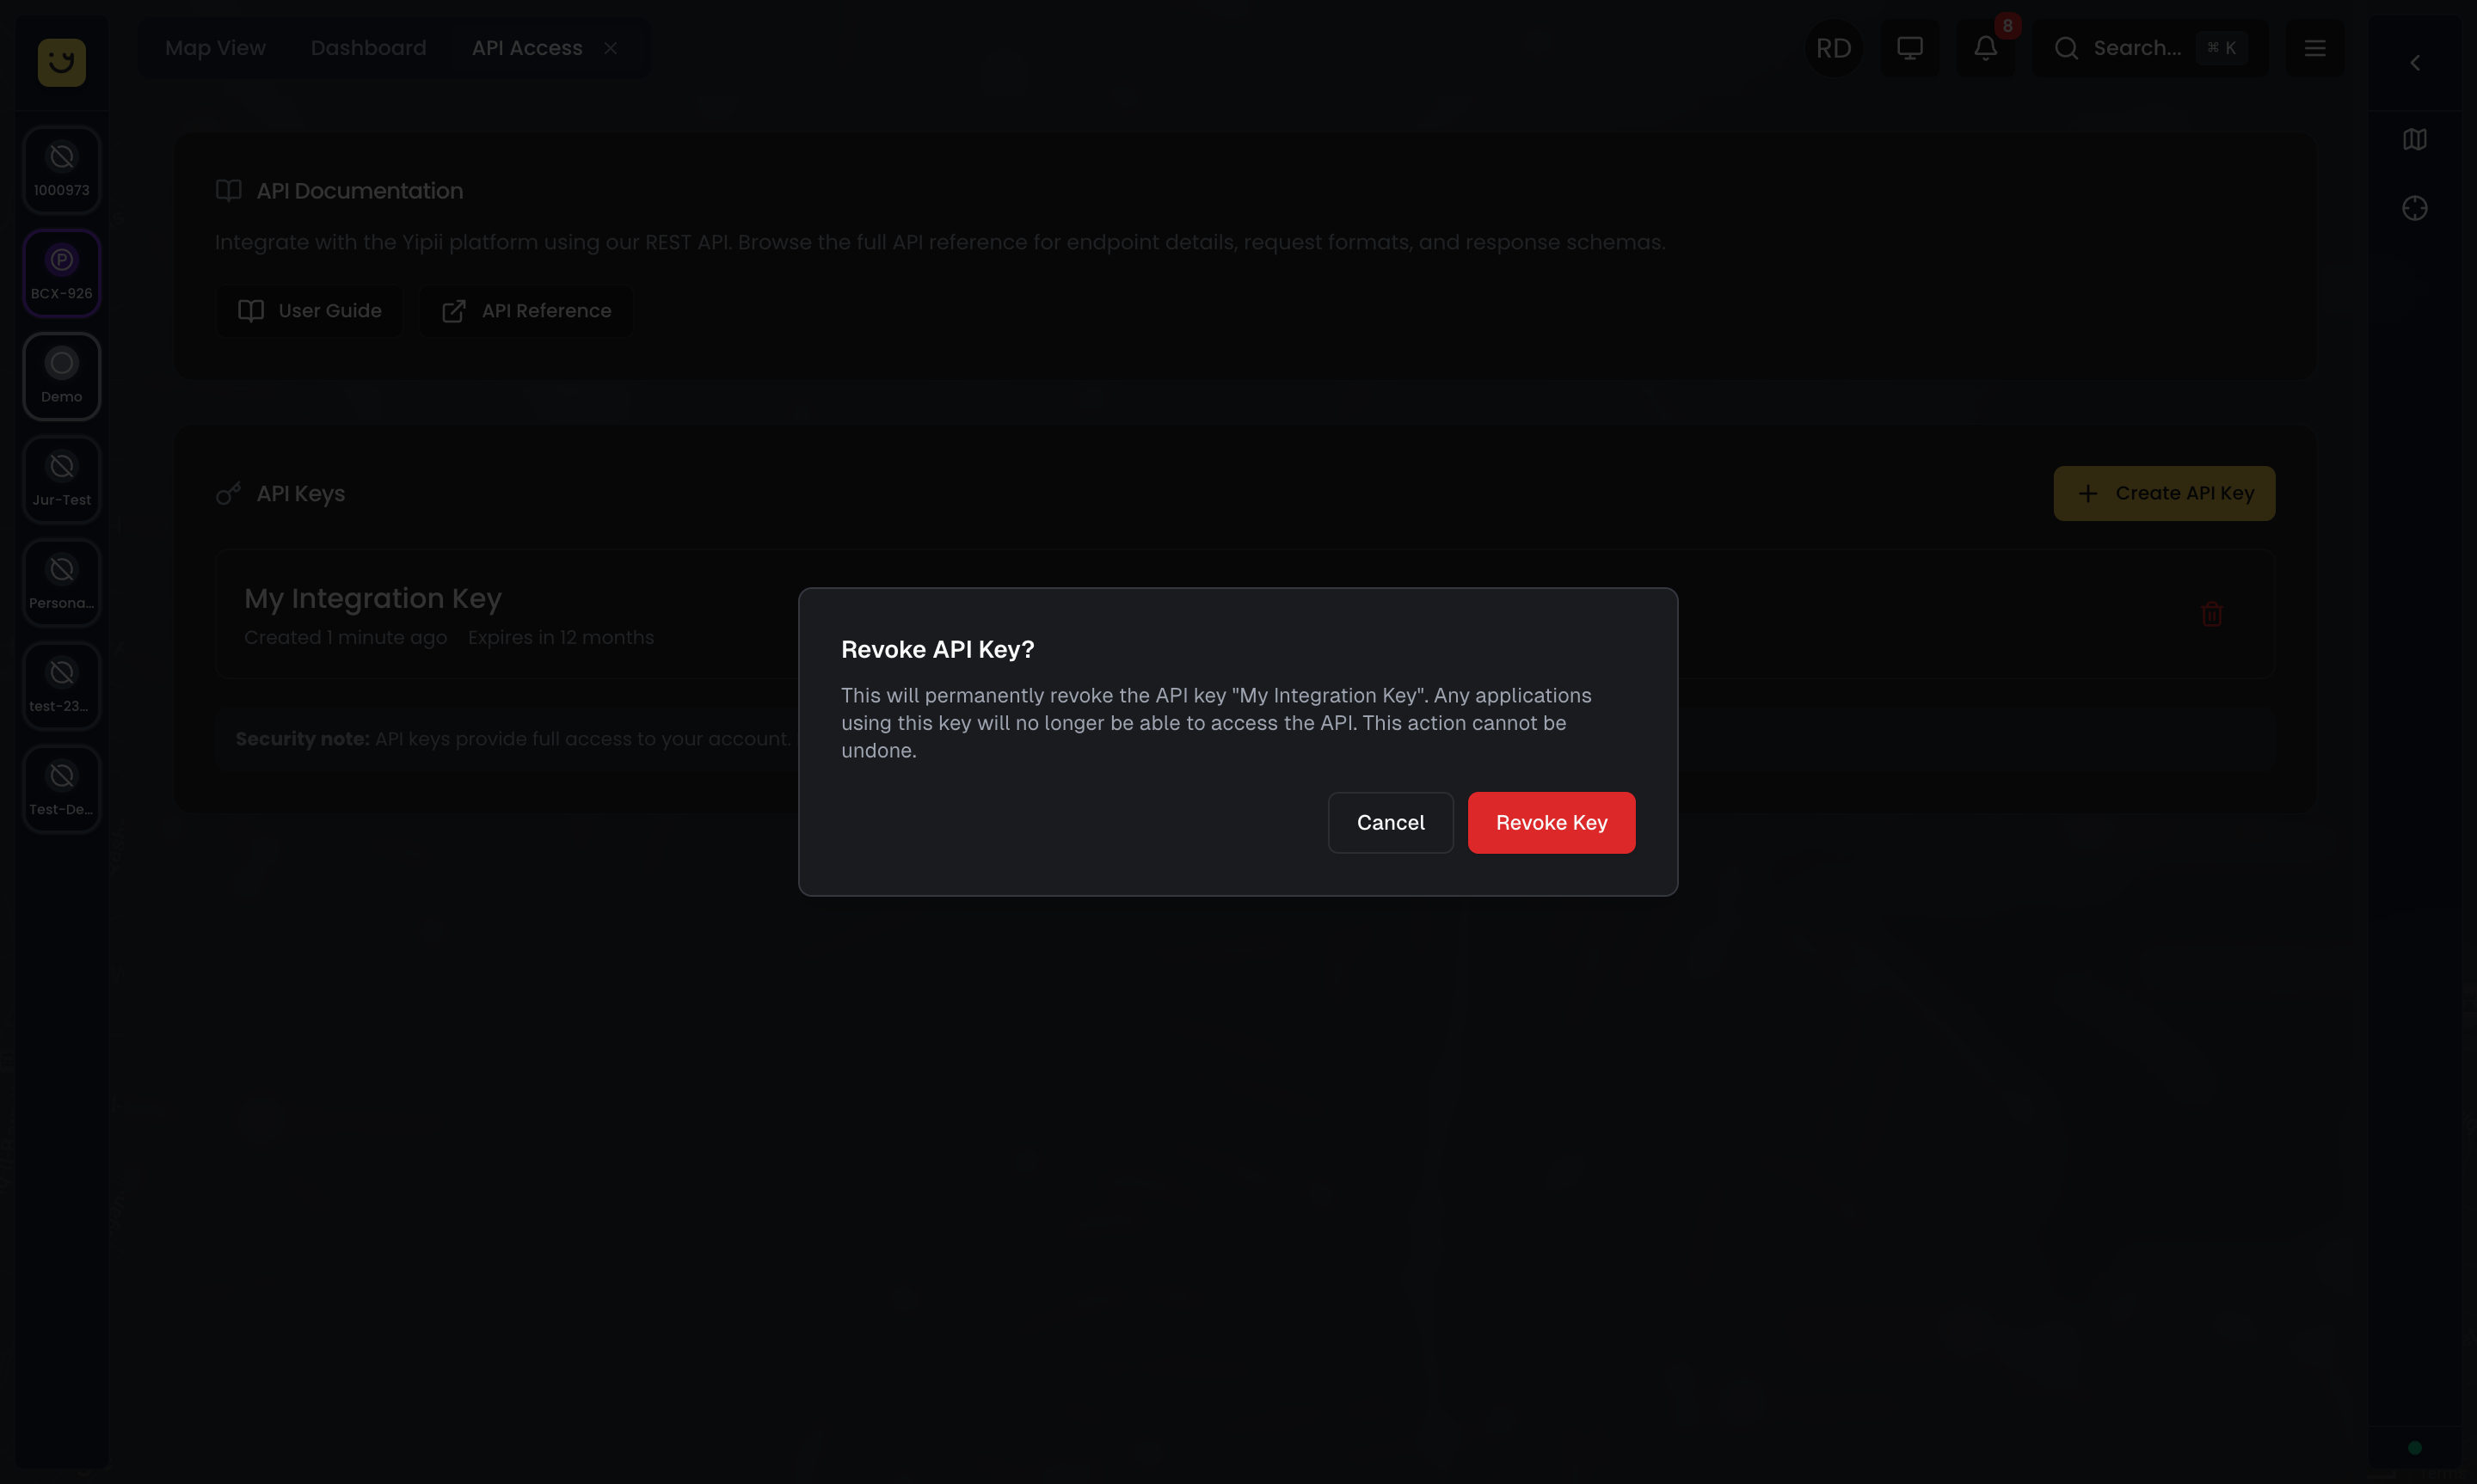
Revoking a key is permanent and immediate. Any application using the revoked key will lose API access instantly.
API Endpoints
You can also manage API keys programmatically:
| Method | Endpoint | Description |
|---|---|---|
GET | /api/{account_key}/api-keys | List all API keys |
POST | /api/{account_key}/api-keys | Create a new API key |
DELETE | /api/{account_key}/api-keys/{id} | Revoke an API key |
Create Key via API
Response:
List Keys
Revoke Key
Security Best Practices
API keys provide full access to your account. Treat them like passwords.
- Never commit keys to source control — Use environment variables or a secrets manager
- Use descriptive names — Name keys after their purpose so you know what to revoke
- Rotate periodically — Create new keys and revoke old ones on a regular schedule
- Revoke unused keys — If a key is no longer needed, revoke it immediately
- One key per integration — Use separate keys for each service or environment
Environment Variable Example
Next Steps
- Authentication — OAuth2 client credentials flow
- Quick Start Examples — Common API usage patterns
- IoT-BE API Reference — Full API documentation
Was this page helpful?