Settings
Configure your Yipii IoT profile, company details, map preferences, notifications, security, and billing from the tabbed Settings page.
Settings
The Settings page is your central hub for personalizing Yipii IoT. It is organized into six tabs — Profile, Company, Preferences, Notifications, Security, and Billing — so you can find and adjust exactly what you need without scrolling through a single long page.
Accessing Settings
Navigate to Settings from the main menu. On desktop, click Settings in the header navigation. On mobile, tap the hamburger menu and select Settings.
Profile
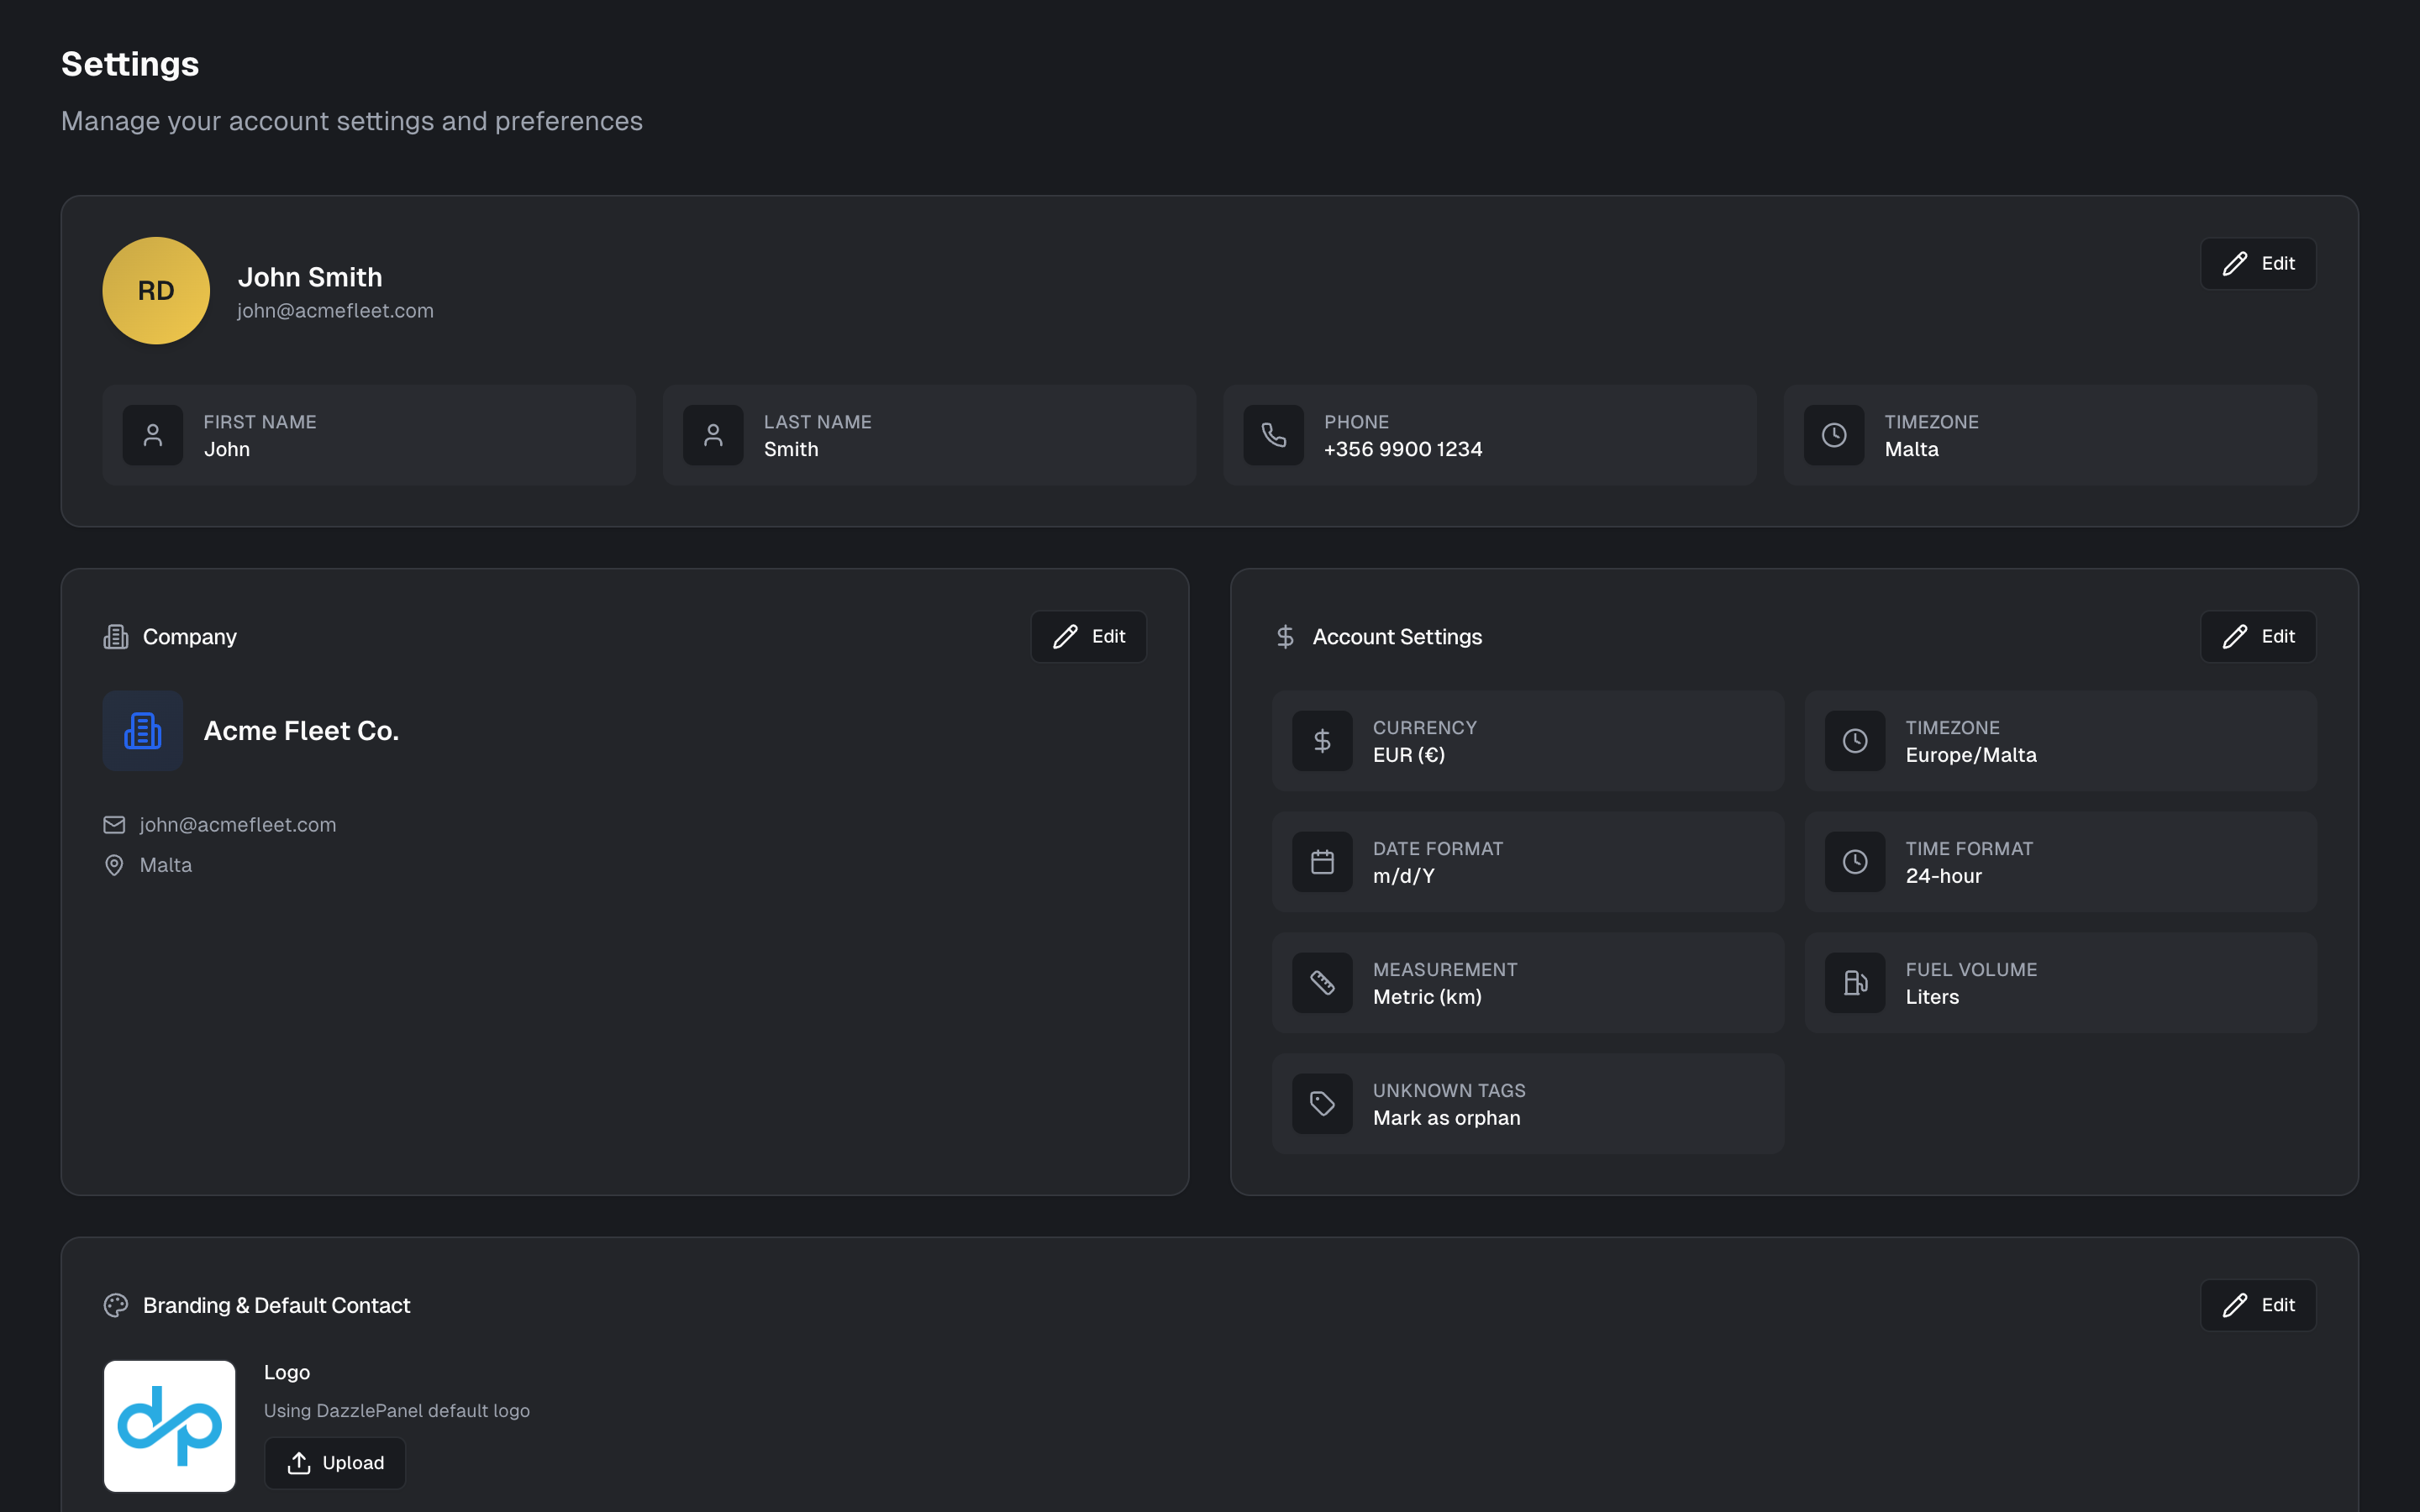
The Profile tab manages your personal identity and login credentials.
Avatar
Upload a profile photo by clicking the avatar area and selecting an image. Your photo is shown alongside your name in team views and activity logs.
Personal Information
Update your First Name and Last Name by clicking the Edit button next to the profile fields. These details identify you to other team members and appear in activity logs.
Timezone
Select your personal timezone from the dropdown (e.g., "Malta"). This controls how all timestamps appear across the platform for you — every trip start/end time, alert timestamp, and report date is displayed in your configured timezone.
If your fleet operates across multiple timezones, each user can set their own timezone so everyone sees times that are meaningful to them.
Your personal timezone (set here in Profile) controls how you see timestamps. The account-wide timezone (set in the Company tab) is the default for new users and for system-level operations like scheduled reports.
Login Emails
The Login Emails section lets you add alternate email addresses so you can sign in with Google SSO using any of your emails. Your primary email is displayed with a Primary badge.
To add an alternate email, type the address into the Add alternate email field and confirm. Once added, you can use that email to sign in via Google SSO without needing a separate account.
Company
The Company tab contains your organization-level settings. These apply across your entire account and are visible to all team members.
Company Information
At the top of the tab you will see your company name, email address, and location. Click the Edit button to update these details.
Branding and Default Contact
Set your Primary Color by entering a hex code (e.g., #E8C547) or using the color picker. This color is applied throughout the platform to match your brand identity. Click the Edit button to change it.
For advanced branding options including logos and full color customization, see the dedicated Branding page.
Account Settings
Click the Edit button to configure the following account-wide defaults:
| Setting | Description | Example |
|---|---|---|
| Currency | The currency used for costs, fuel prices, and billing displays | EUR |
| Timezone | Account-wide default timezone for new users and system operations | Europe/Malta |
| Date Format | How dates are displayed across the platform | Y-m-d |
| Time Format | 12-hour or 24-hour clock | 24-hour |
| Measurement | Metric (km) or Imperial (mi) for distance and speed | Metric km |
| Fuel Volume | Unit of measure for fuel entries and consumption reports | Liters |
| Unknown Tags | How the system handles unrecognized Bluetooth beacons | Mark as orphan |
Fleet Home Locations
Fleet Home Locations let you save your key operational sites — headquarters, offices, parking lots, depots, and garages — so they appear as reference points on the Live Map and can be used by other fleet features.
Why use Home Locations?
- Visual context on the map — see at a glance whether vehicles are at base, at a client site, or in transit.
- Map centering — saved locations can serve as quick map centers when you need to jump to a known site.
- Fleet feature integration — home locations are referenced by other features that need to know where your operational sites are.
Adding a Home Location
- Click the Add Location button (or Add your first location if none exist yet).
- A form appears with an interactive map and a Google Places autocomplete search bar.
- Type an address into the search bar or click directly on the map to place a pin.
- Enter a Name for the location (e.g., "Main Office", "Warehouse B", "Airport Parking").
- Choose a Colour from the selector — this determines the marker colour on the map.
- Save the location.
If no home locations have been added, the section shows an empty state: "No home locations set. Add your HQ, offices, parkings, or depots to use them as map centers and reference points for fleet features."
Showing Home Locations on the Map
Home locations do not appear on the Live Map by default. To display them, enable the Home Locations toggle in the Preferences tab. When enabled, each saved location appears as a colored marker on the map.
Preferences
The Preferences tab controls how the Live Map looks and behaves. These are per-user settings, so each team member can configure the map to suit their workflow without affecting anyone else.
Map Display
Choose how vehicles appear on the live map. Three styles are available as radio options:
- Classic — Colored circle with a vehicle icon and direction arrow. This is the default style and works well for everyday fleet monitoring.
- Minimal — Small colored dot with a direction arrow. Reduces visual clutter when you have many vehicles on screen.
- Detailed — Top-down vehicle image showing the original vehicle style. Provides the most visual detail per vehicle.
3D Buildings
Toggle on to render 3D building geometry and enable a tilted map perspective. This can help dispatchers orient themselves in dense urban areas.
Trail Breadcrumbs
Toggle on to display a trail of recent positions behind moving vehicles. The breadcrumb trail gives you an at-a-glance sense of each vehicle's recent path and direction of travel without opening a full trip history.
Home Locations
Toggle on to show your saved fleet locations (HQ, offices, parkings) with radius markers on the map. This provides quick spatial context for where your vehicles are relative to key sites.
Home locations are configured in the Company tab. This toggle only controls whether they are visible on the map.
Vehicle Photos
Toggle on to display vehicle photos on asset cards and map popups. When a photo has been set for an asset, it will appear alongside the vehicle's data in the sidebar cards and when you click a vehicle on the map.
About
The About section at the bottom of the Preferences tab shows:
- App Version — The current build version (git hash) of the application.
- Force Update — If the app feels stuck or outdated, click the Force Update button to clear cached data and reload. This is useful when a new version has been deployed but your browser is still serving a cached version.
Notifications
The Notifications tab controls which alerts you receive and through which channels. Configuring the right balance prevents alert fatigue while ensuring you never miss a critical event.
Push Notifications
Push notifications deliver alerts directly to your device even when the app is closed. Click the Enable button to grant notification permissions to your browser or device.
Unlike email or SMS, push notifications are free and unlimited. See the dedicated Push Notifications page for full setup instructions and troubleshooting.
Email Notifications
Choose which email notifications you would like to receive. Each type has its own toggle:
- Maintenance Alerts — Scheduled maintenance start and end notifications. Toggle this on to receive emails when a service reminder or maintenance window is approaching or has completed.
- Release Notes and Updates — New features, improvements, and product updates. Toggle this on to stay informed about platform changes.
WhatsApp (Maintenance)
Receive maintenance alerts via WhatsApp in addition to (or instead of) email.
- Toggle the WhatsApp notifications switch on.
- Enter your phone number in international format (e.g.,
+356 1234 5678), including the country code. - Click Save.
The phone number you enter is used exclusively for WhatsApp maintenance alerts. Include the country code (e.g., +356 for Malta, +44 for UK).
Guided Tour
If you are new to Yipii IoT or want a refresher, click the Take a Tour button to launch an interactive guided walkthrough of the interface. The tour highlights key features and navigation elements so you can get productive quickly.
Security
The Security tab manages your account protection settings.
Change Password
Click the Change button to update your password. You will be prompted to enter your current password for verification, then your new password twice to confirm. The new password takes effect immediately.
See the Forgot Password guide if you cannot remember your current password.
Device PIN
Use a 4-digit PIN to sign in quickly on your current device without entering your full password each time.
- If no PIN is set, the section displays: "No PIN set on this device" with a prompt to set one up.
- To set a PIN, enter a 4-digit code in the New PIN field, confirm it in the Confirm PIN field, and click Set PIN.
- The PIN is stored per device — setting a PIN on your laptop does not affect your phone, and vice versa.
A Device PIN provides convenience, not additional security. Anyone with physical access to your device can sign in using the PIN. Do not set a PIN on shared or public computers.
Trusted Devices
The Trusted Devices section lists all devices that have accessed your account. Each entry shows:
- Device name — Browser and operating system (e.g., "Chrome on macOS").
- New badge — Appears on recently added devices.
- Last active — How recently the device was used (e.g., "2 minutes ago").
- IP address — The network address the device connected from.
- Revoke button — Remove access for that specific device.
If you see a device you do not recognize, click Revoke immediately and change your password.
Use the Sign out all other devices button to revoke every session except your current one. This is useful if you suspect unauthorized access or if you have signed in on a device you no longer control.
Billing
The Billing tab provides access to your subscription plan information and upgrade options. For full details on plans, usage tracking, payment methods, and invoices, see the dedicated Billing page.
What's Next?
- Billing — Manage your subscription plan and payment methods
- Branding — Customize the platform with your company logo and colors
- Push Notifications — Detailed push notification setup and troubleshooting
- User Management — Add and manage team members
- Alerts — Configure the notifications that your preferences control
Frequently Asked Questions
Can I change my primary email address?
Email changes require support assistance for security reasons. Contact support@yipii.com from your current registered email address to request the change. You can, however, add alternate login emails yourself from the Profile tab.
Does my timezone affect reports?
Yes. All timestamps in reports use your configured timezone. If you generate a daily trip report, trips are grouped by day according to your timezone. If your fleet operates across timezones, choose the timezone of your primary operations center.
Can I have different settings per user?
Yes. Profile, Preferences, and Notifications settings are configured per user. When you add team members, each person can set their own preferences without affecting anyone else. Company and Billing settings apply account-wide.
What is the difference between the three map display styles?
Classic shows a colored circle with a vehicle icon and direction arrow — it works well for most use cases. Minimal uses a small dot to reduce visual clutter when monitoring large fleets. Detailed renders a top-down vehicle image for maximum visual fidelity.
What happens if I revoke a trusted device?
The session on that device is terminated immediately. The next time someone tries to use the app on that device, they will need to sign in again with their full credentials (or Device PIN if one is set).
Was this page helpful?