Geofencing
Create virtual boundaries and get alerts when vehicles enter or exit
Geofencing
Geofences are virtual boundaries on the map. When a vehicle enters or exits a geofence, Yipii IoT can send you alerts, log the event, and generate reports. Use geofences to monitor customer sites, restricted areas, or track deliveries.
What is a Geofence?
A geofence is a virtual perimeter around a real-world geographic area. Think of it as an invisible fence that triggers actions when vehicles cross it.
Common uses:
- Customer delivery locations
- Warehouses and depots
- Construction sites
- No-go zones or restricted areas
- School zones
- Home base/garage locations
Geofence Types
Yipii IoT supports four geofence shapes to match any location:
Circle
A circular zone with a center point and radius.
Best for:
- Single addresses (customer locations)
- Points of interest
- Parking areas
- Quick setup for simple locations
How to create:
- Click the center point on the map
- Set the radius (meters)
- The circle expands from the center
Polygon
A custom multi-sided shape defined by multiple points.
Best for:
- Irregular property boundaries
- Industrial complexes
- Farms and large land areas
- Exclusion zones with precise borders
How to create:
- Click each corner point on the map
- Connect at least 3 points
- Close the shape by clicking the first point again
Polyline (Route Corridor)
A line-based boundary with a buffer distance on each side.
Best for:
- Road corridors
- Delivery routes
- Pipeline or utility corridors
- Linear infrastructure
How to create:
- Draw the route line on the map
- Set the corridor width (buffer distance)
- The zone extends on both sides of the line
Point (Arrival Zone)
A single location with a trigger radius.
Best for:
- Delivery destinations
- Pickup points
- Arrival notifications
- Time-on-site tracking
How to create:
- Place a marker at the exact location
- Set a trigger radius
- Smaller radius = more precise arrival detection
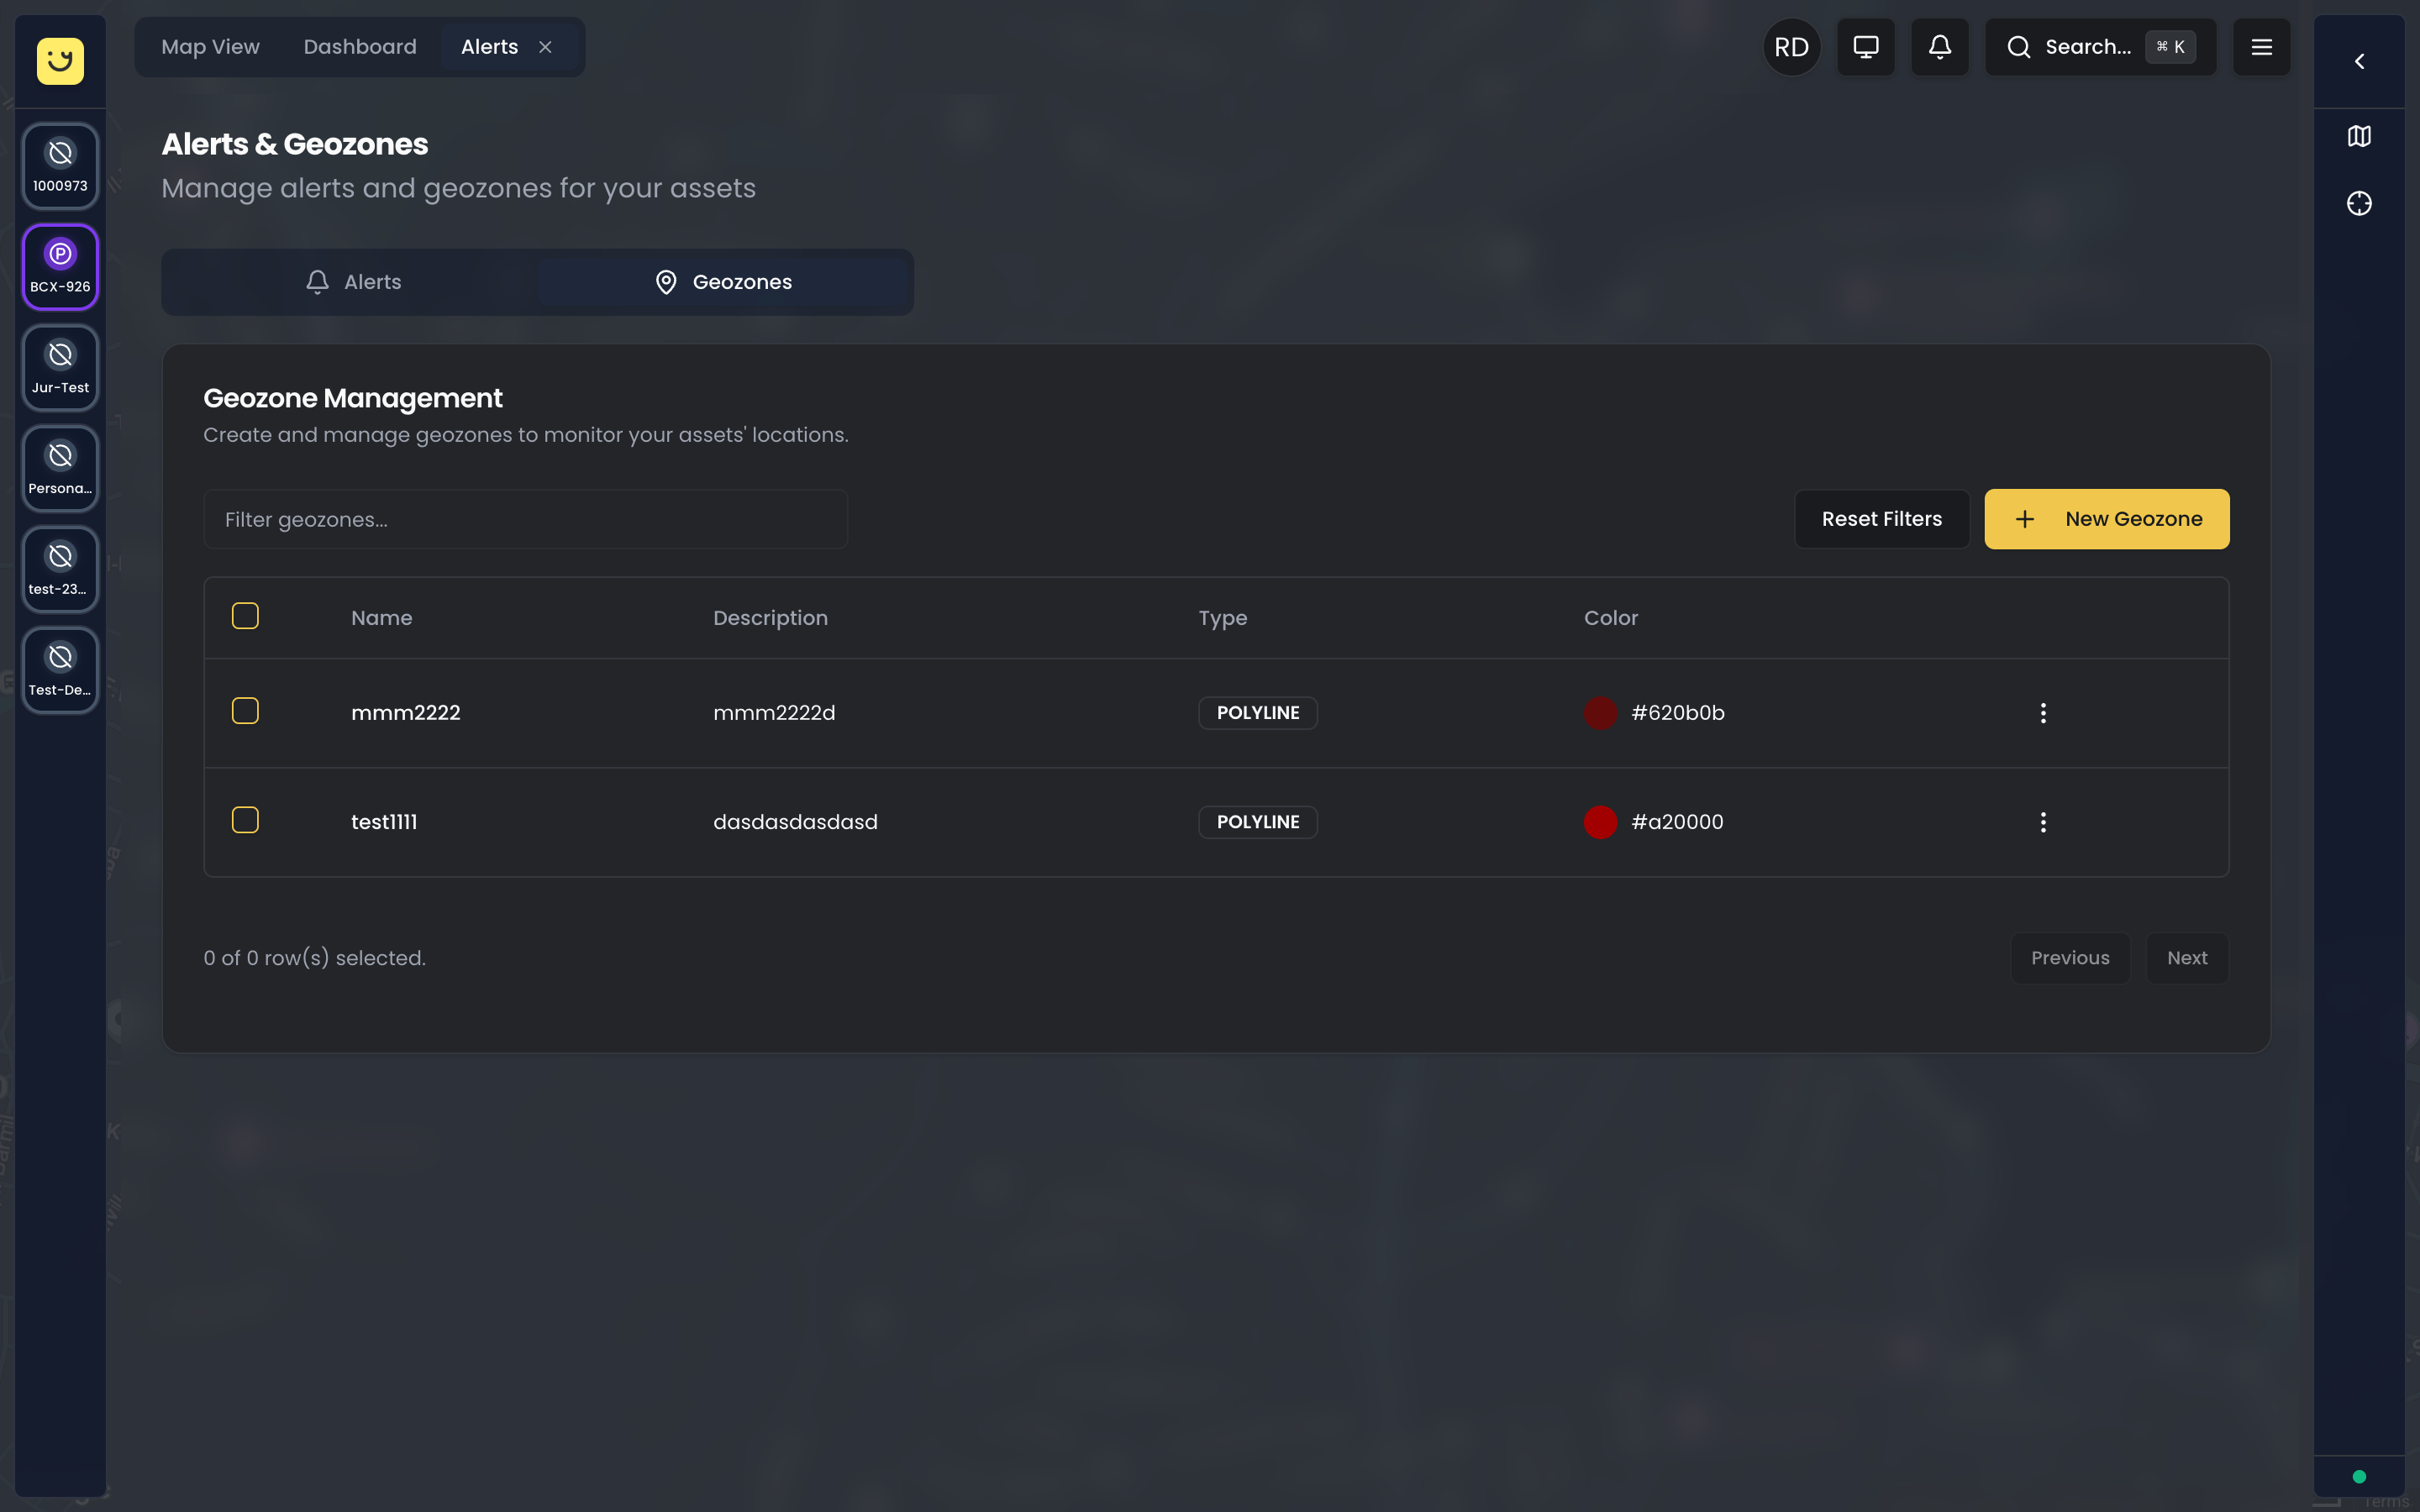
Creating a Geofence
Step-by-Step Guide
- Navigate to the geofence management area from the Operations view
- Click Create Geofence
- Enter a Name (e.g., "Customer ABC - Melbourne")
- Select the Type (Circle, Polygon, Polyline, Point)
- Draw the boundary on the map
- Set the Color for visual identification
- Configure Alerts (optional):
- Entry alerts
- Exit alerts
- Dwell time alerts
- Click Save
Drawing Tips
- Zoom in for precision when drawing
- Use satellite view to see actual buildings and boundaries
- Start with a larger area and refine - you can edit later
- For circles, choose appropriate radius:
- Street address: 50-100 meters
- Parking lot: 100-200 meters
- Industrial site: 200-500 meters
Geofence Alerts
Configure what happens when vehicles interact with geofences:
Entry Alert
Triggered when a vehicle enters the geofence.
Use cases:
- Customer arrival notification
- Unauthorized area access
- Driver reached job site
Exit Alert
Triggered when a vehicle leaves the geofence.
Use cases:
- Departure from base
- Left customer site
- Asset removed from authorized area
Dwell Time Alert
Triggered when a vehicle stays inside for longer than specified.
Use cases:
- Long stop at customer (possible issue)
- Extended time at fuel station
- Vehicle abandoned at location
Setting Up Geofence Alerts
- Open the geofence settings
- Go to the Alerts tab
- Enable the alert types you need:
- Notify on entry: Yes/No
- Notify on exit: Yes/No
- Dwell time threshold: Minutes before alert
- Select notification channels:
- SMS
- Save your settings
Arrival Detection
For delivery and service operations, use geofences to track:
Proof of Arrival
When a vehicle enters a customer geofence:
- Timestamp is recorded
- Location is logged
- Dwell time tracking begins
This creates an auditable record for:
- Delivery confirmation
- Service call verification
- Job site attendance
Arrival-Based Link Expiry
Public tracking links can expire when a vehicle arrives:
- Create a tracking link for a delivery
- Set expiry: "On arrival at geofence"
- Select the destination geofence
- Customer can track until delivery arrives
- Link automatically expires on arrival
Managing Geofences
Editing a Geofence
- Go to Geofences list
- Click on the geofence name
- Modify the boundary, settings, or alerts
- Click Save
Changes take effect immediately for all future events.
Deleting a Geofence
- Open the geofence settings
- Click Delete
- Confirm deletion
Note: Deleting a geofence removes it from alerts and reports. Historical data showing past visits is preserved.
Organizing Geofences
Use colors and naming conventions to organize:
By type:
- Green: Customer locations
- Blue: Own facilities
- Red: Restricted/no-go zones
- Yellow: Temporary sites
By region:
- Prefix with region code: "MEL-Customer ABC"
- Group by city or territory
Geofence Reports
Analyze geofence activity with these reports:
Geofence Visit Report
Shows all entries and exits for selected geofences:
- Vehicle name
- Entry time
- Exit time
- Duration inside
- Distance traveled inside
Point Visits Report
For single-point geofences, shows:
- All visits to specific locations
- Time spent at each visit
- Pattern analysis (frequency, typical duration)
How to Generate
- Go to Reports
- Select Geofence or Point Visits
- Choose date range
- Select specific geofences or all
- Select vehicles
- Click Generate
Best Practices
Size Your Geofences Appropriately
Too small:
- Vehicles may not trigger entry if GPS drifts
- False exits from GPS fluctuation
Too large:
- Premature triggers before actual arrival
- Less precise timing data
Recommended sizes:
- Street address: 50-100m radius
- Building/facility: Match actual boundary
- City area: 1-5km radius
Use Descriptive Names
Good: "ABC Transport - Sydney Warehouse - Loading Dock B" Bad: "Zone 1"
Include:
- Customer or site name
- City/location
- Purpose (optional)
Review Regularly
Geofences may need updates when:
- Customers move locations
- New sites are added
- Boundaries change
- Operational areas shift
Combine with Alerts Thoughtfully
Don't over-alert:
- Entry + exit + dwell can be overwhelming
- Start with what's essential
- Expand alert coverage based on actual needs
Common Questions
How accurate is geofence triggering?
GPS accuracy is typically 3-10 meters. For reliable triggering:
- Use geofences at least 50 meters radius
- Allow for GPS drift at boundaries
- Consider adding a small buffer to your intended area
Can I import geofences from a file?
Bulk geofence import is not currently available through the web interface. Create geofences individually using the drawing tools, or contact support@yipii.com for assistance with bulk setup.
How many geofences can I create?
There's no fixed limit. However, for best performance:
- Keep active geofences under 500
- Archive unused geofences
- Consolidate overlapping zones where possible
Do geofences work when vehicles are offline?
Geofence events are calculated when the tracker sends data. If a vehicle enters a geofence while offline:
- The entry is recorded when data arrives
- Timestamp reflects actual entry time (from GPS data)
- Alert may be delayed until data is received
What's Next?
- Alerts — Configure notifications for geofence entry, exit, and dwell time events
- Reports — Generate geofence visit and point visit reports
- Public Tracking Links — Use arrival-based geofences to auto-expire customer tracking links
- Assets — Manage the vehicles monitored by your geofences
Was this page helpful?