Vehicle Returns to Garage
From driver inspection through work order completion — a full end-to-end fleet operations walkthrough
Vehicle Returns to Garage
This walkthrough covers the most common end-to-end fleet operation: a driver returns a vehicle, reports a problem on a pre-trip walkaround, the team turns that into a work order, parts and labor are logged, and the work order is closed out with a complete cost record.
Every screenshot below shows the same vehicle and inspection captured in both desktop and mobile views — flip the tab on each step to see how the page renders on either form factor.
Each step takes the form a real user would take. There are no admin tricks or hidden URLs — everything below works from the standard Mobility sidebar.
What you'll do
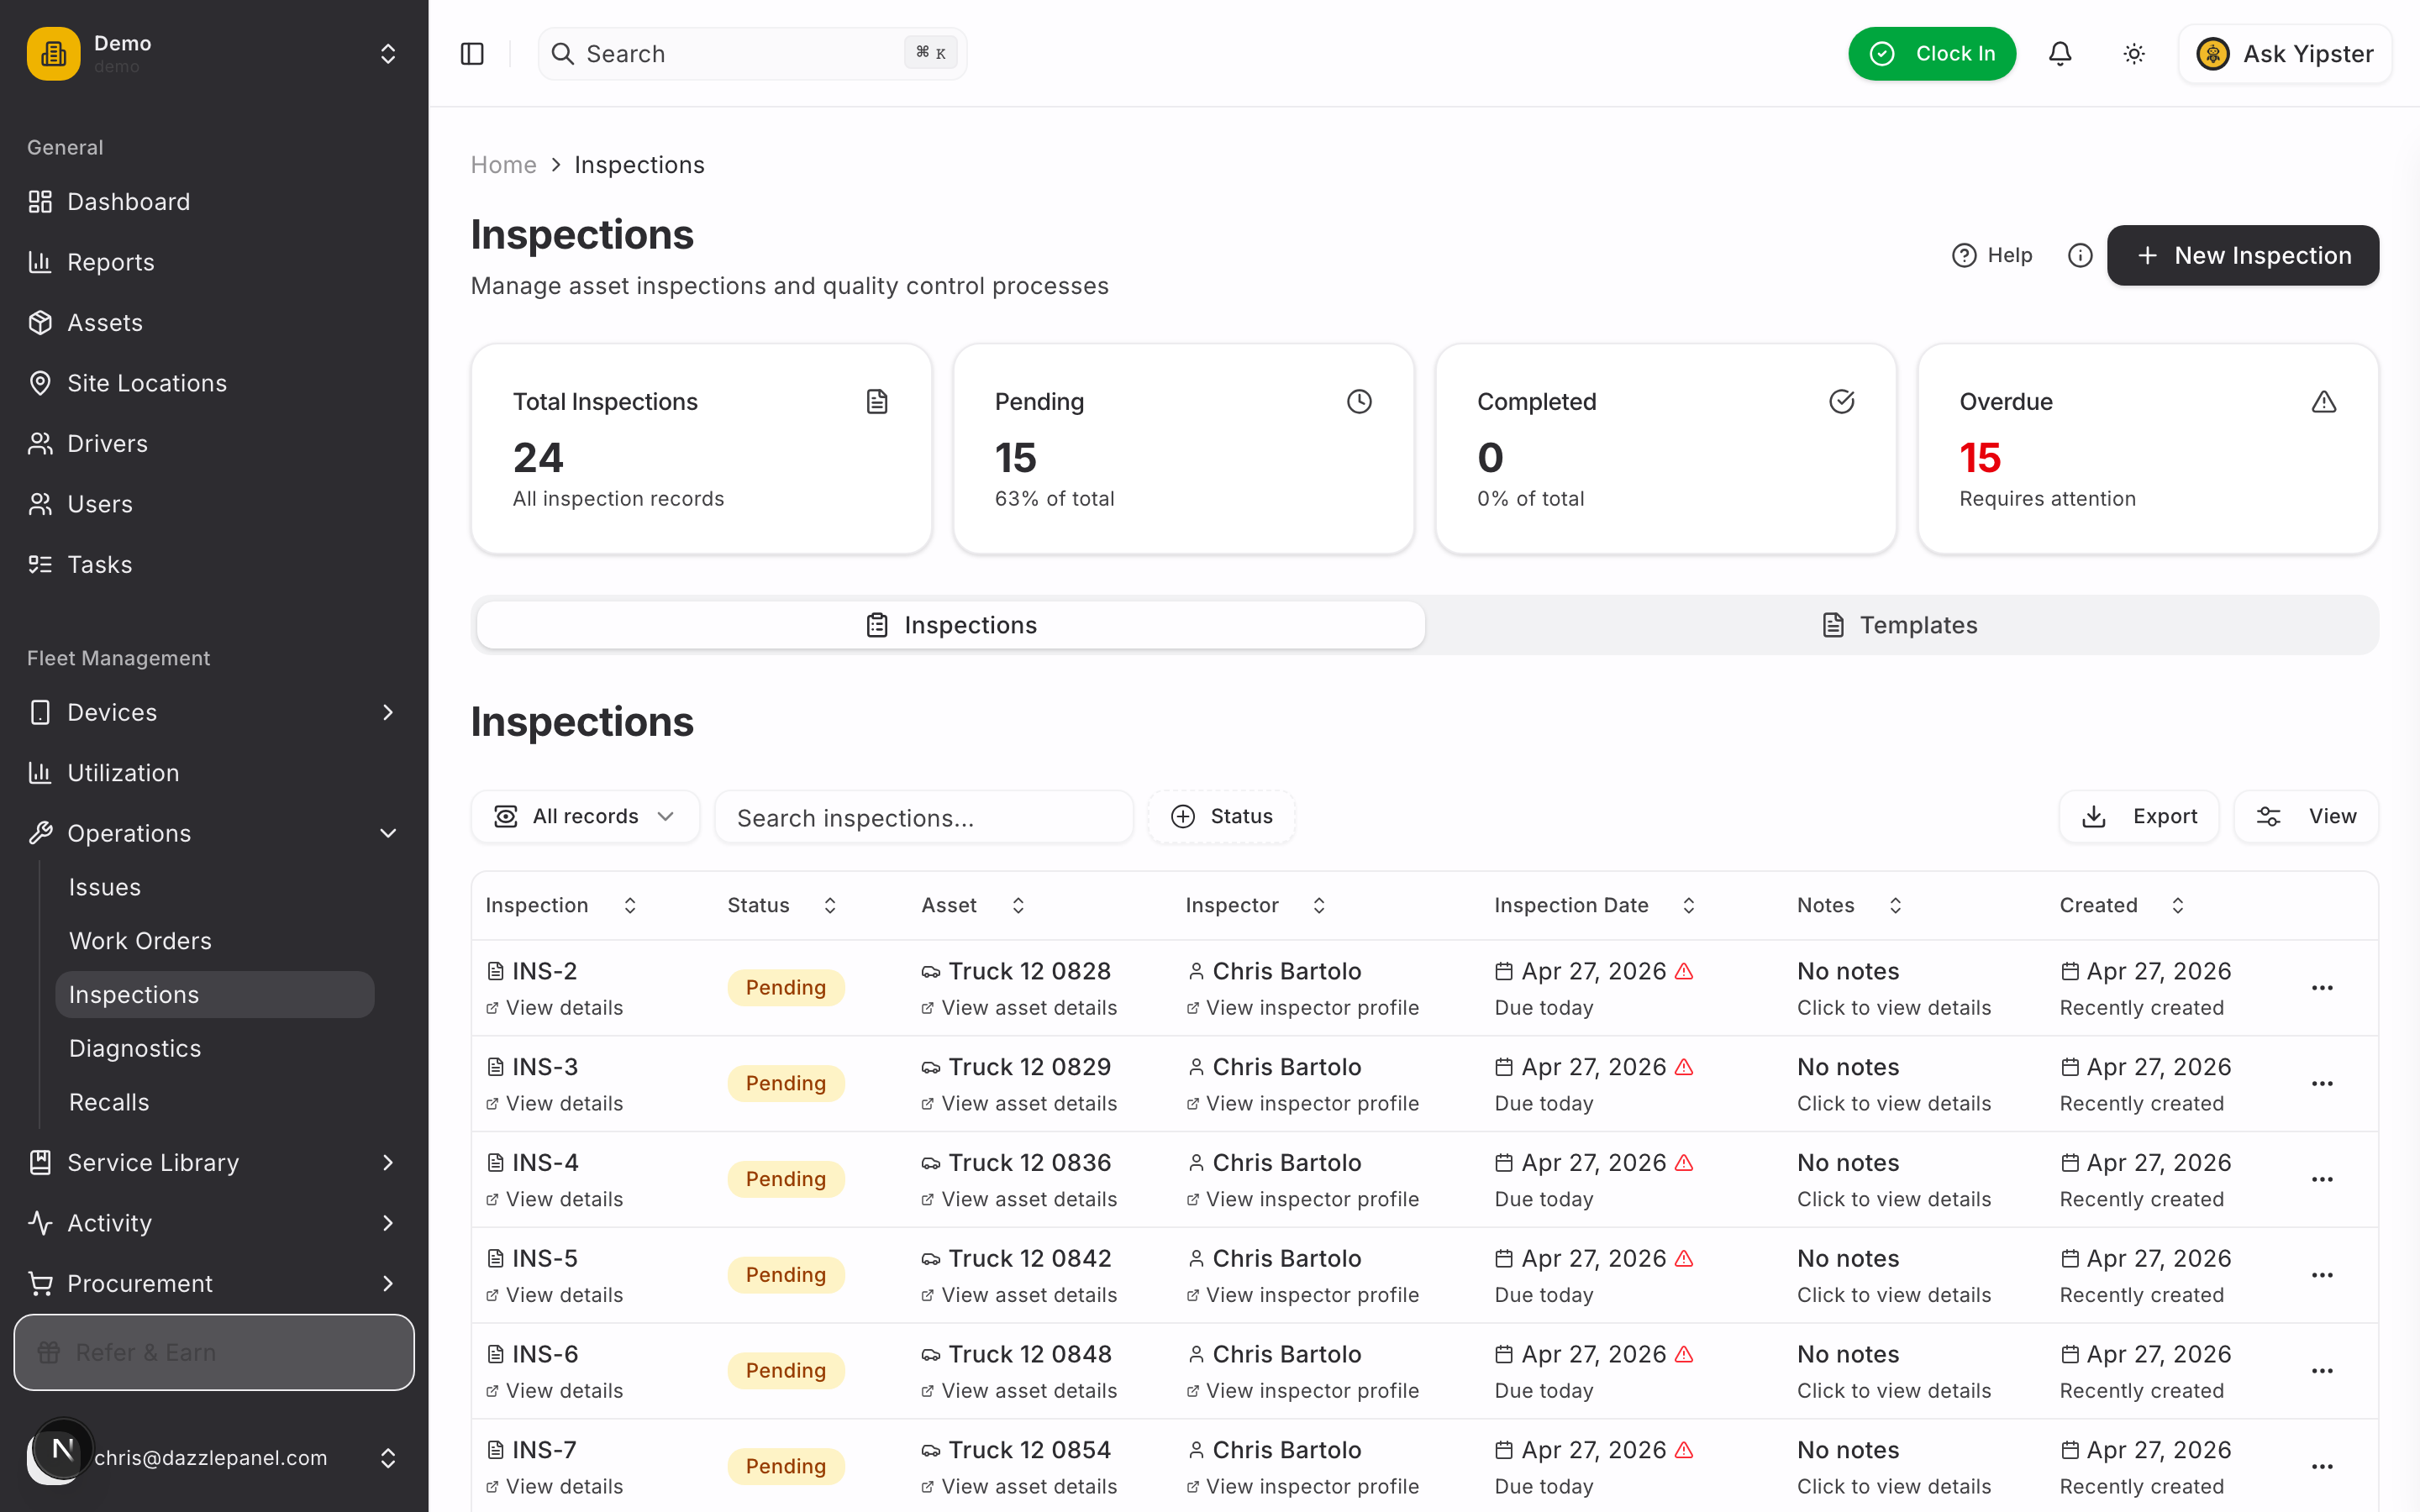
1. Open the Inspections workspace
Sidebar → Fleet Management → Operations → Inspections.
The Inspections workspace has two top-level tabs: Inspections (every recorded inspection across the fleet) and Templates (the reusable checklists every inspection picks from).
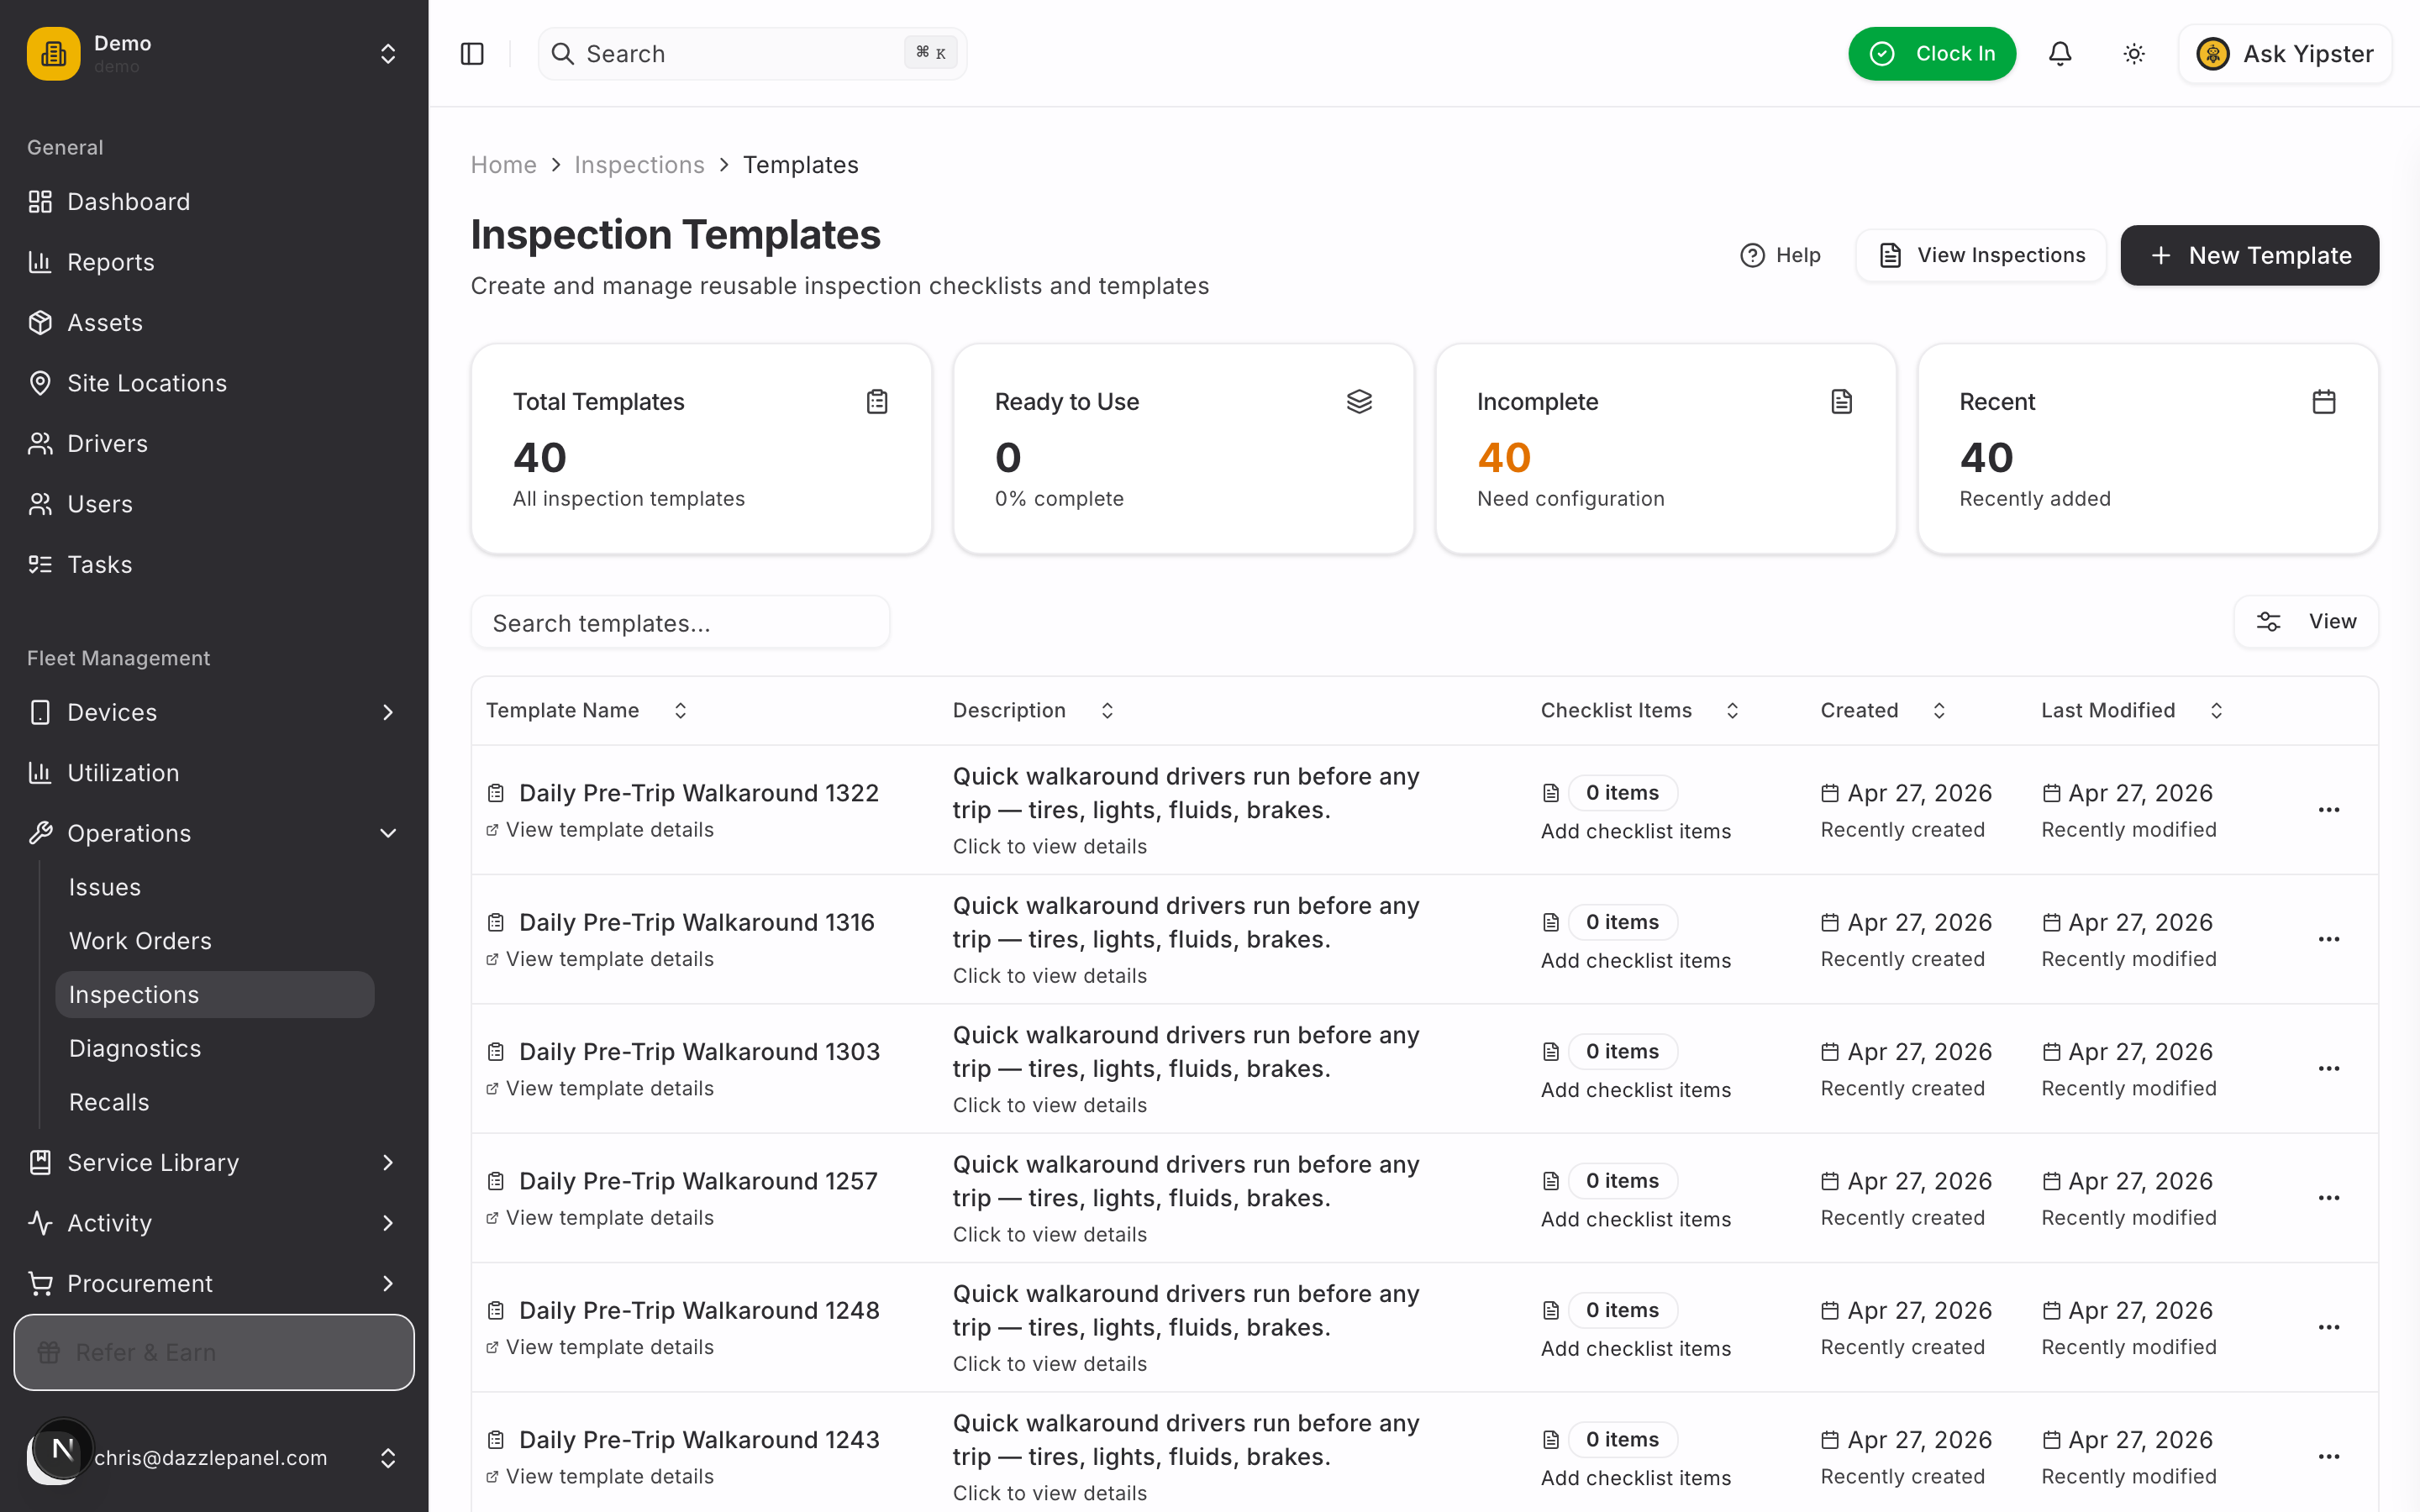
2. Switch to Templates and start a new one
Click Templates, then + Add Template. Templates are reusable checklists — build once and run them against any vehicle.
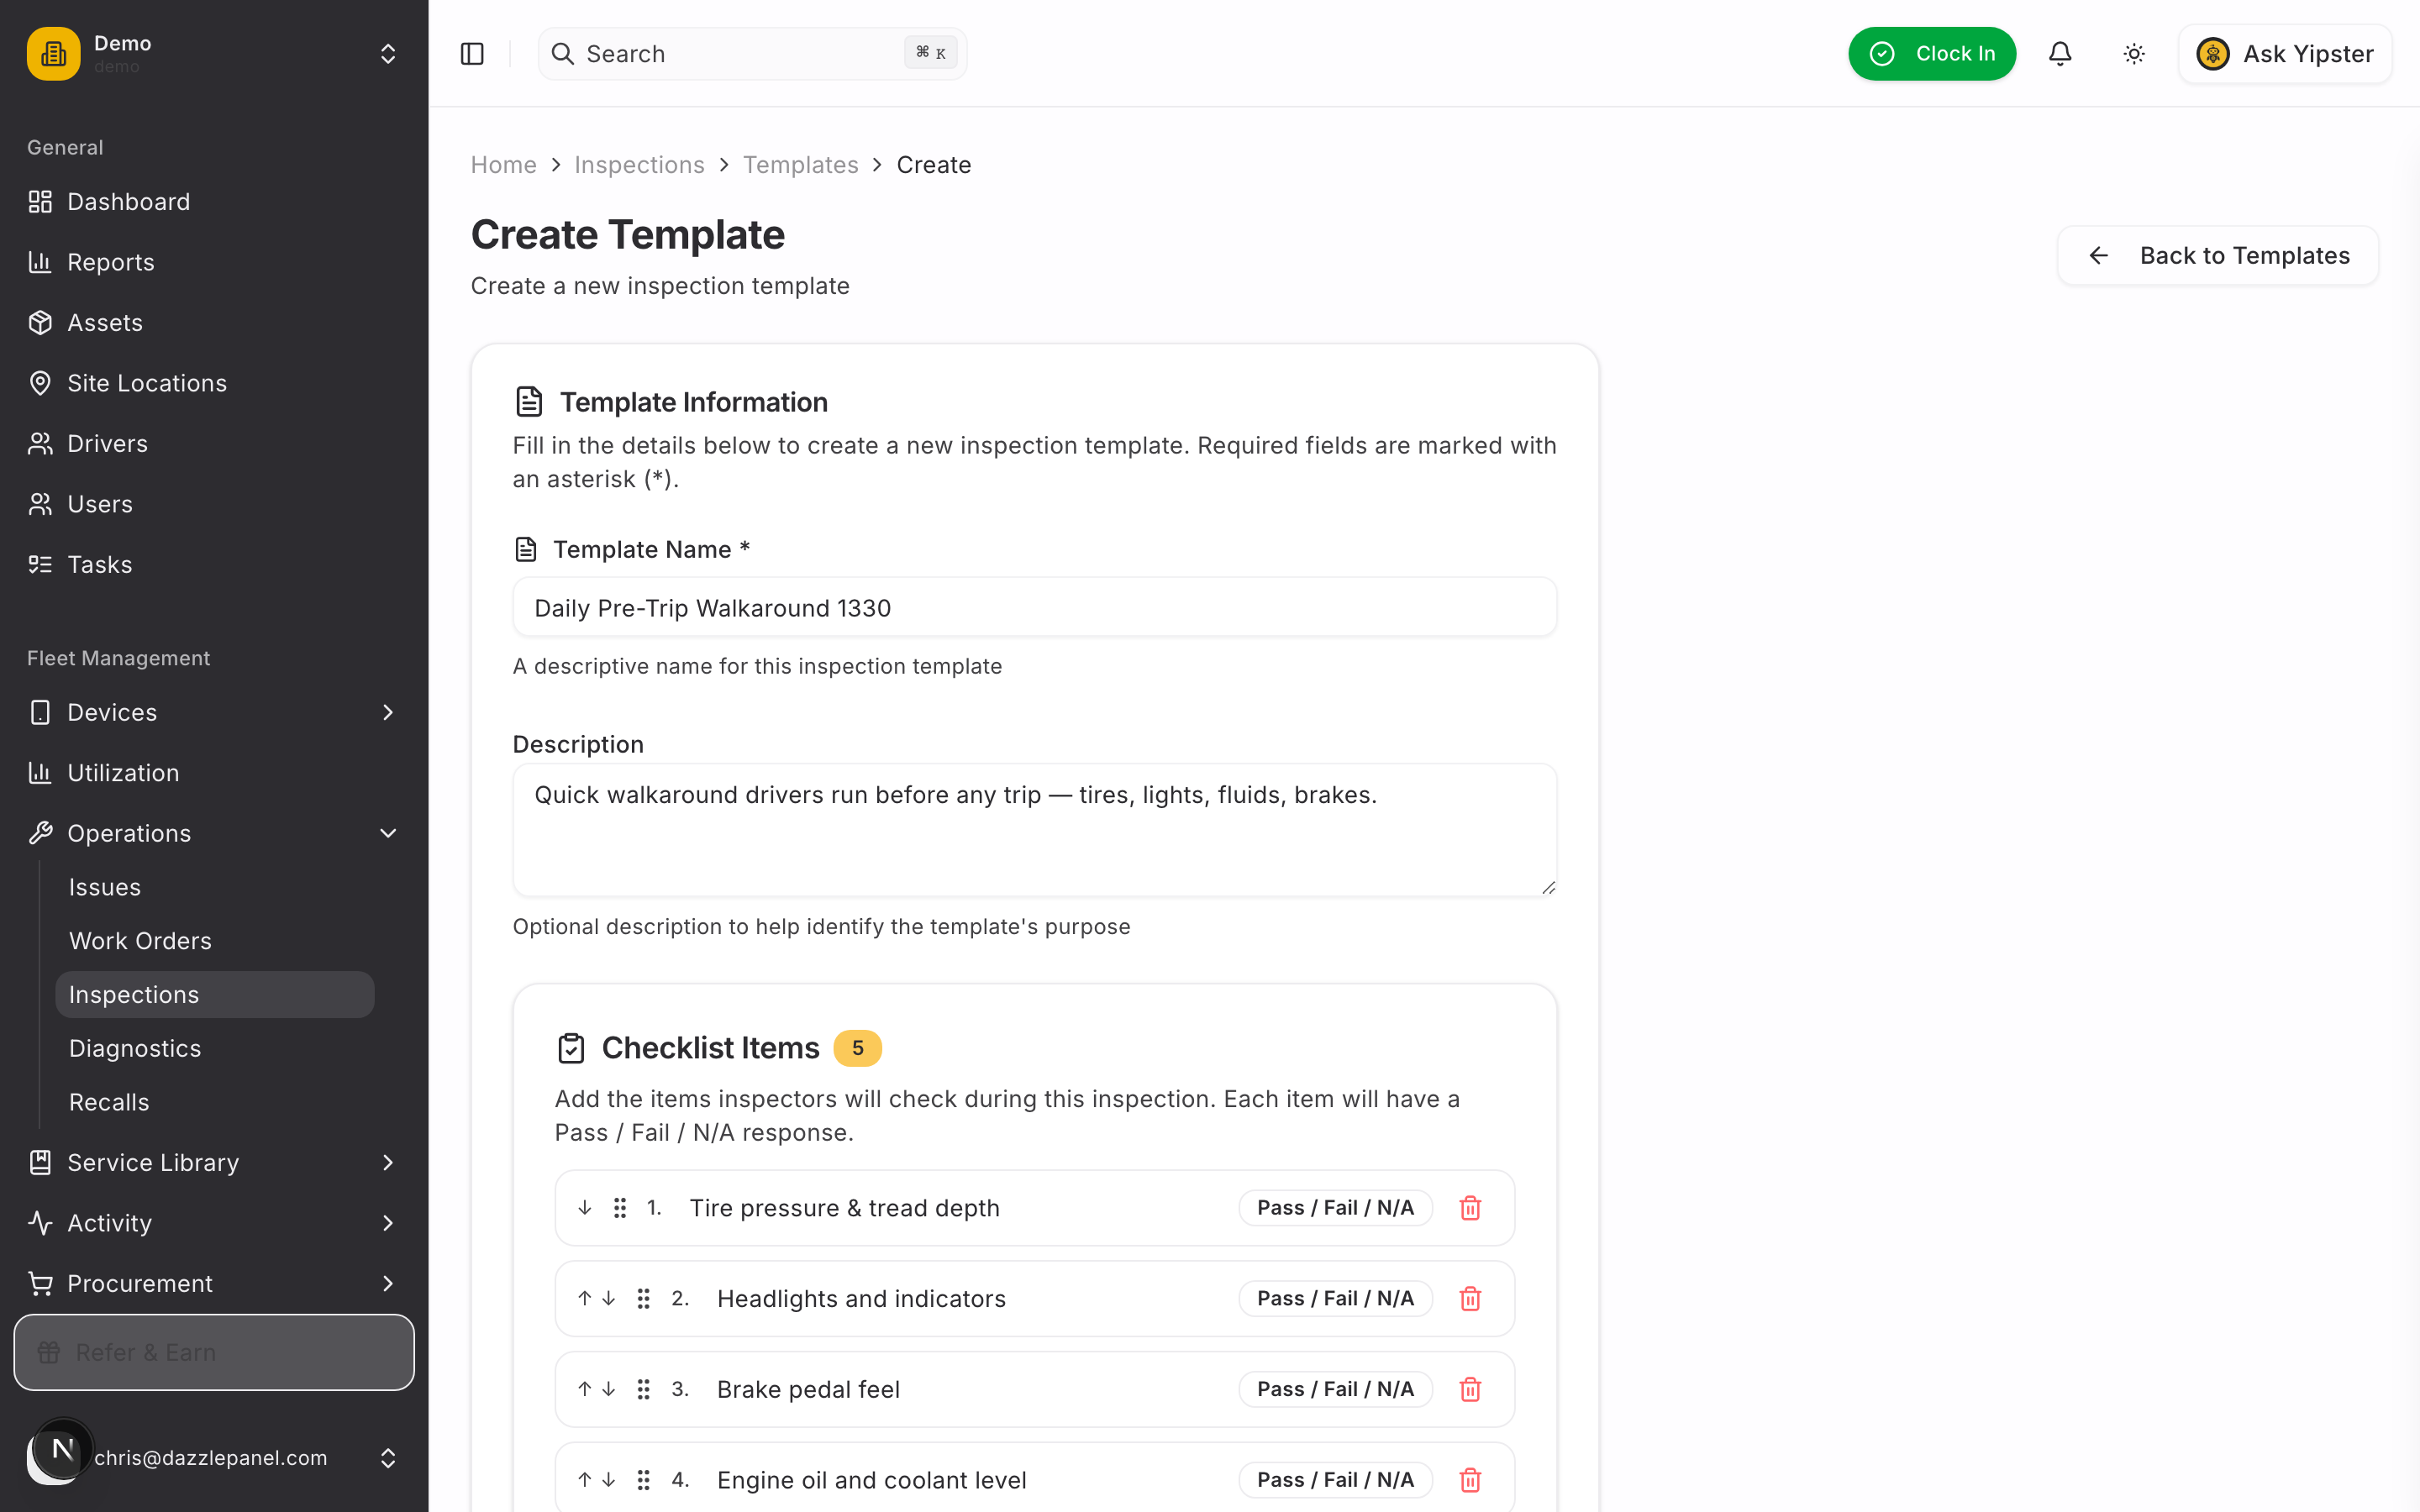
3. Build the "Daily Pre-Trip Walkaround" template
Give the template a clear name, a one-line description, and add the items your drivers should check before any trip. We use a five-item walkaround as a baseline:
- Tire pressure & tread depth
- Headlights and indicators
- Brake pedal feel
- Engine oil and coolant level
- Wipers and washer fluid
Each item gets a Pass / Fail / N/A response when the inspection runs. Press Enter in the new-item input to add quickly.
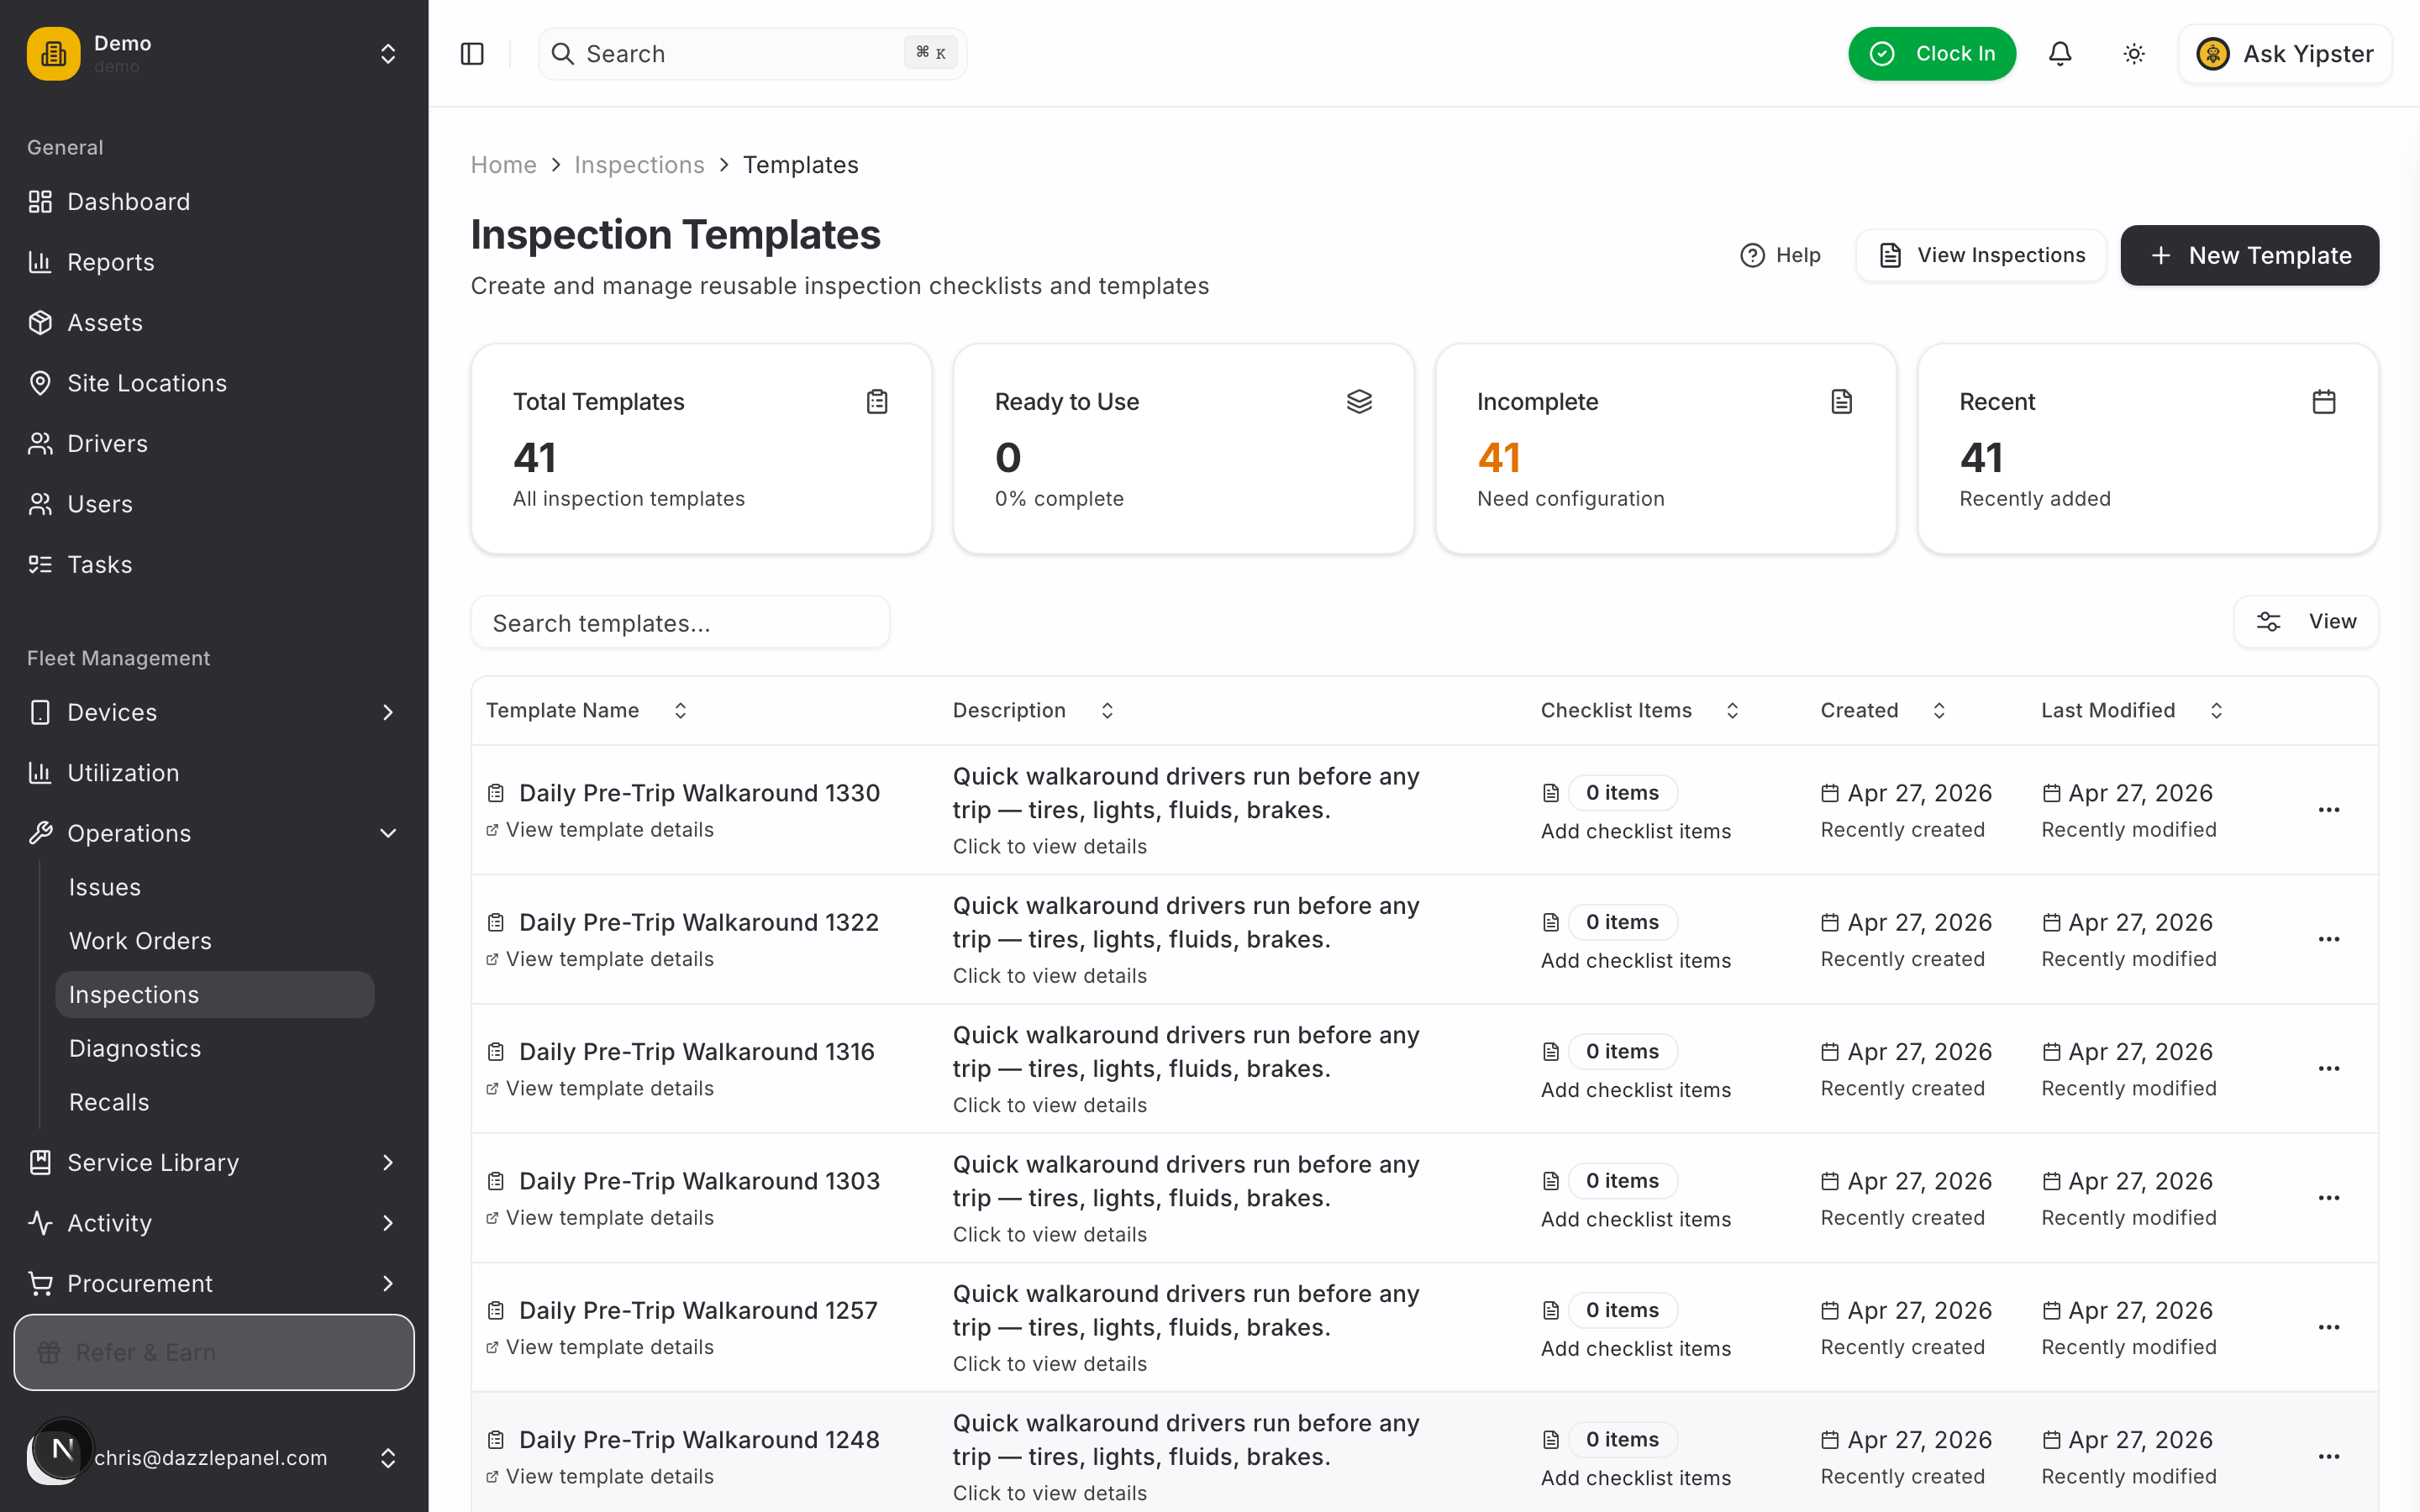
4. Save the template
Click Create Template. The list refreshes and your new template is ready to attach to any inspection.
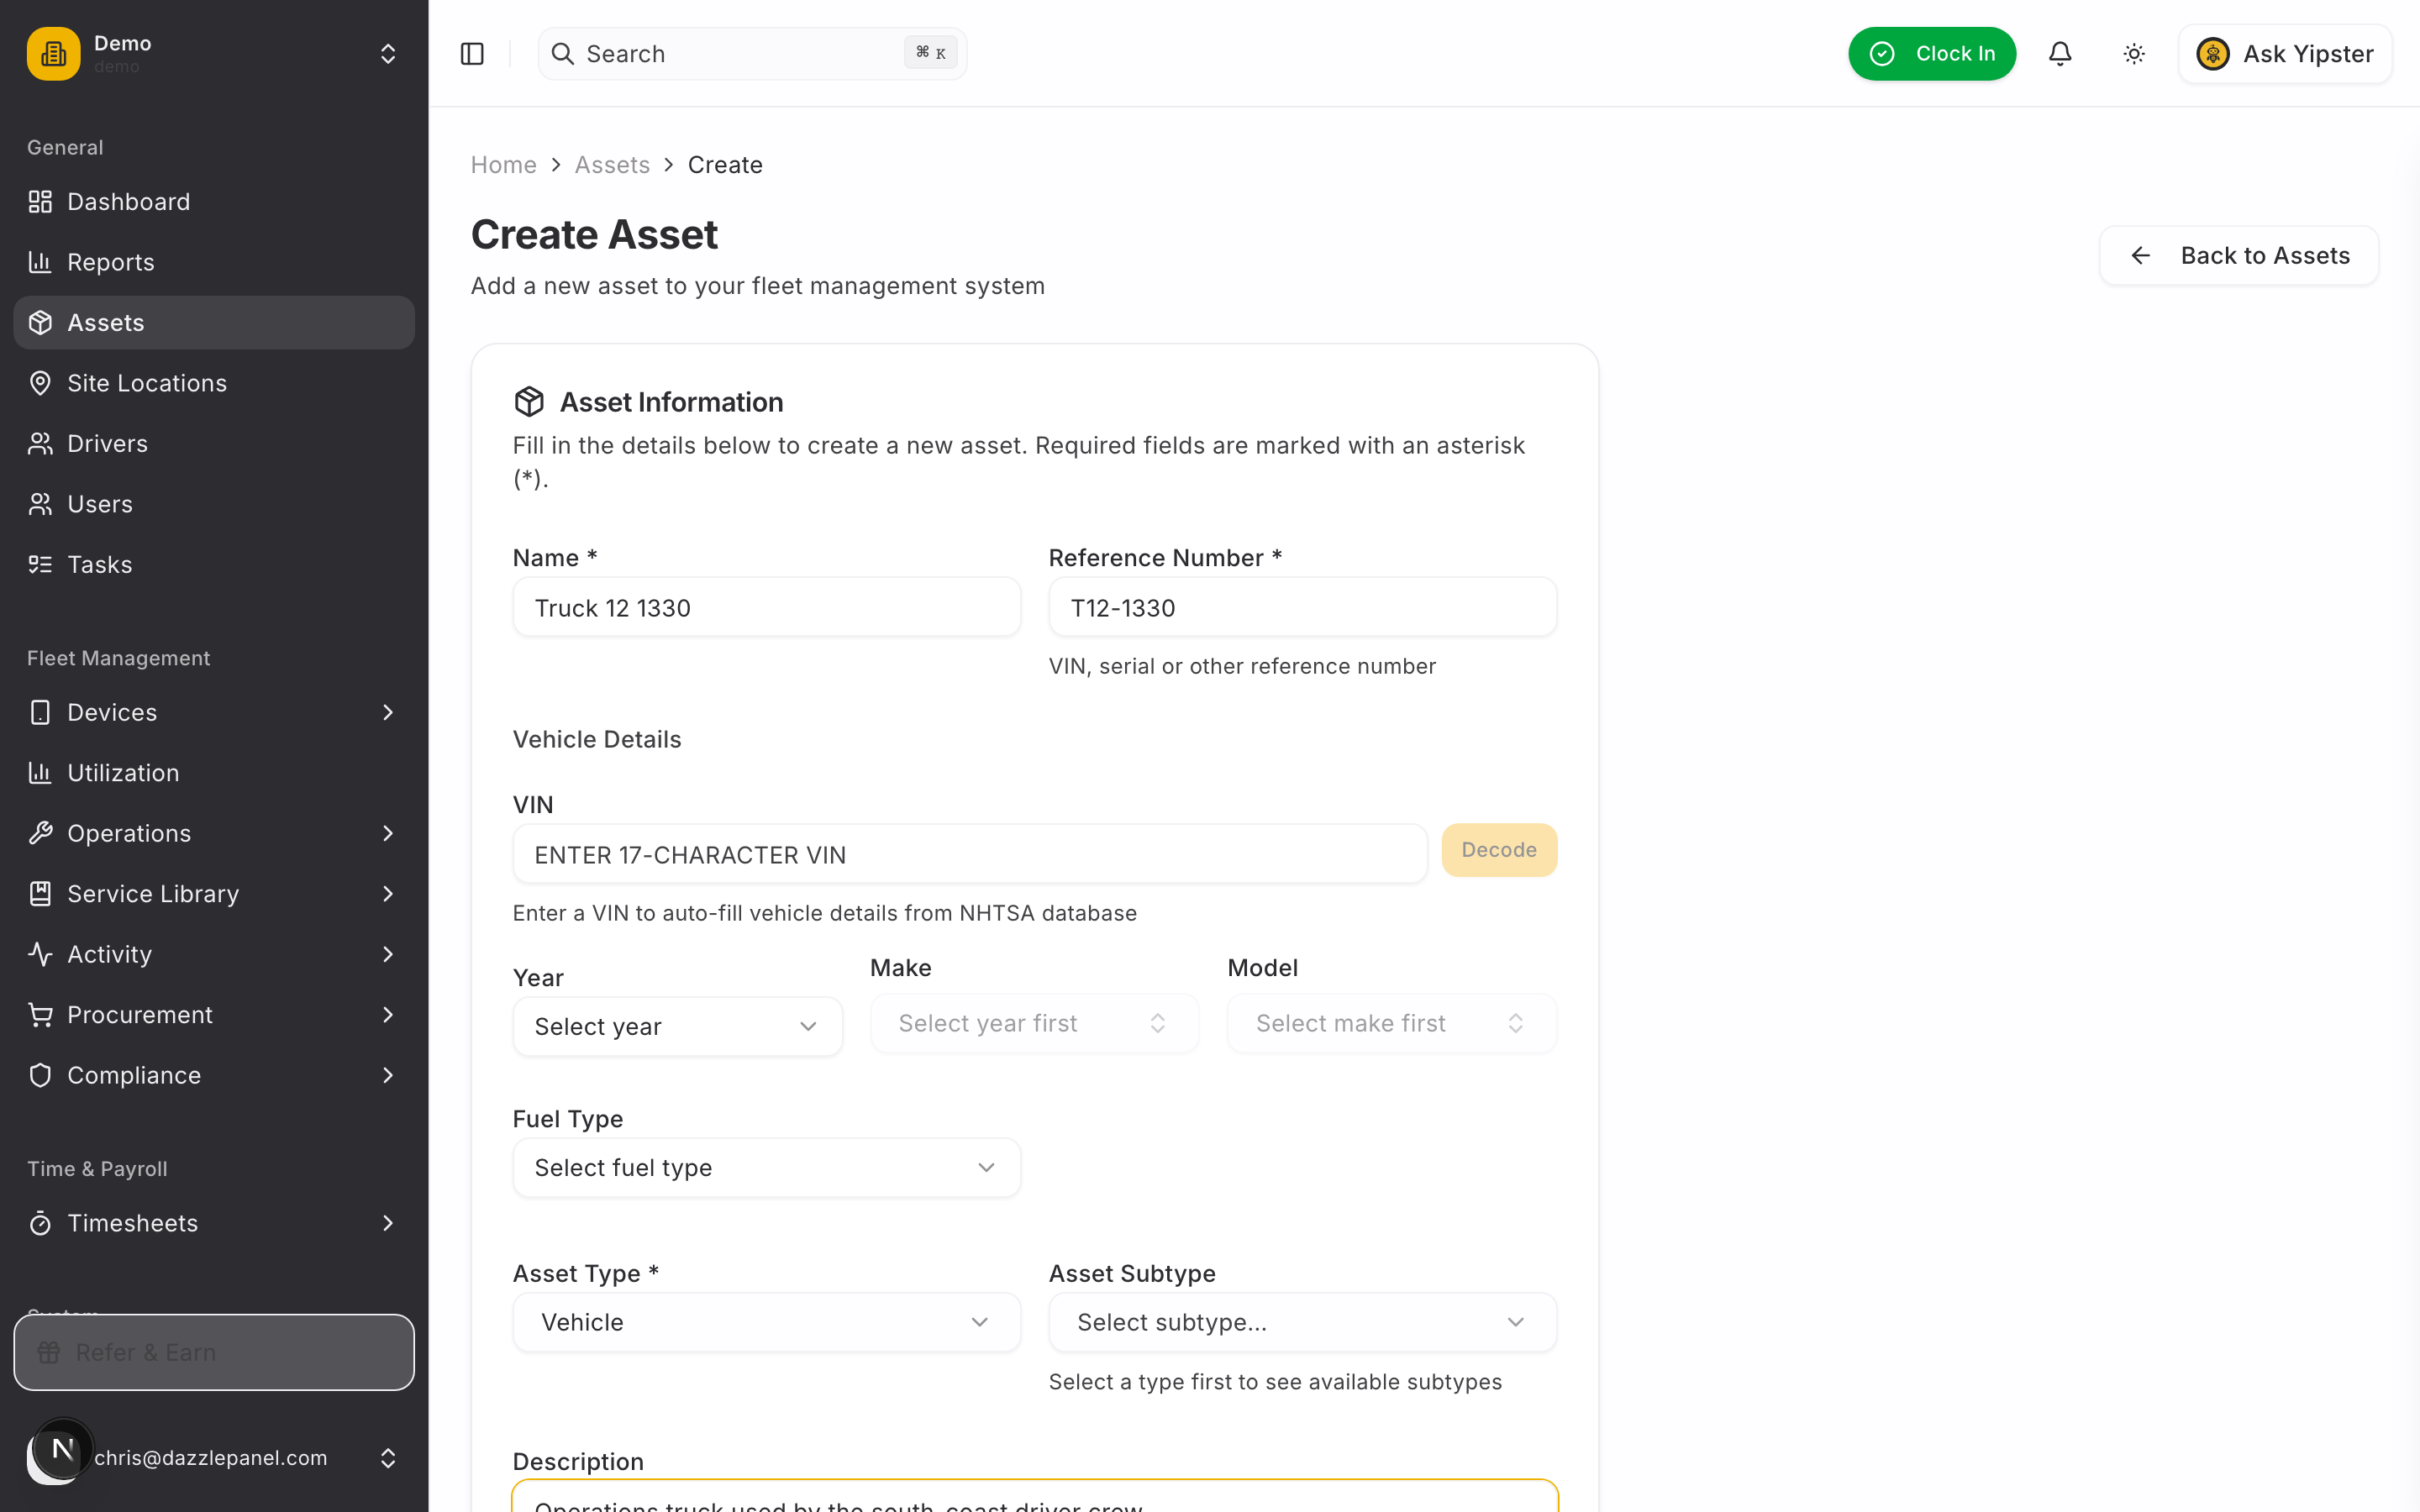
5. Add the truck to your fleet
If the vehicle isn't in Mobility yet, add it now.
Sidebar → Assets → + Add Asset. Provide a Name, a Reference Number (a fleet code, plate, or serial), and pick an Asset Type. Optionally fill VIN to auto-decode make / model / year via NHTSA.
6. The truck is on the fleet
After save, Mobility lists the truck under Assets. It's now eligible for inspections, work orders, fuel logs, and every other operation.

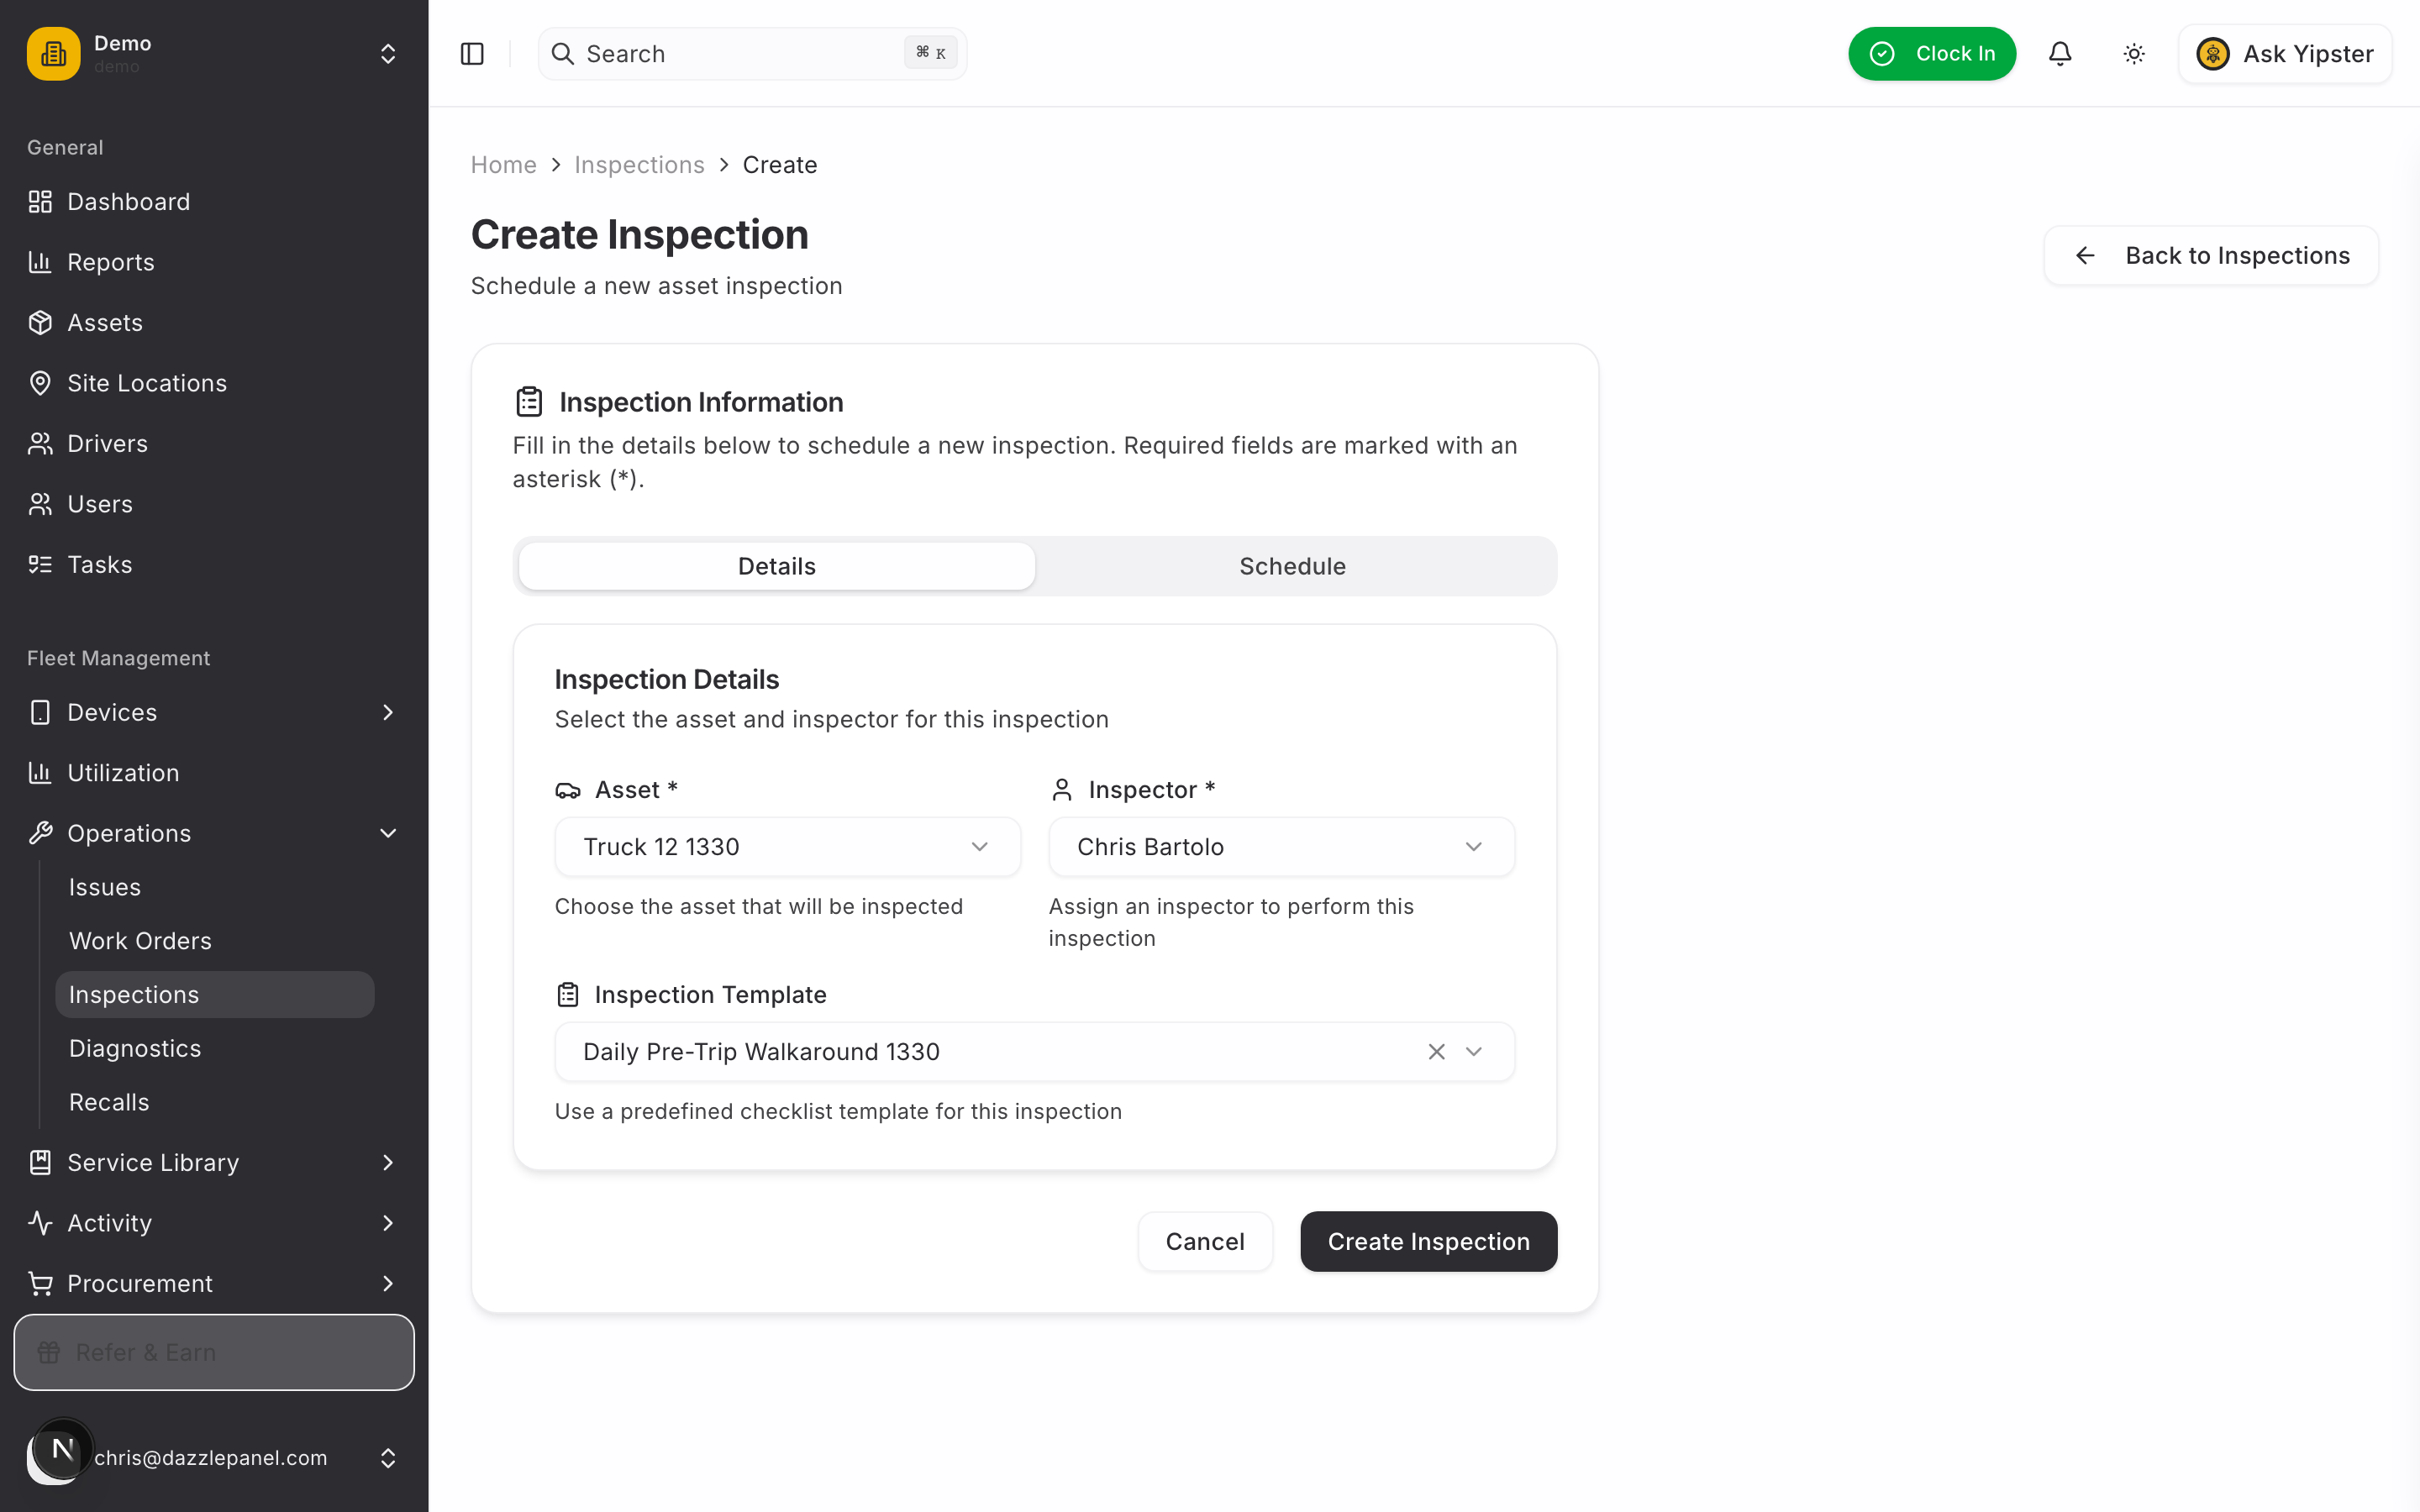
7. Schedule the inspection
Sidebar → Operations → Inspections → + Add Inspection. Pick the Asset (the truck you just added), the Inspector (who's running the walkaround), and the Template you built in step 3.
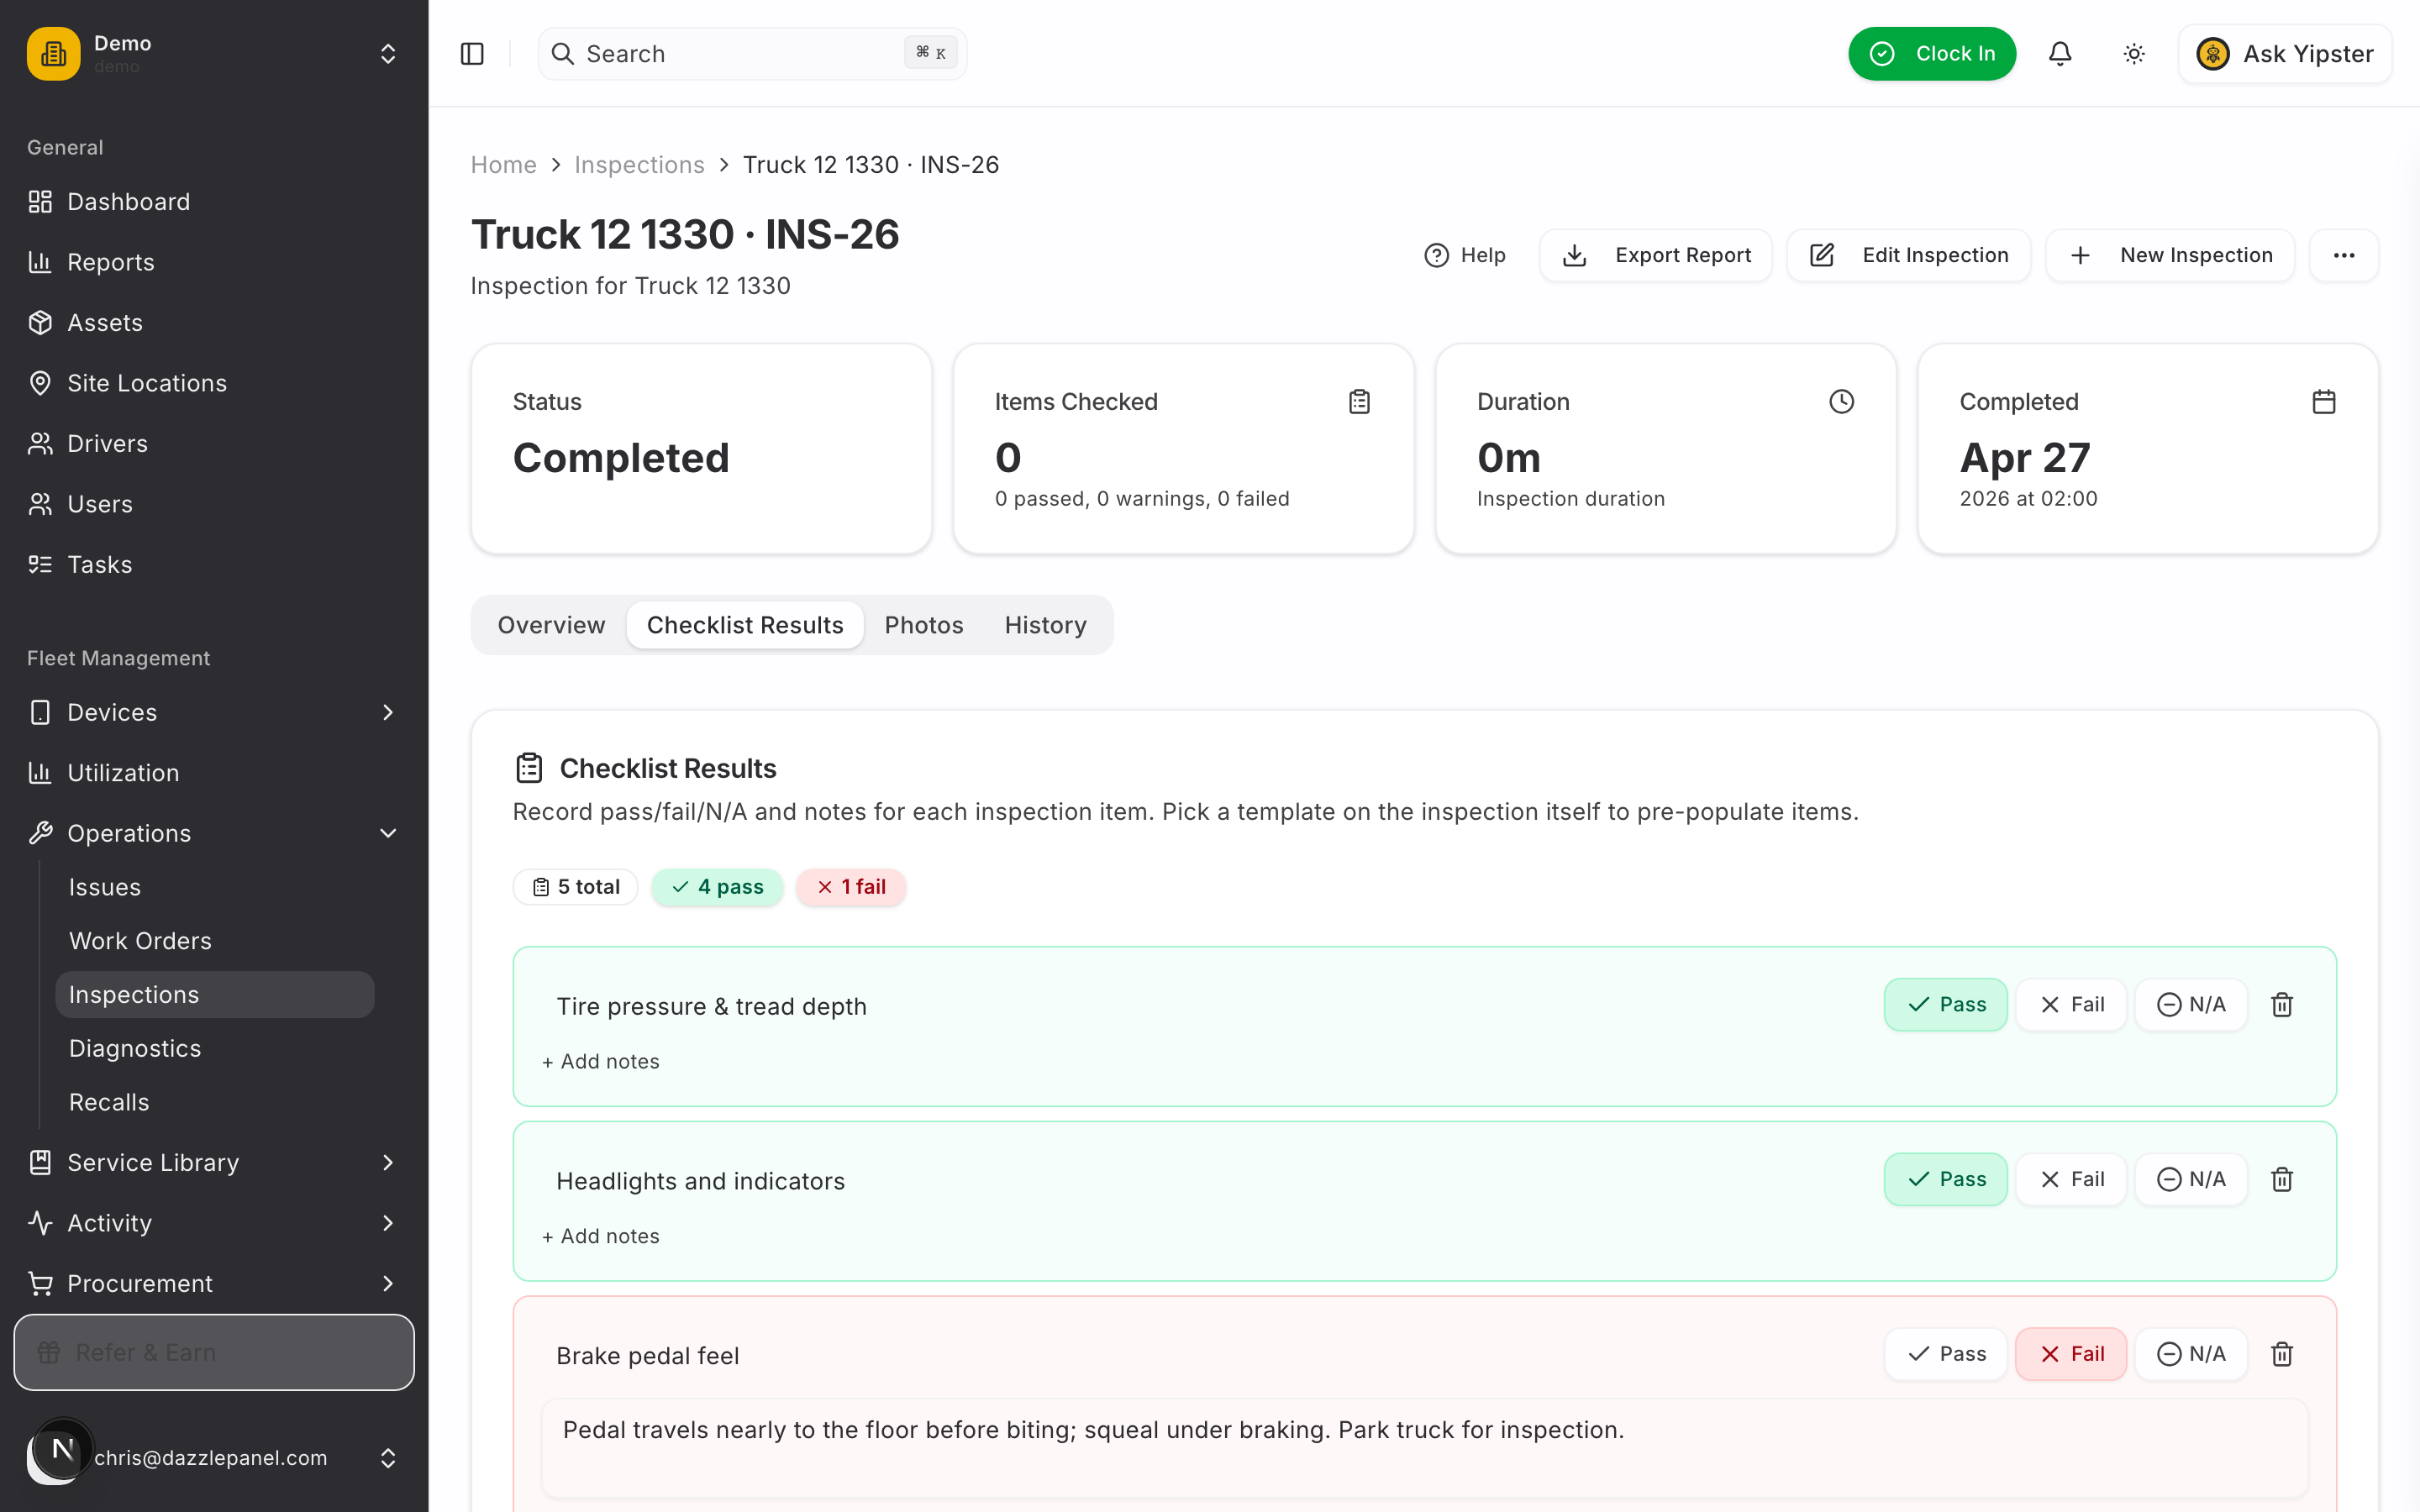
8. Open the inspection and switch to Checklist Results
After saving, the inspection lands on Overview. Switch to the Checklist Results tab — this is where every checklist item lives.
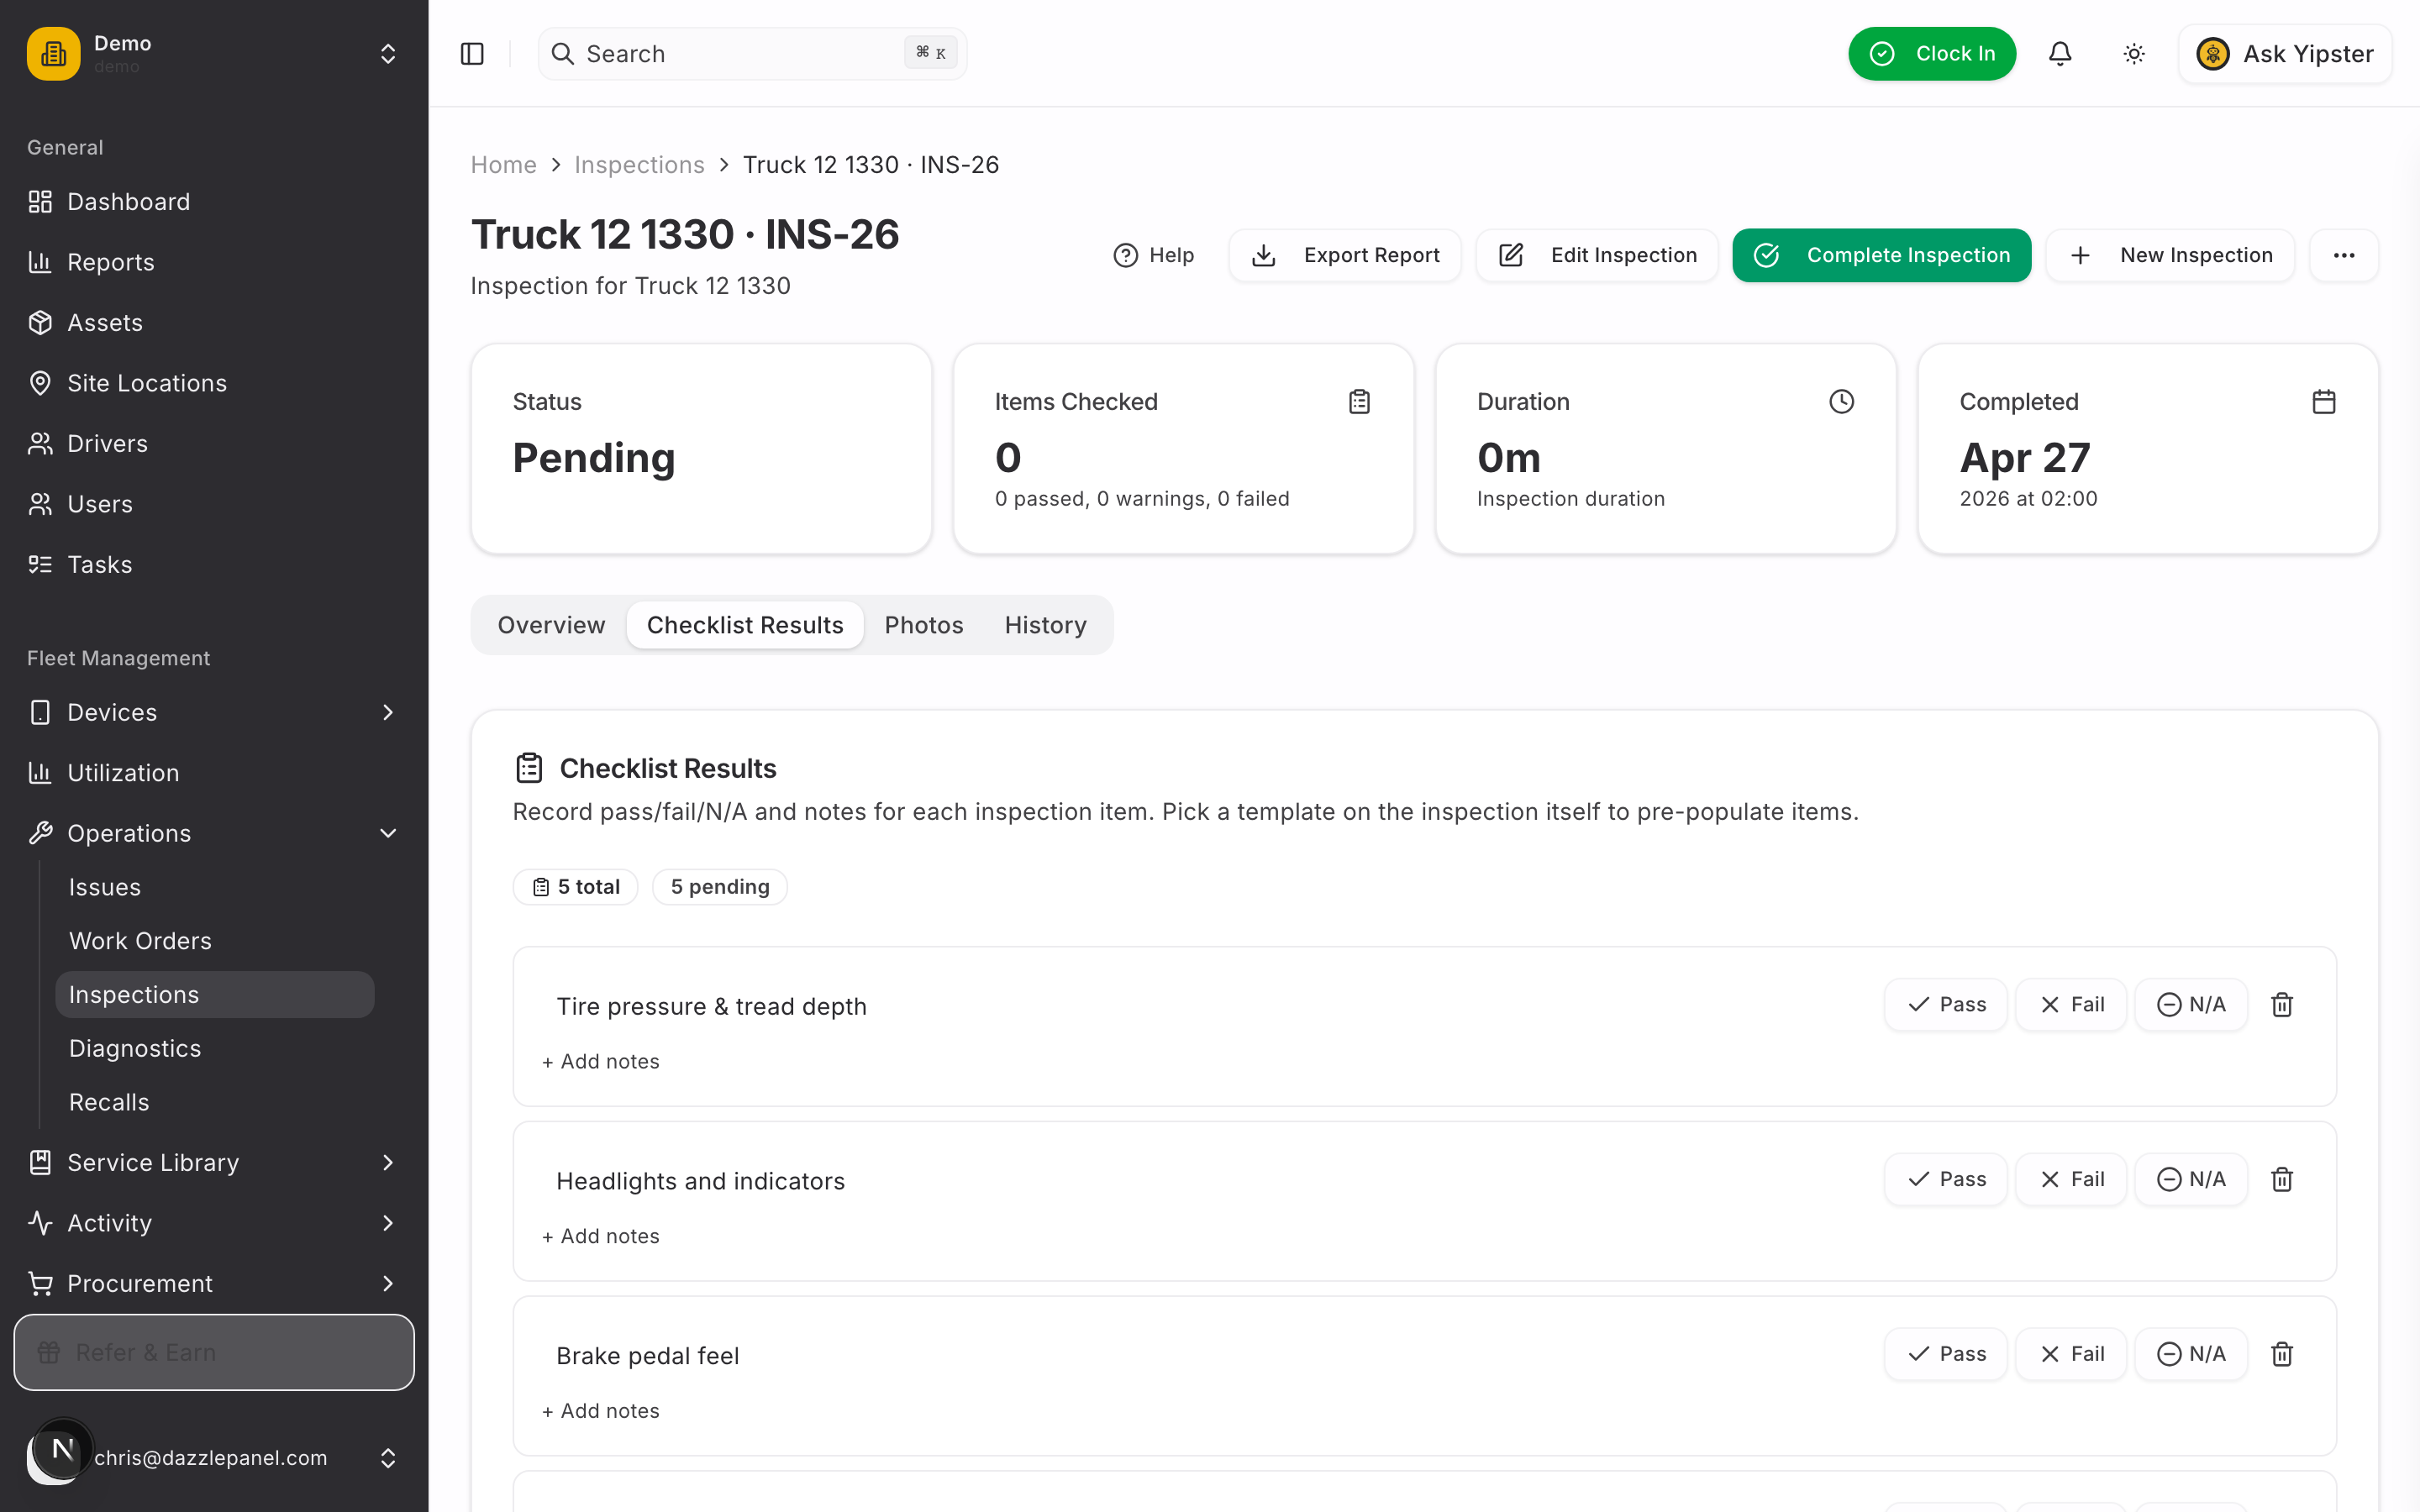
9. Mark items pass / fail and capture the failure note
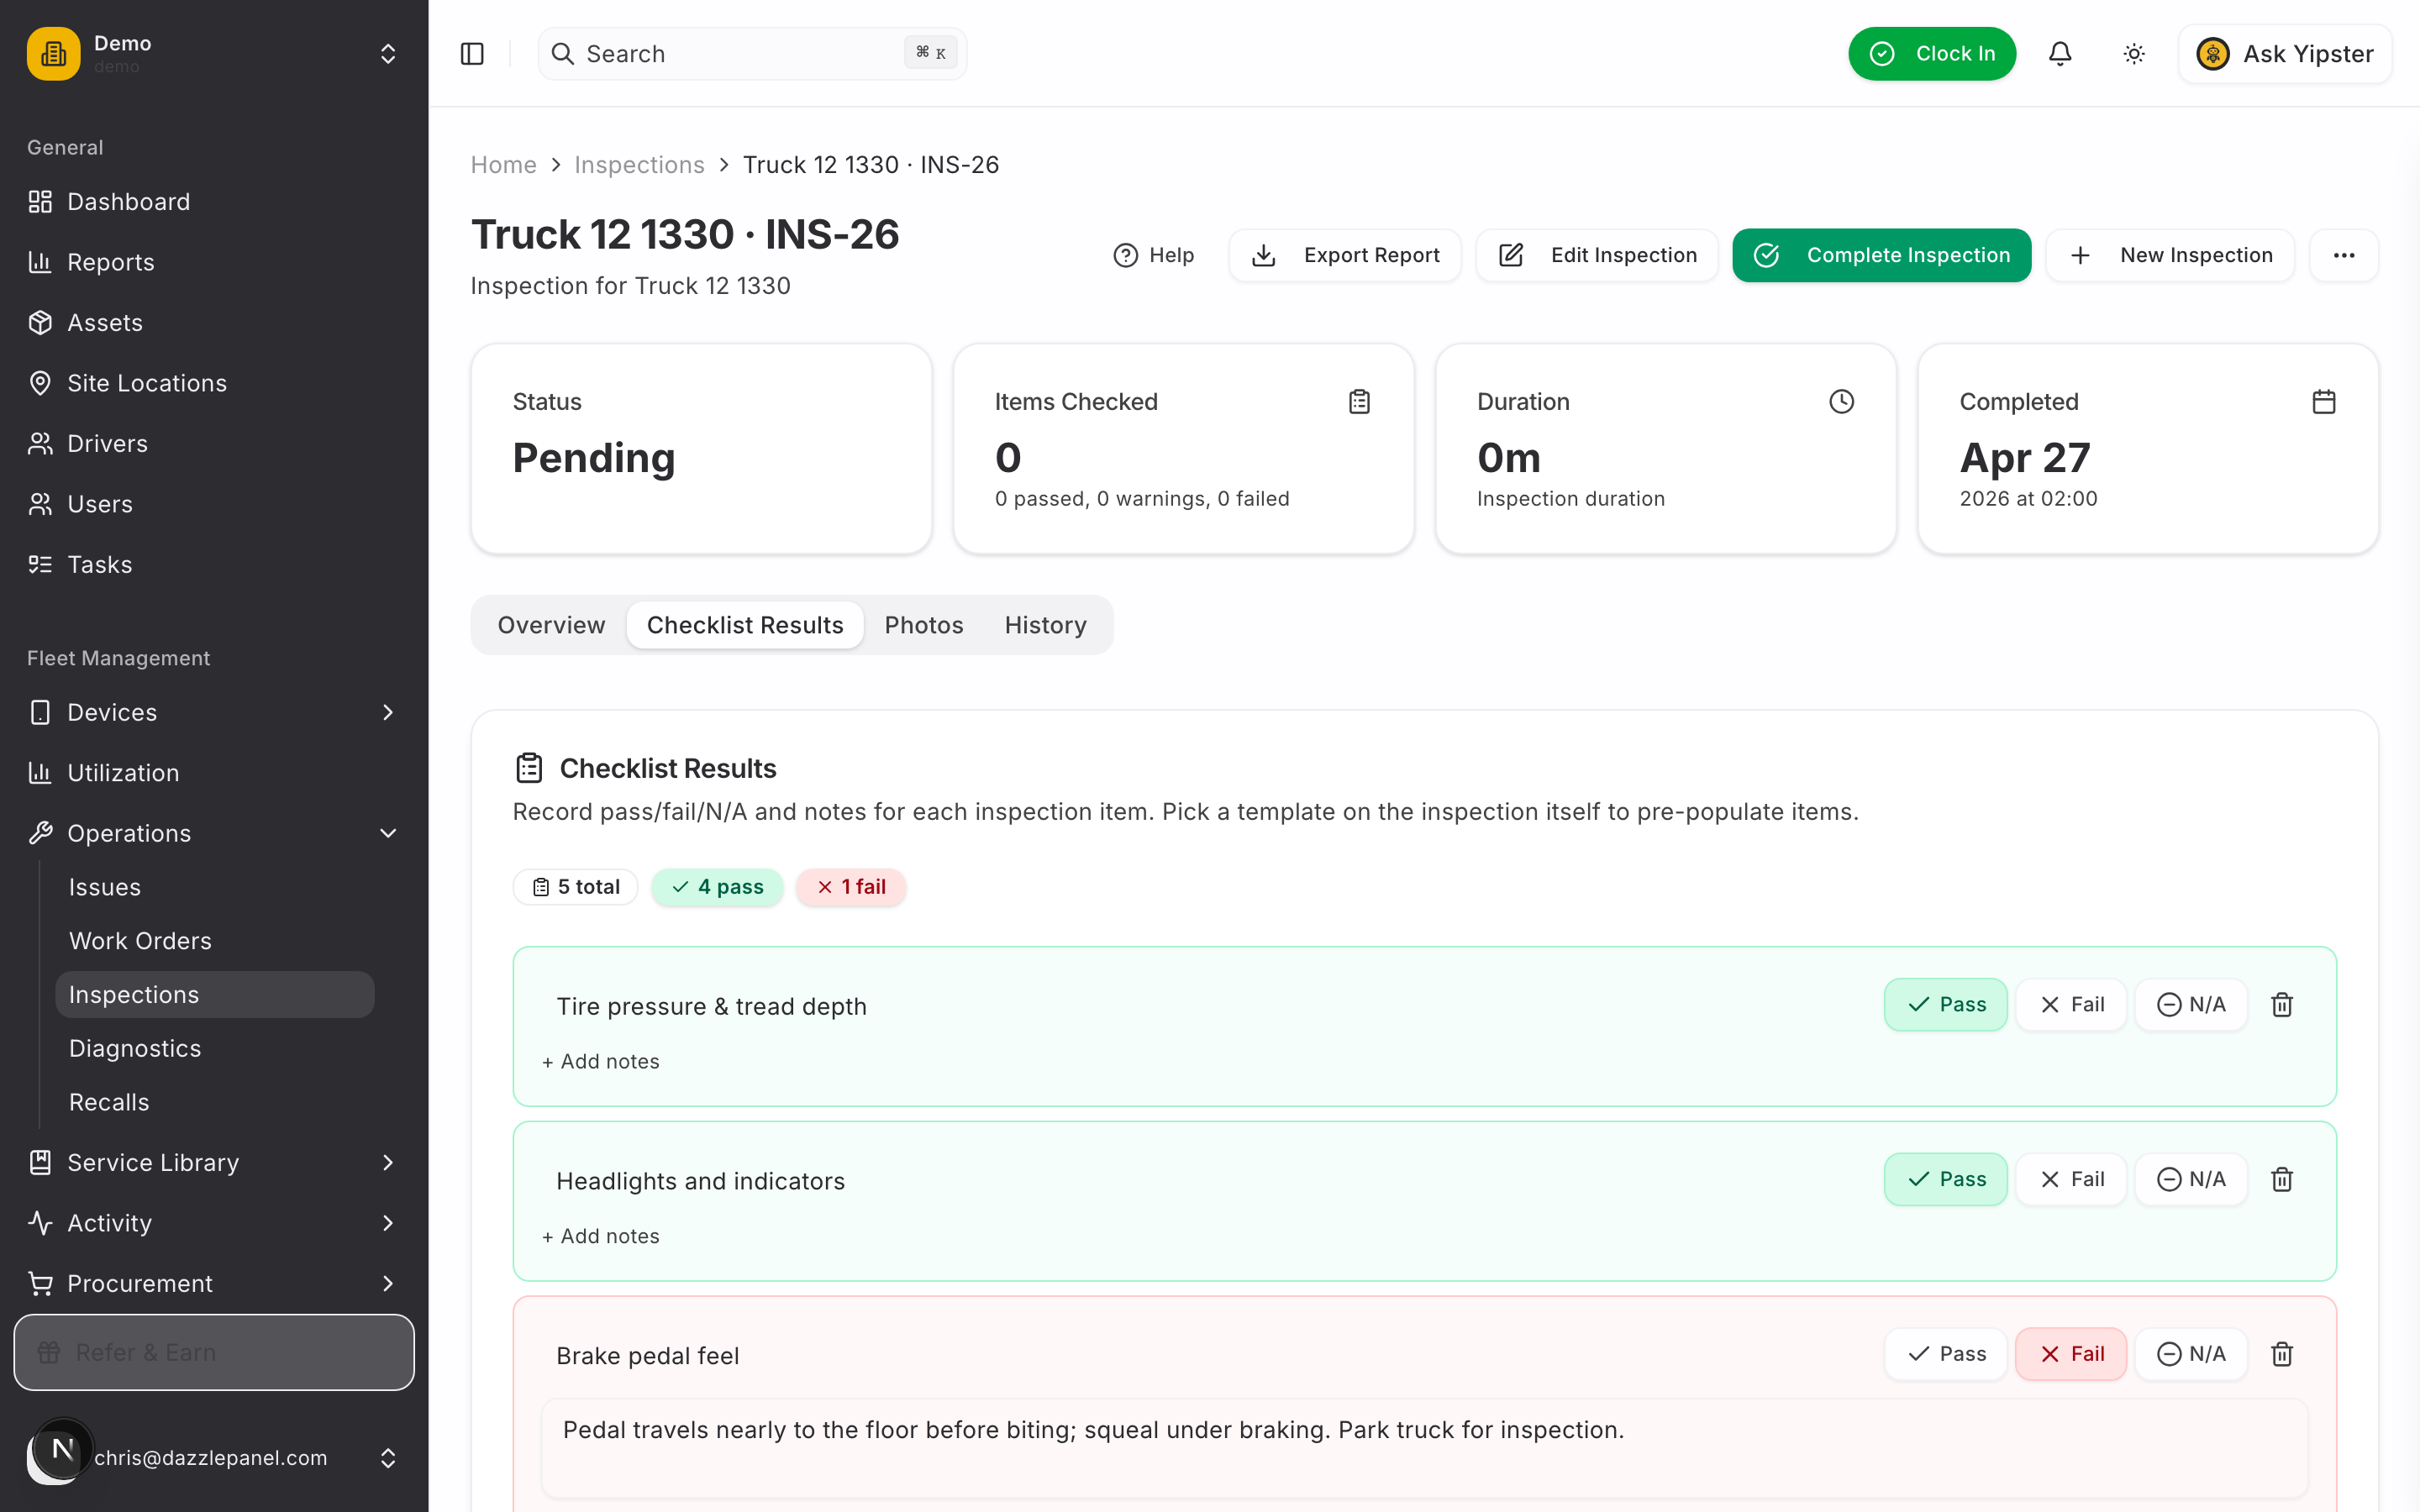
Click Pass on items the inspector confirmed are healthy. Click Fail on the item that's a problem and use + Add notes to capture exactly what the driver felt — pedal travel, squealing under braking, anything the mechanic should know.
The summary at the top of the card updates live: total items, how many passed, how many failed, how many are still pending.
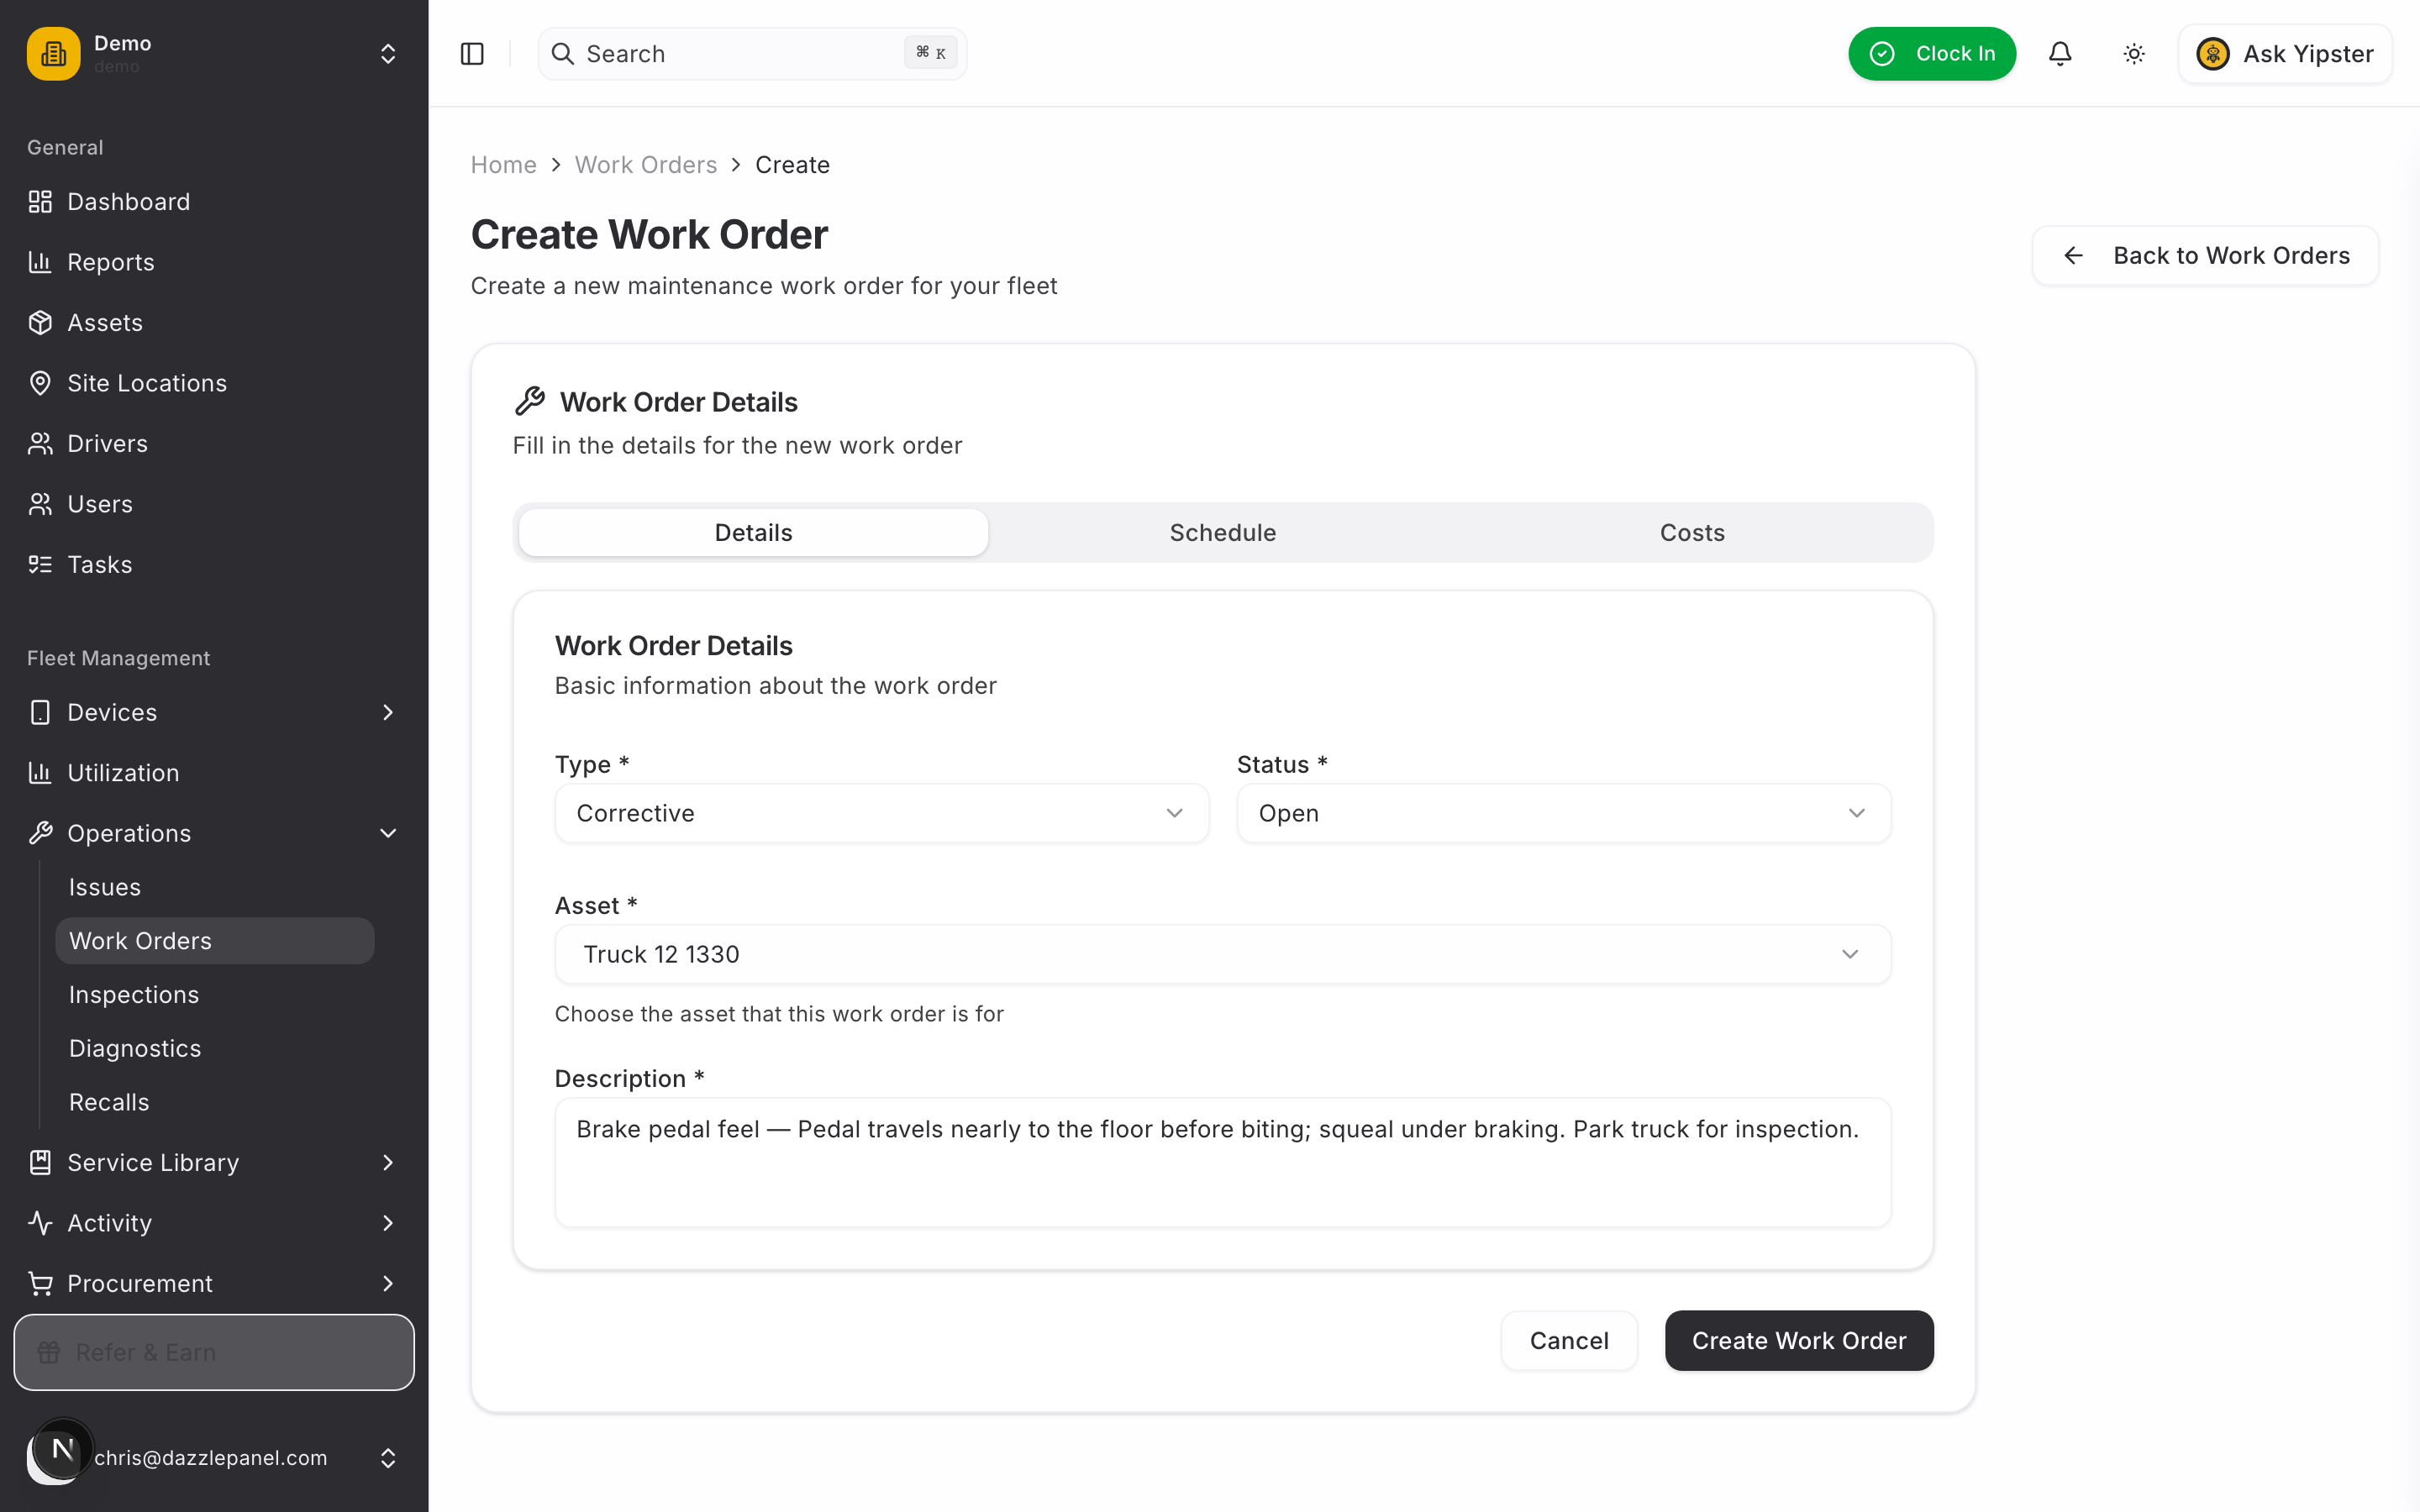
10. Open a work order directly from the failed item
Every Failed row gets a red Create work order button. Click it — the work-order create form opens with the asset pre-selected, Type set to Corrective, and the description pre-filled from the failure (item name + the note you just captured). No need to leave the inspection or re-enter context the system already knows.
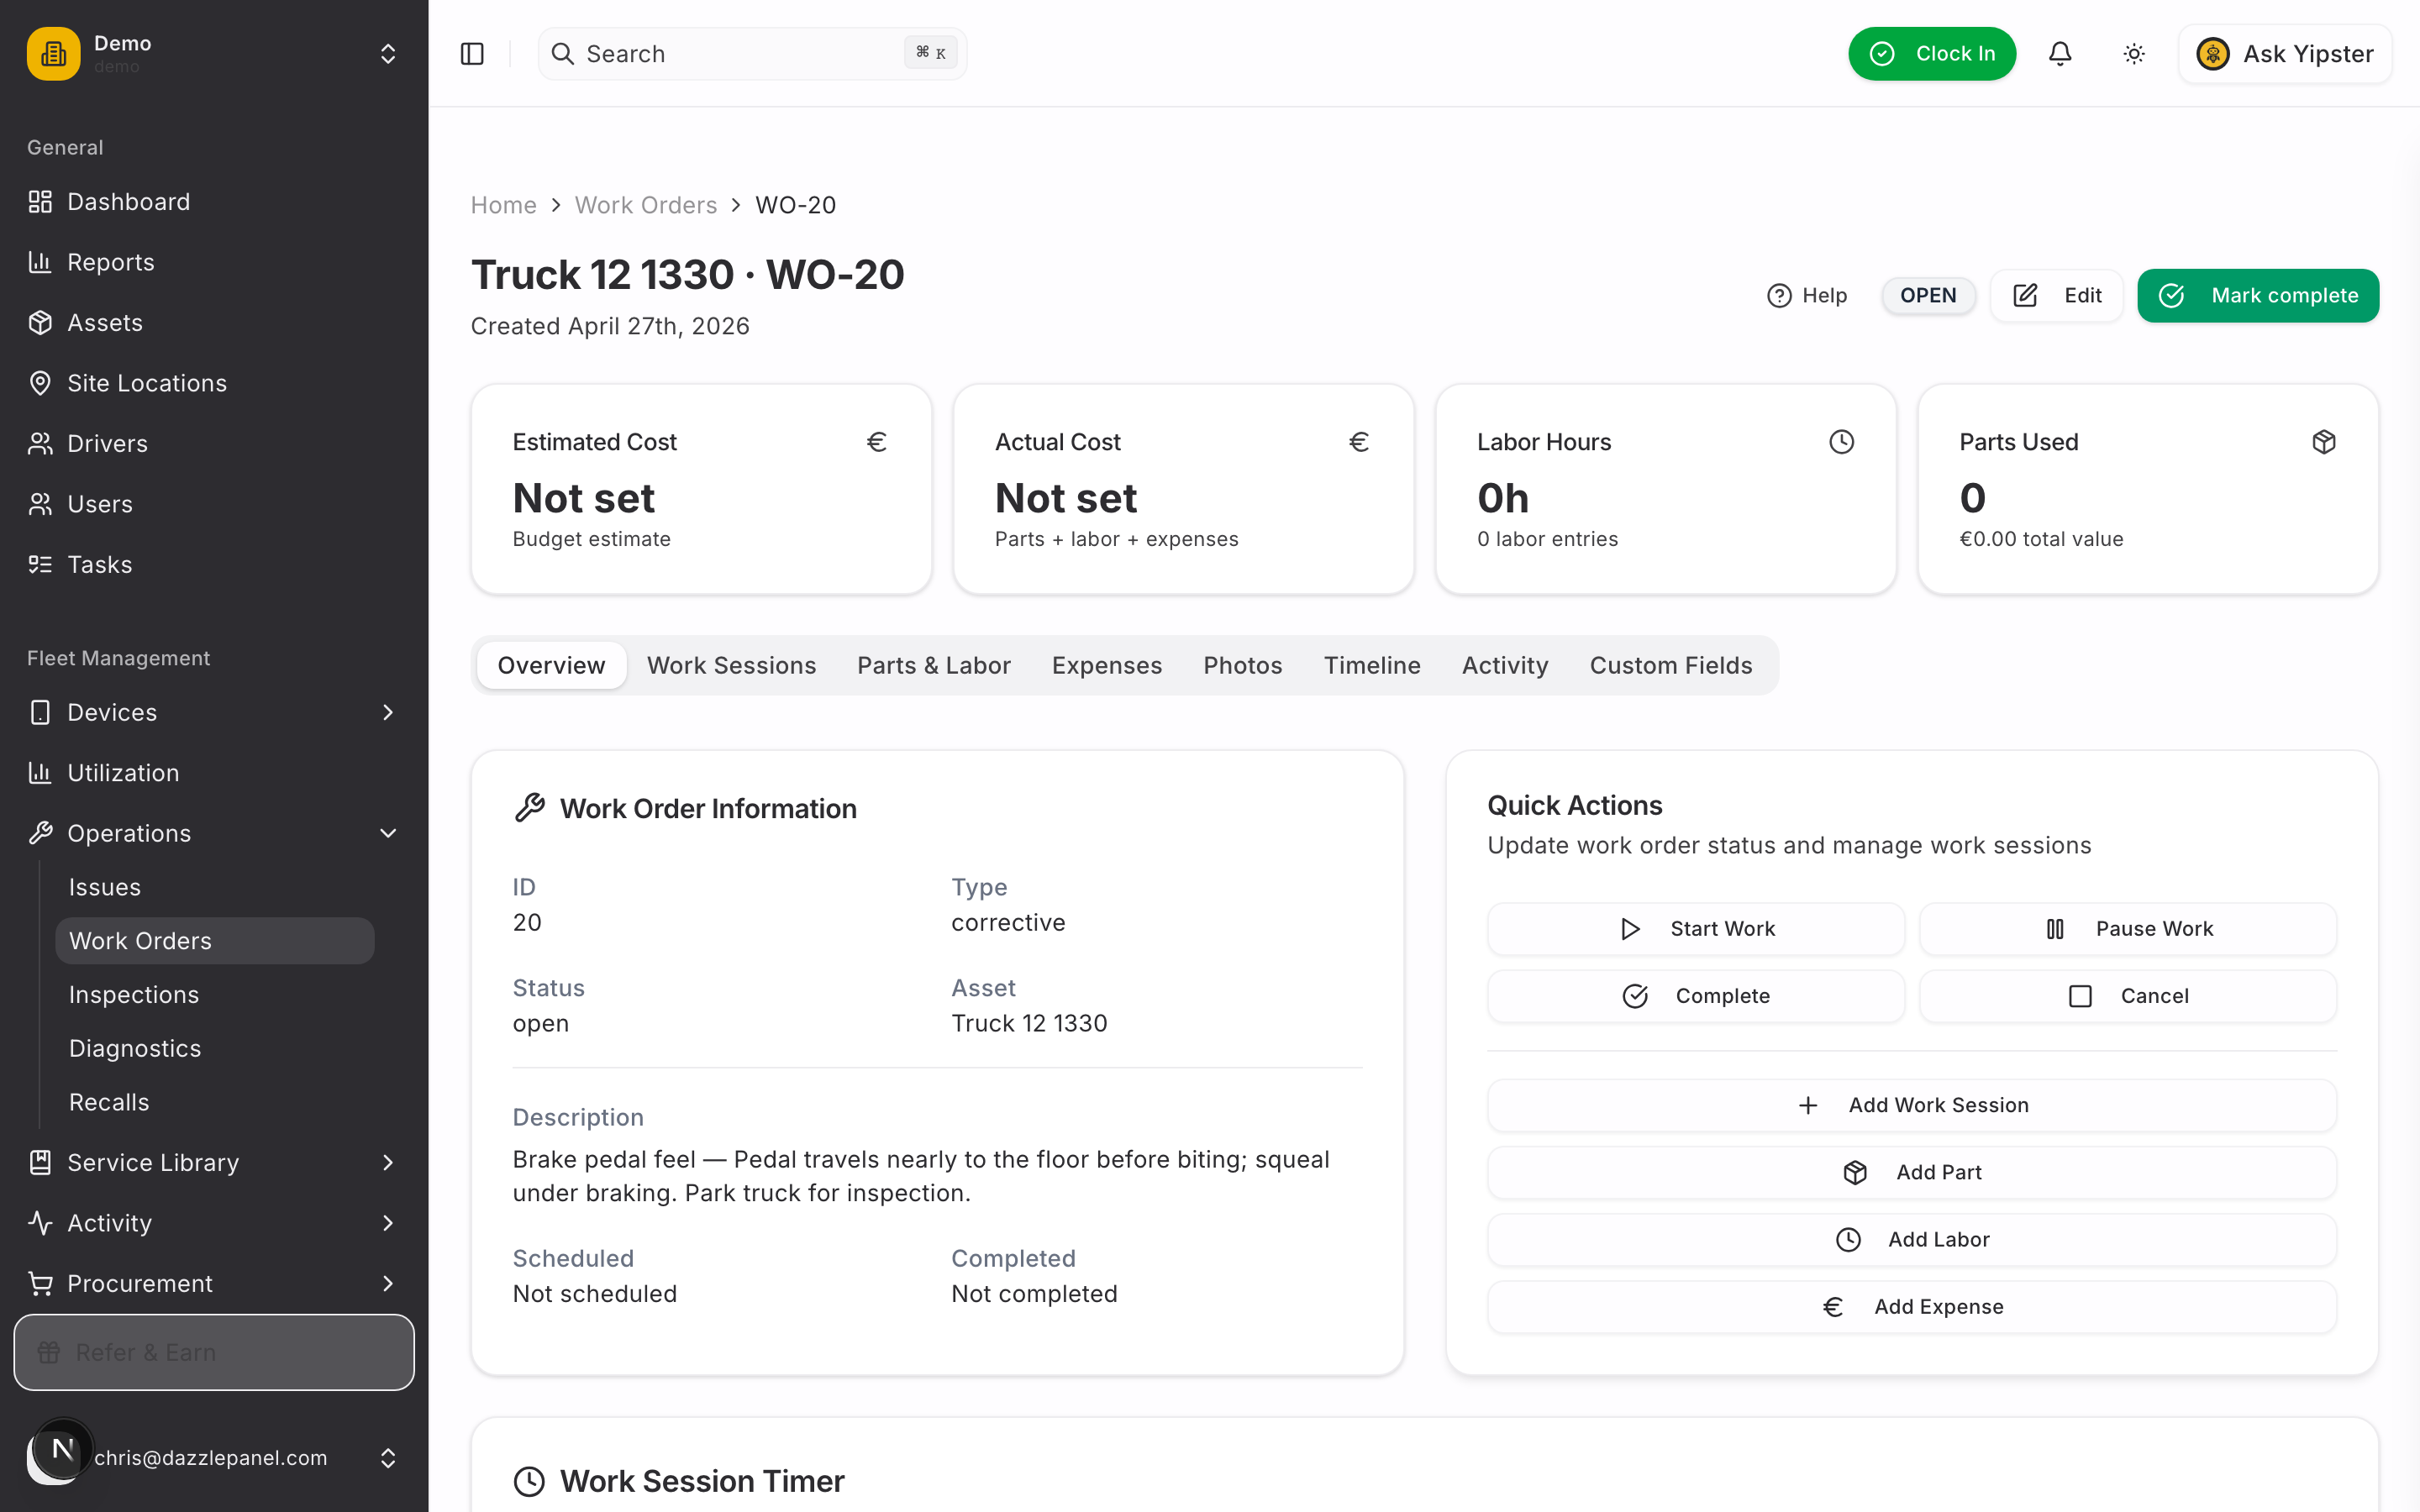
11. Submit and open the work order detail
Click Create Work Order. Mobility opens the new work order's detail page. The header carries the live status badge (now OPEN); the stats strip below shows estimated cost, actual cost, labor hours, and parts used; tabs for Work Sessions, Parts & Labor, Expenses, Photos, Timeline, Activity, and Custom Fields organise everything else.
12. Log parts, labor, and expenses
Switch to Parts & Labor (or use the Quick Actions panel) to log everything that touches the job:
- Add Part — pull the part from inventory; the on-hand quantity is decremented automatically when the work order is saved.
- Add Labor — log the mechanic, hours worked, and hourly rate. Labor cost is computed for you (rate × hours).
- Add Expense — capture anything that isn't parts or labor: a third-party diagnostic fee, towing, environmental disposal.
- Add Work Session — start a timer if a mechanic is actively wrenching. Sessions roll into Labor automatically when stopped.
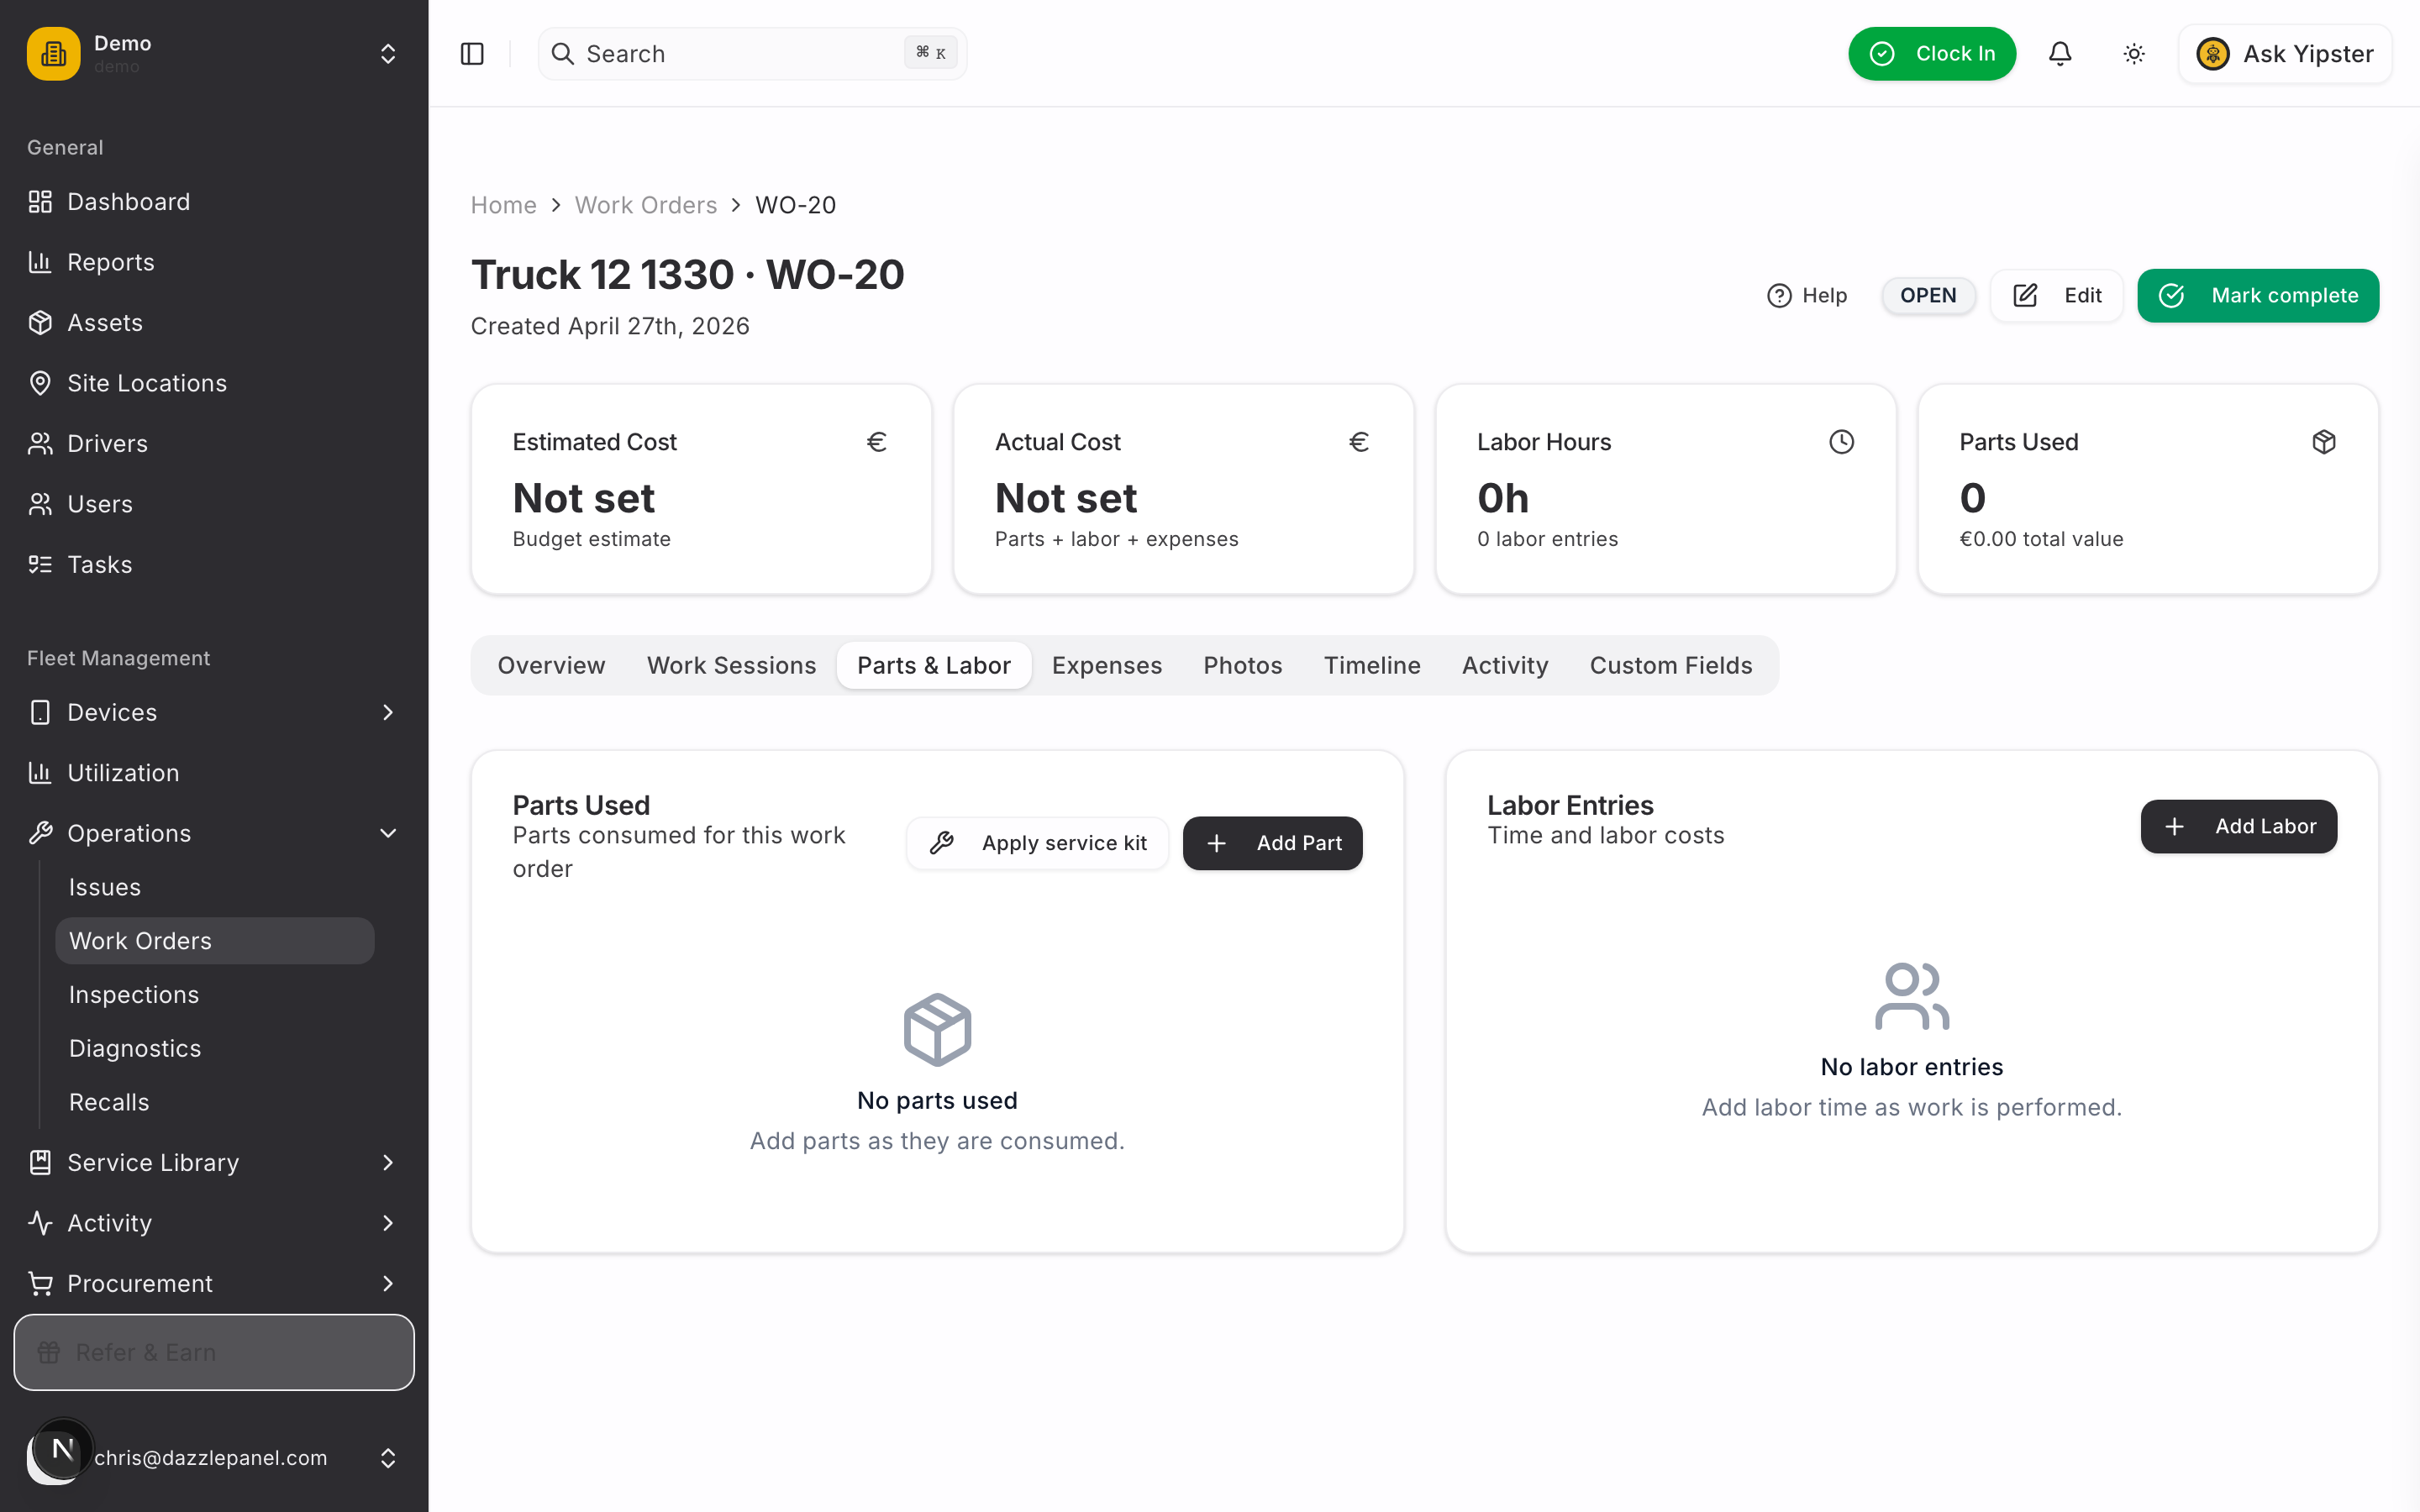
Actual Cost in the header is the live total of everything you log — parts + labor + expenses — so it always reflects what the repair has cost so far.
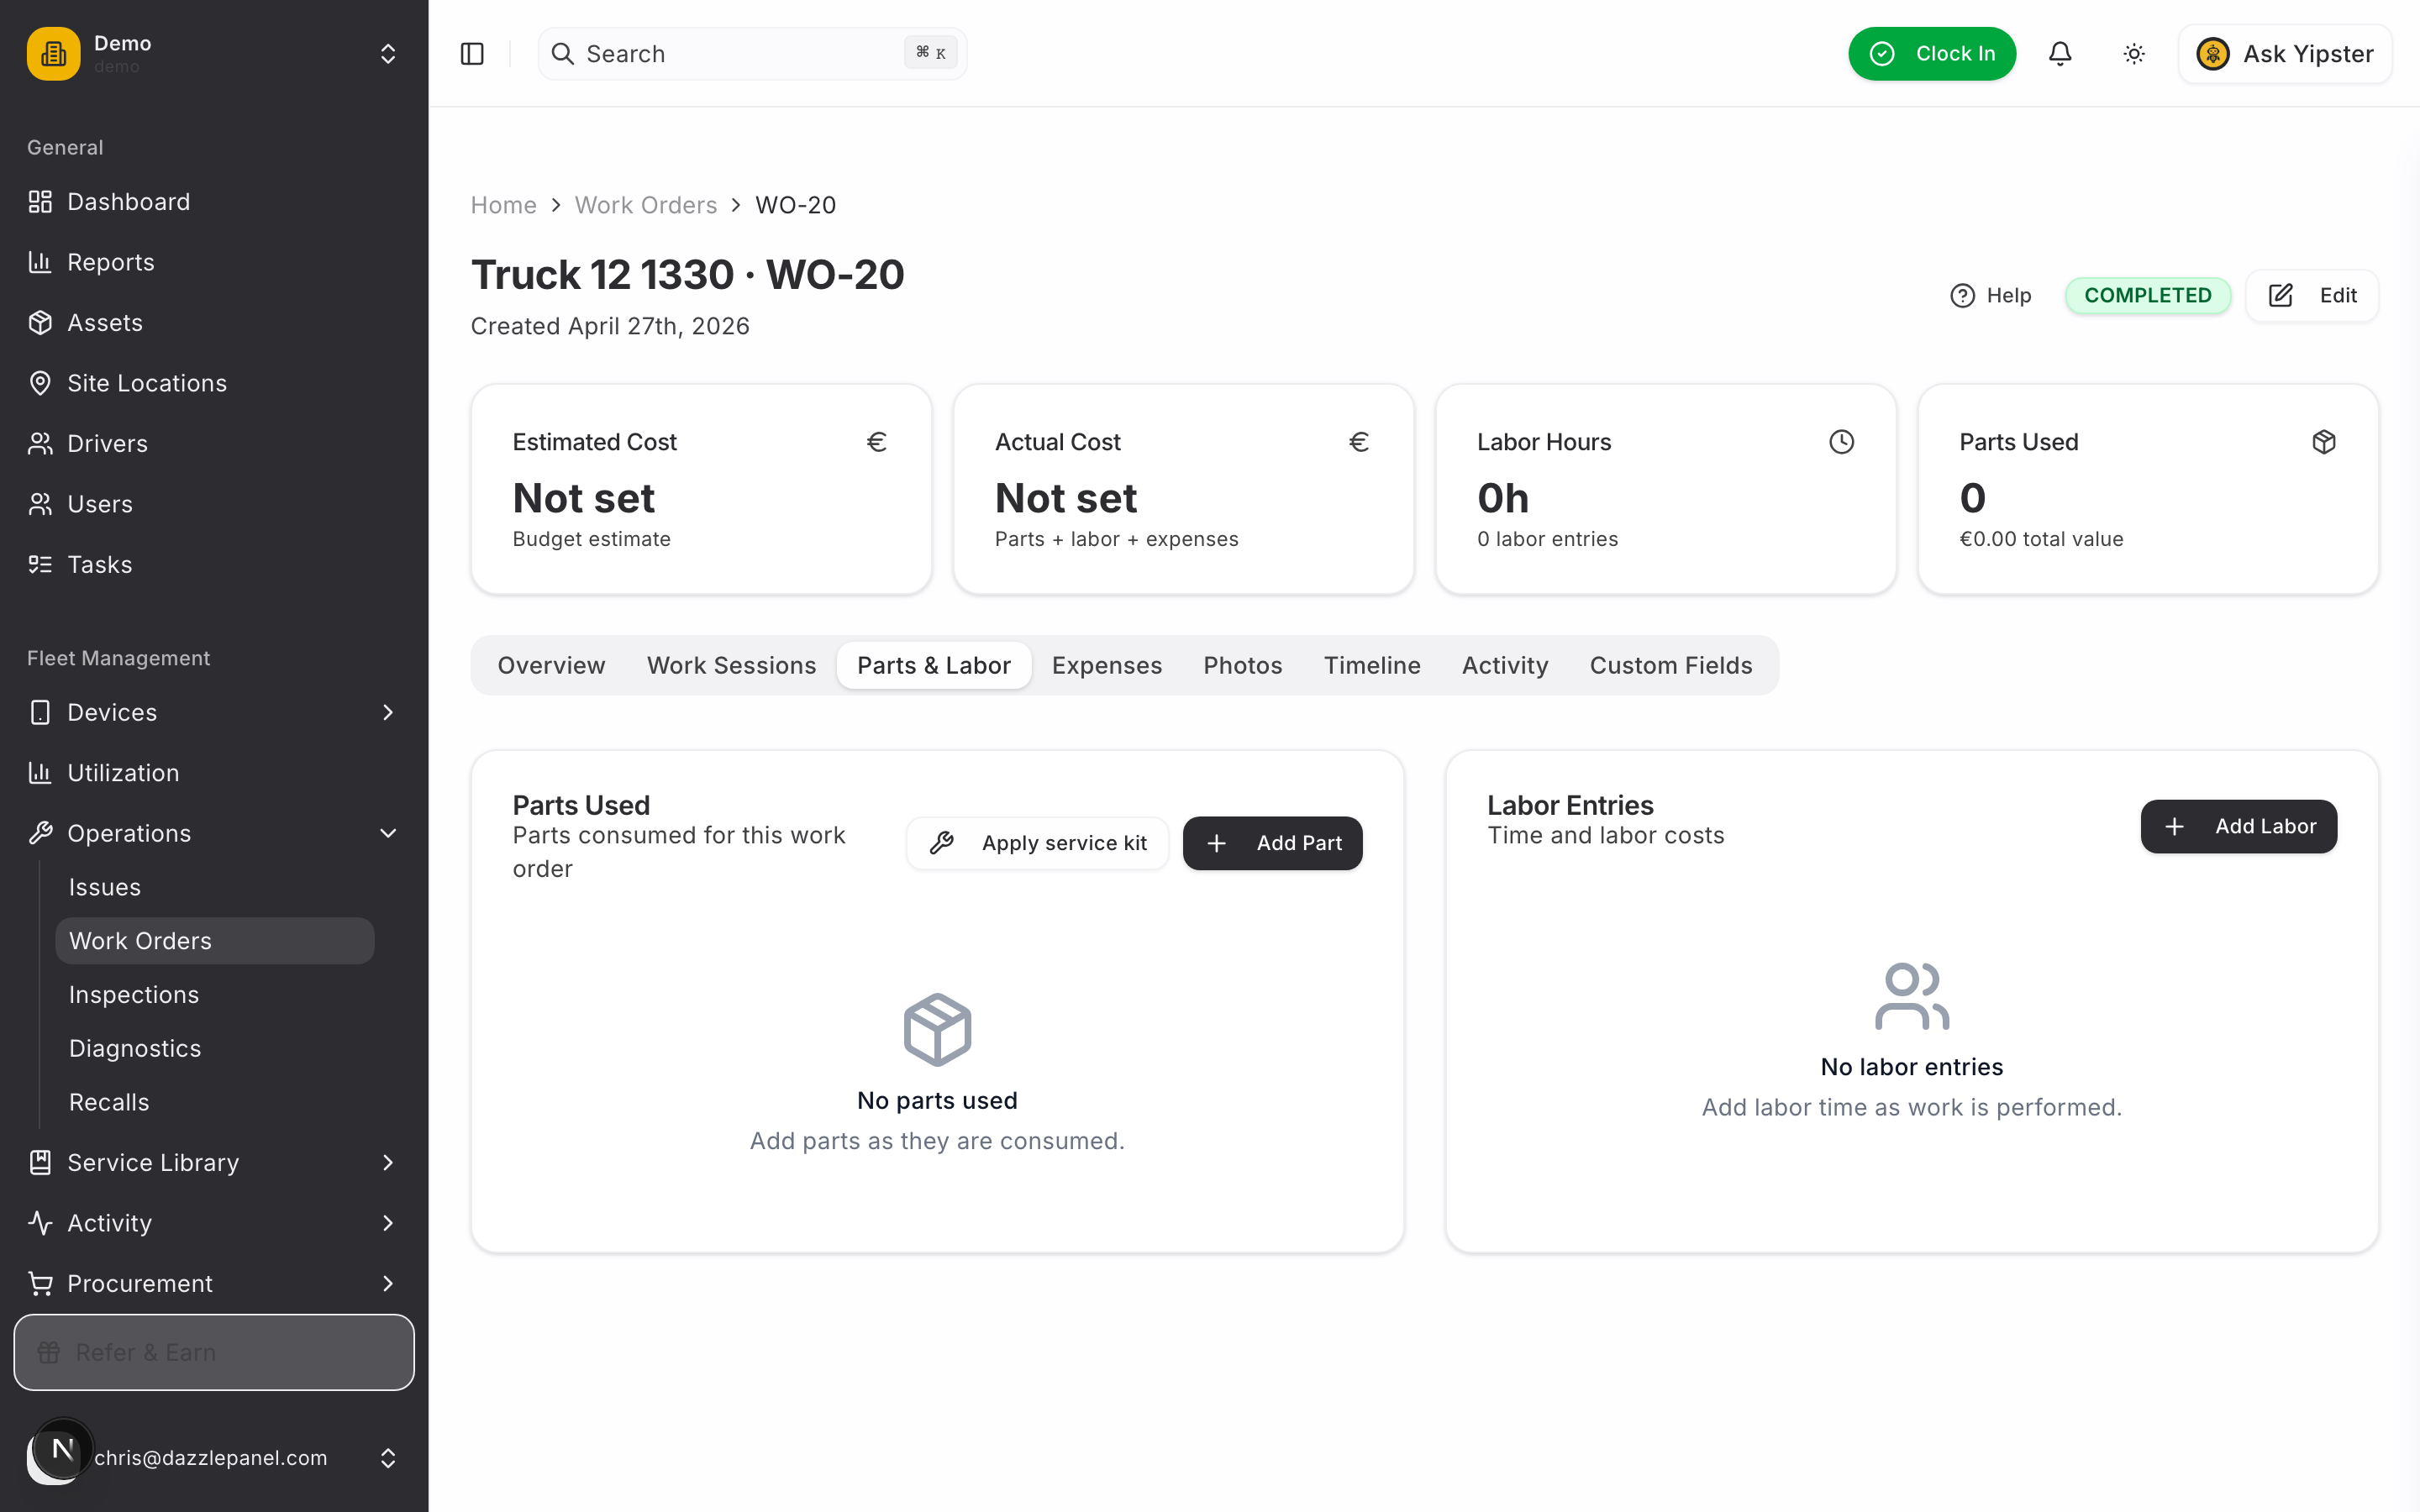
13. Mark the work order complete
When the wrench is back in the box, click Mark complete in the work order header. A short dialog asks for any final actual-cost adjustment and a completion note. Submit it and the work order locks in — status becomes COMPLETED and the audit trail records the close-out.
14. Close out the inspection
Head back to the inspection that started this whole chain and click Complete Inspection in the header. The status flips to Completed and the inspection — together with its linked work order — becomes a permanent, immutable record on the asset's audit log.
What you ended up with
After this flow, your fleet now has:
- A reusable Daily Pre-Trip Walkaround template — re-usable for every vehicle, every day.
- One audited inspection — five items checked, four passes and one documented failure with notes from the field.
- One work order with a clean cost breakdown — parts pulled from inventory, labor logged with a mechanic and hours, any side expenses captured. The work-order detail page is the single source of truth for what the repair actually cost.
- A clear paper trail — both the inspection and the work order are permanent records on the asset's audit log.